
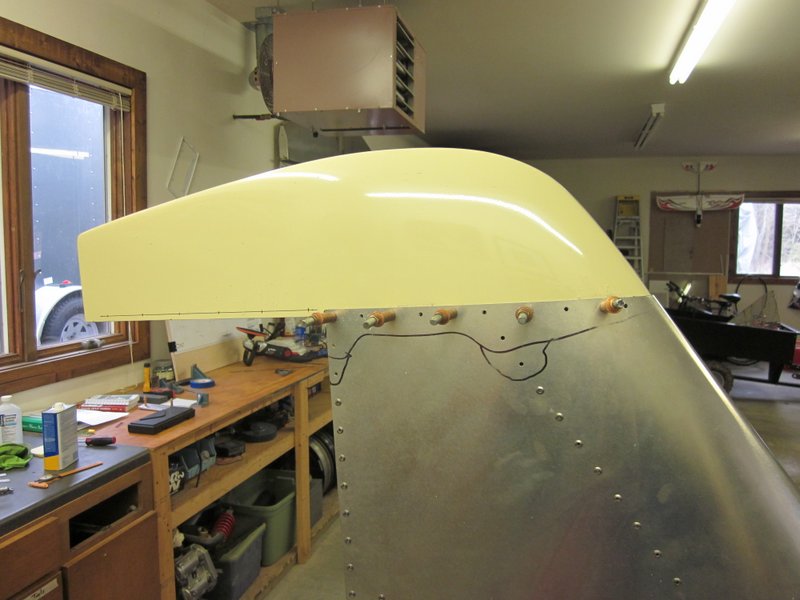
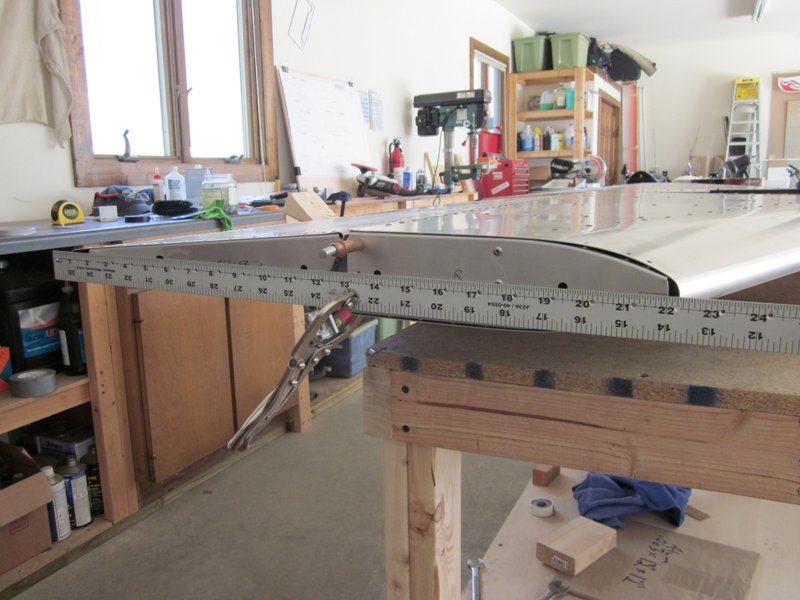
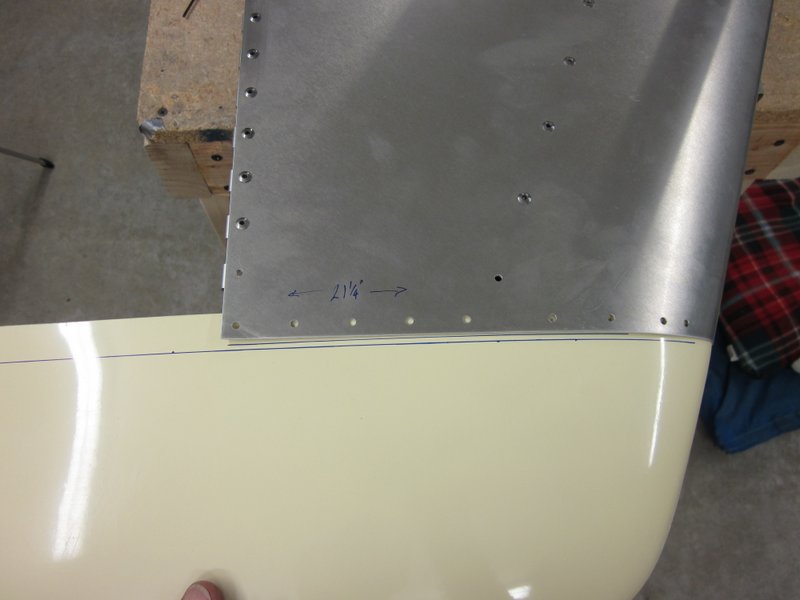
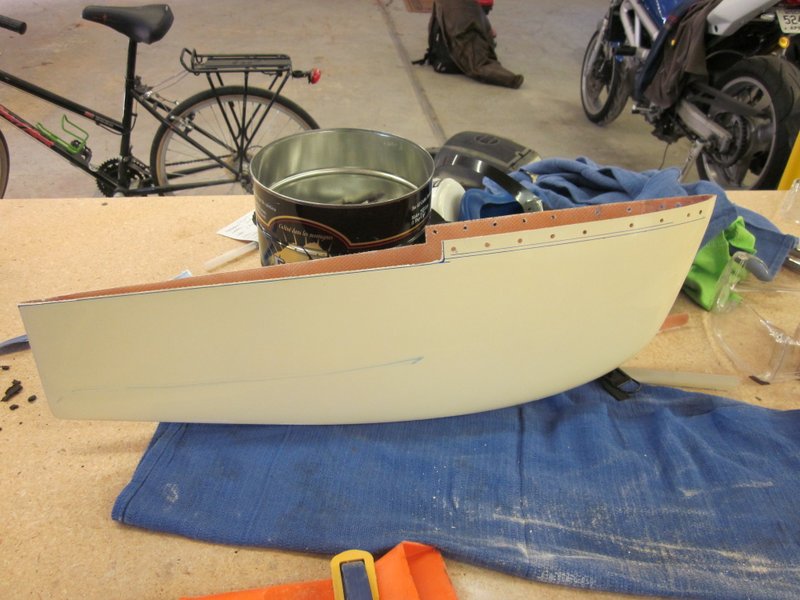
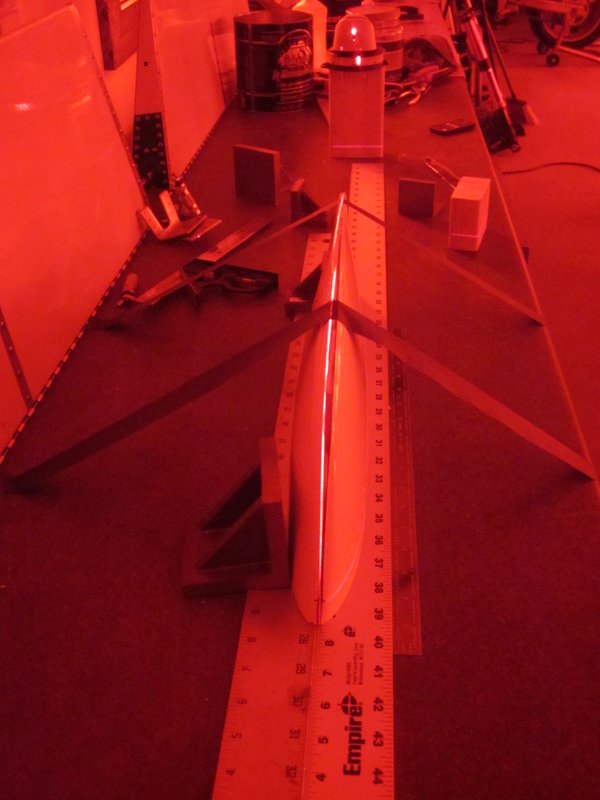
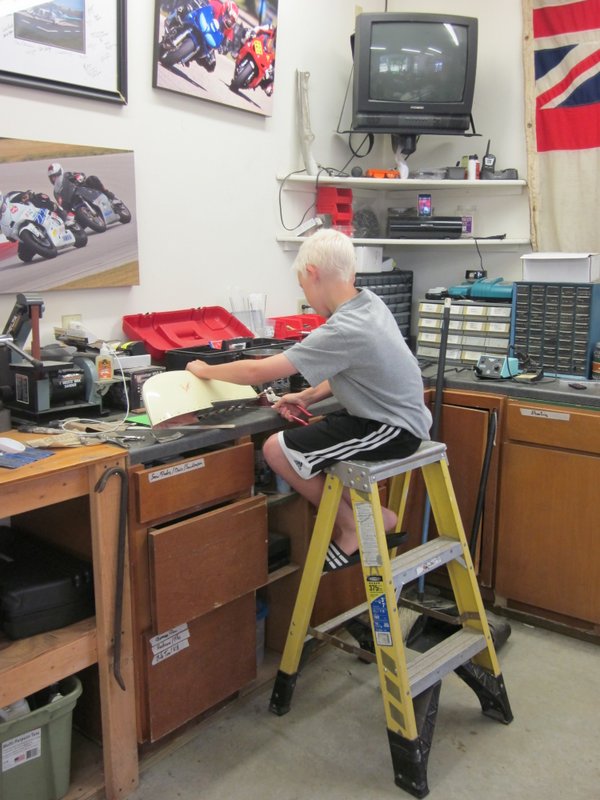
April 22nd – I started work on the vertical tip today. After reading of the struggles some folks have had with this part of the build, I decided to leave more of the rivets out of the skin to make it easier to fit the glass fiber parts in between the skin and ribs. This seems to be working OK as it’s not too difficult right now. I measured up the cut out for the rudder and then used a cut off wheel in a dremel tool. Pretty close for the first try, about 3/32″ to lose to get everything nicely lined up.
-

- I left a few rivets out.
-
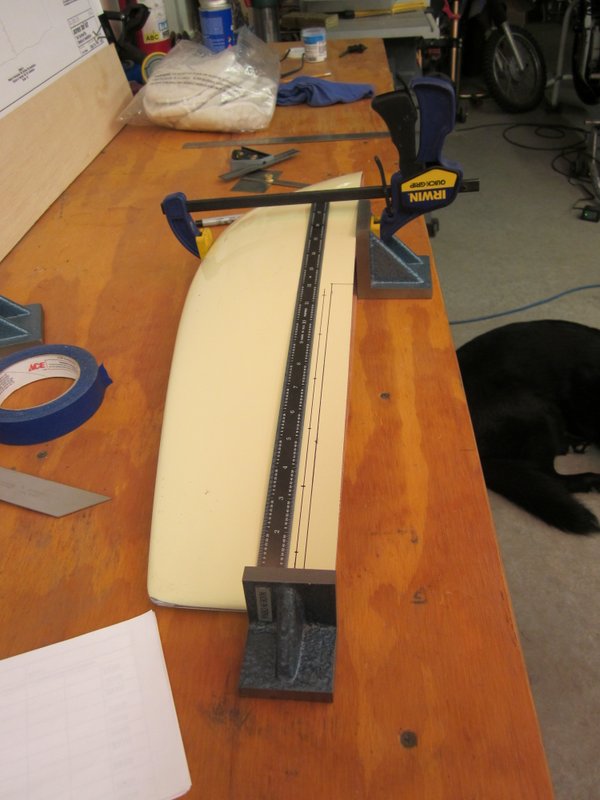
- Measuring the tip for cutting.
-
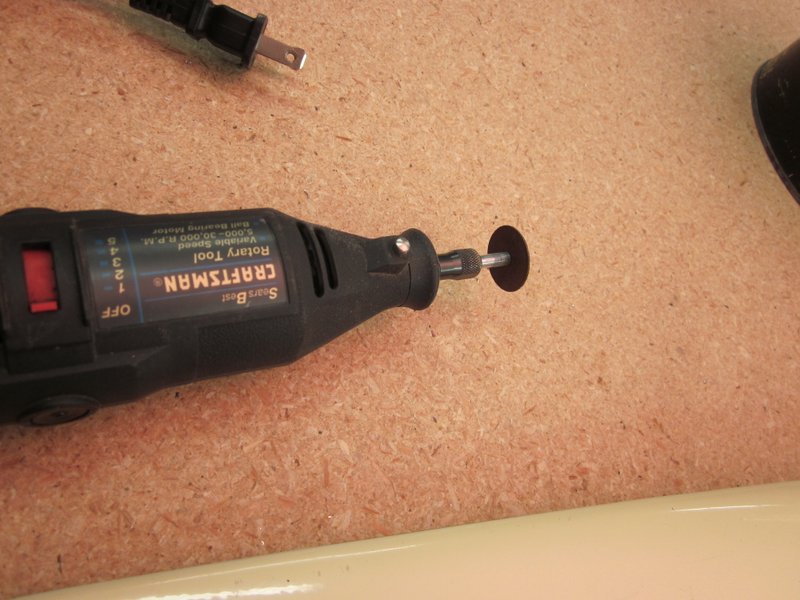
- Cut off wheel for cutting glass fiber.
-

- Pretty close.
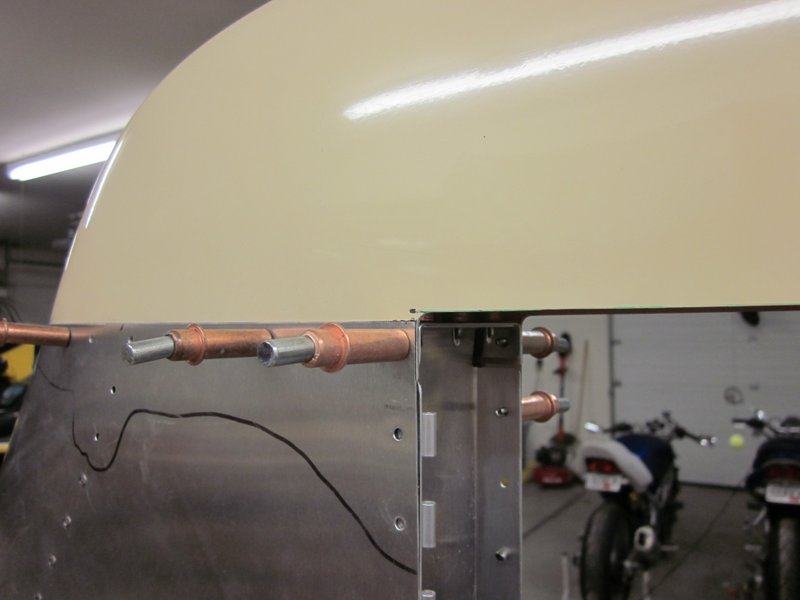
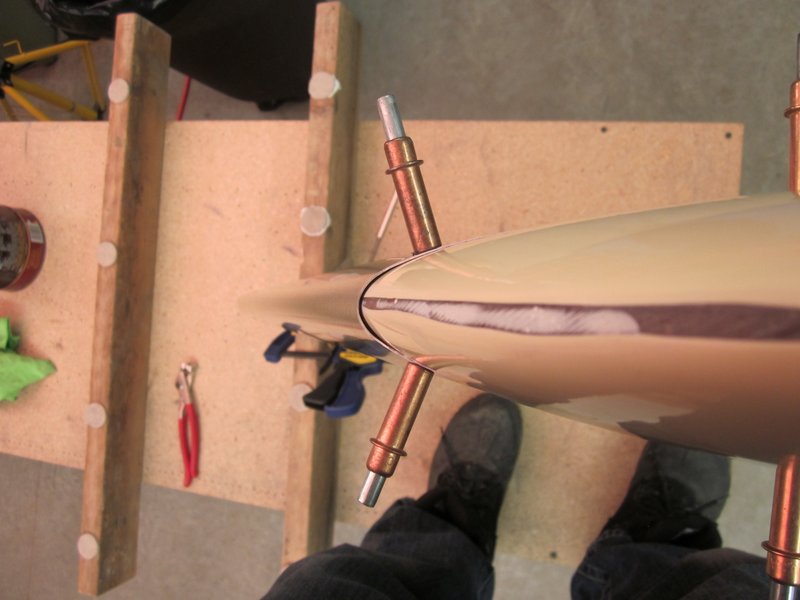
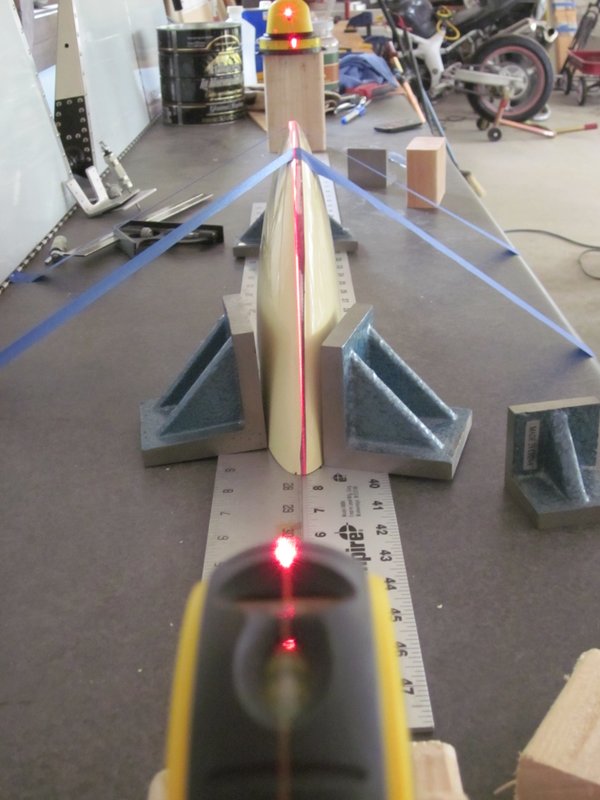
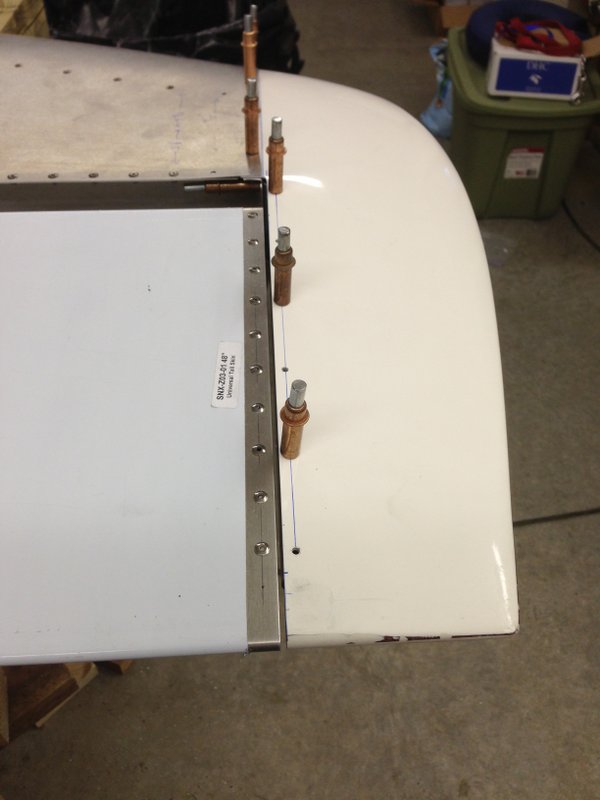
April 23rd – To make it even easier to get things lined up, I decided to drill out the rivets attaching the top rib. I can now slide the tip cap in easily and when I need to line everything up I just cleco the rib back in place. The laser level came in handy again to make sure that the tip cap lined up with the center of the rudder post, then everything got clamped, marked and drilled.
-

- I removed these rivets.
-
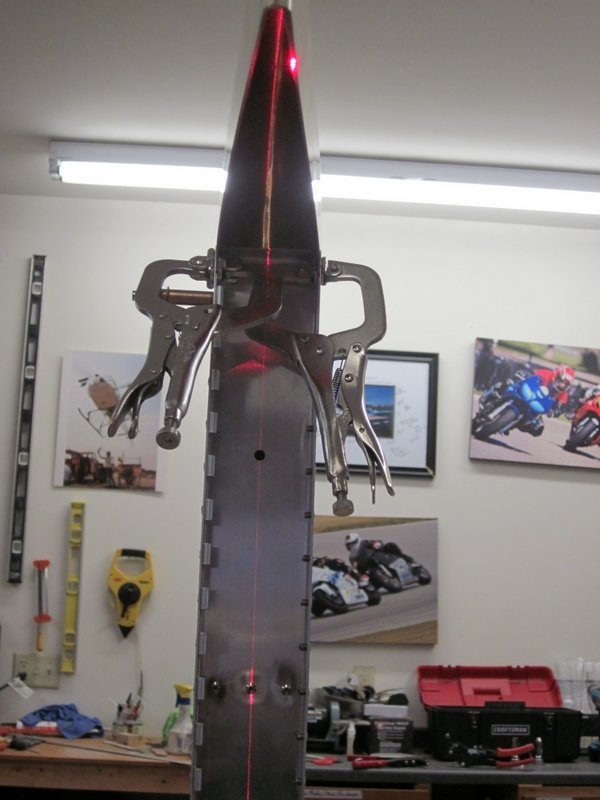
- Lining it up with the laser level…
-

- …looks pretty good.
-
- Clamped to mark the holes.
-
- Drilled and clecoed in place.
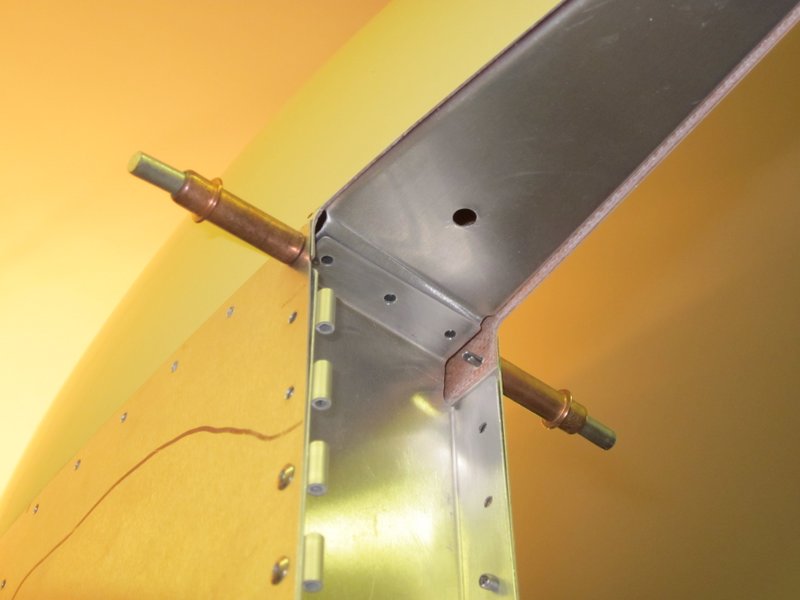
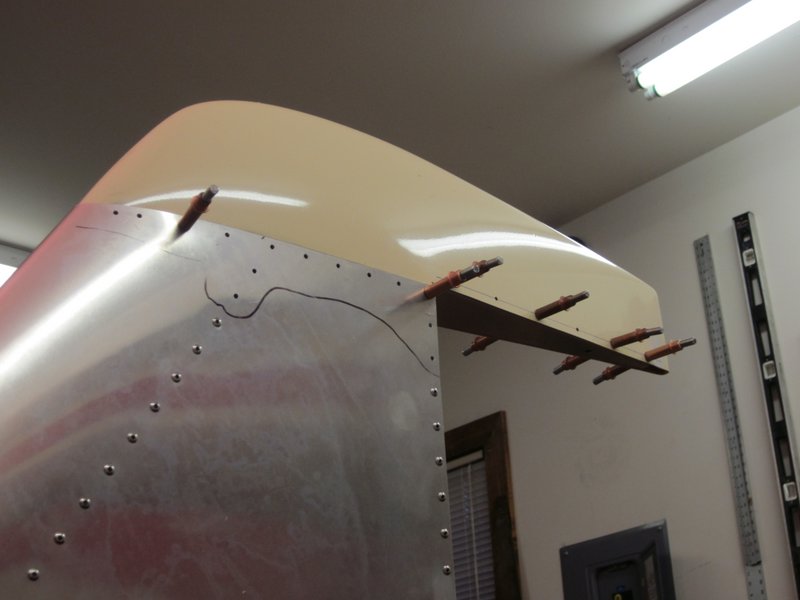
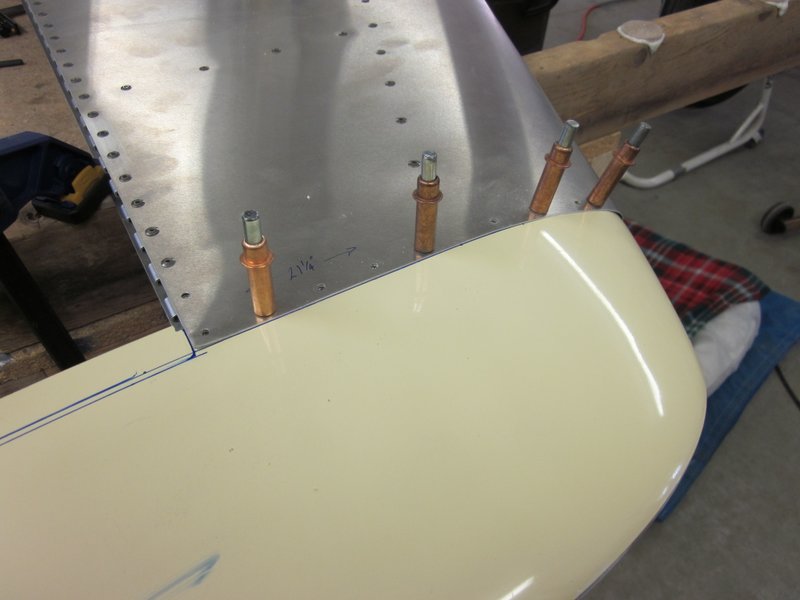
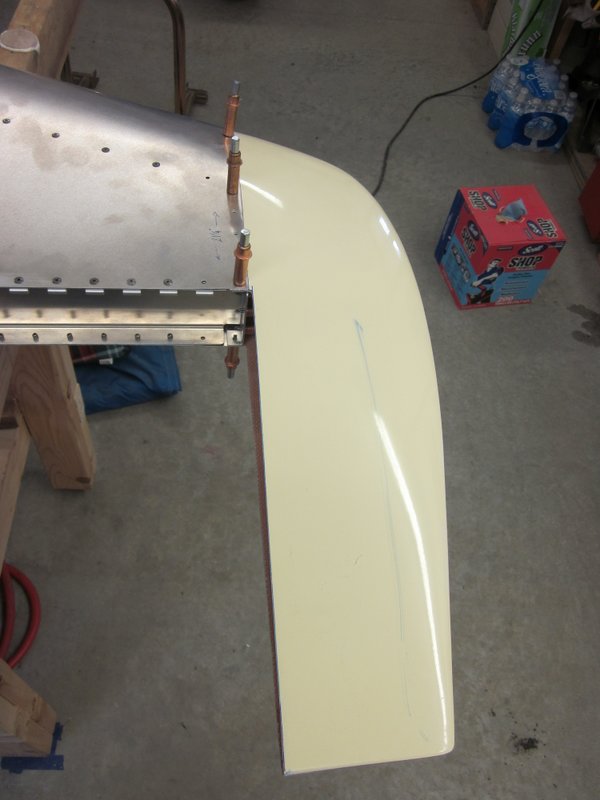
I then marked up the back of the tip to allow clearance for the rudder to swing, once that was cut out it was time to mark up the position for the tip rib placement. With that in place I hung the rudder again to see how everything lined up, not perfect, about 1/16″ off, but I can live with it!
-
- Notched for rudder clearance.
-
- Marking the holes in the tip rib.
-
- Ready for the rudder.
-
- Close enough.
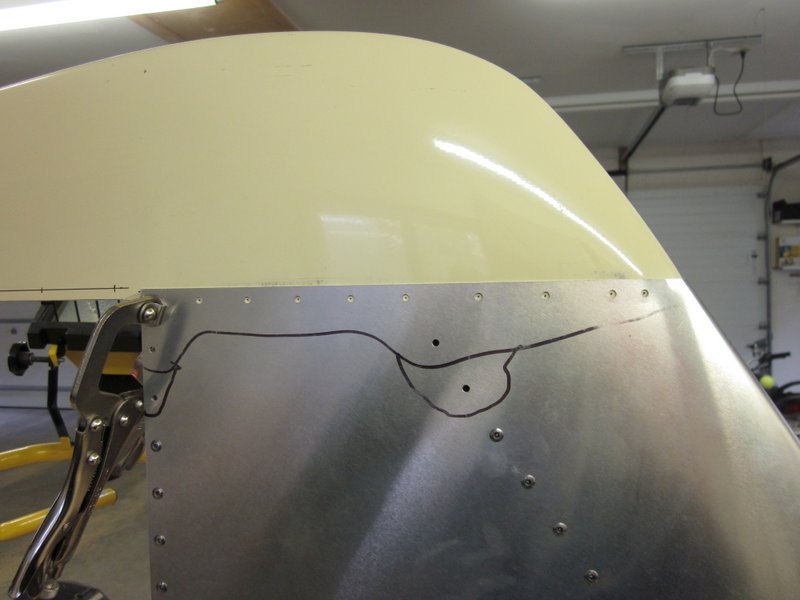
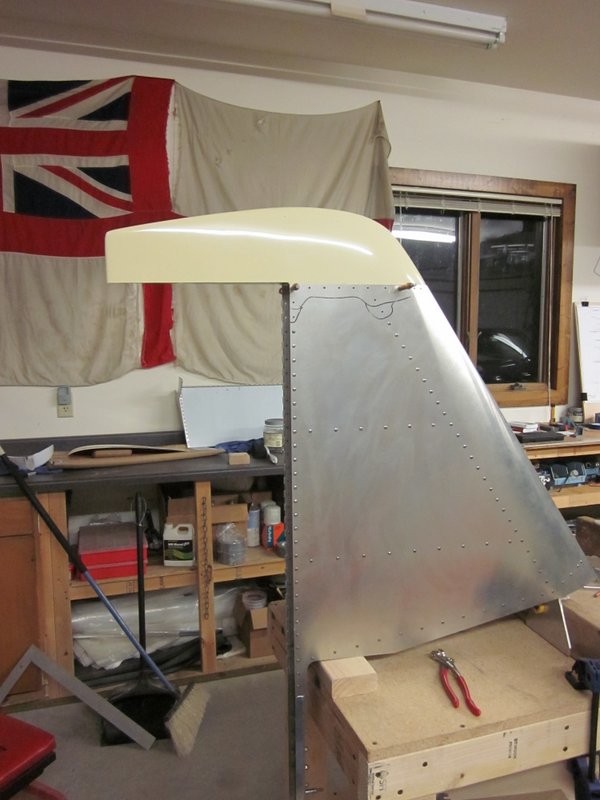
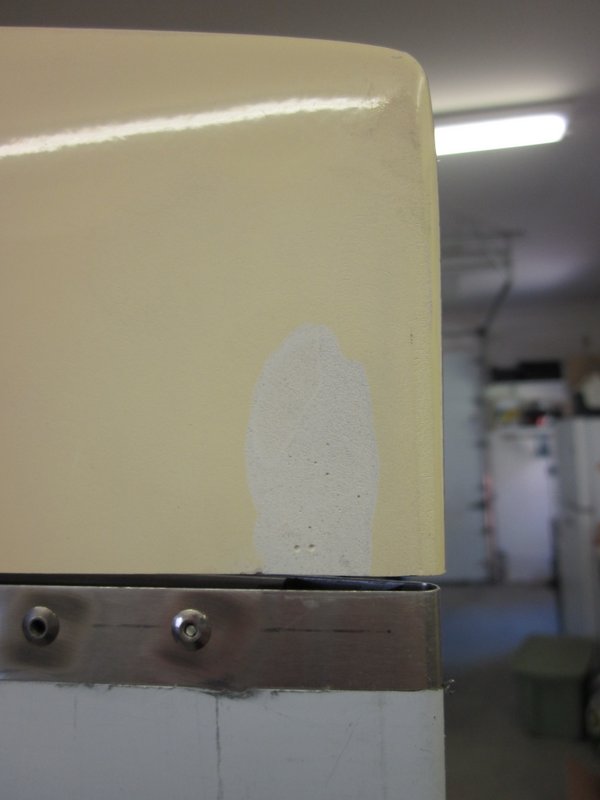
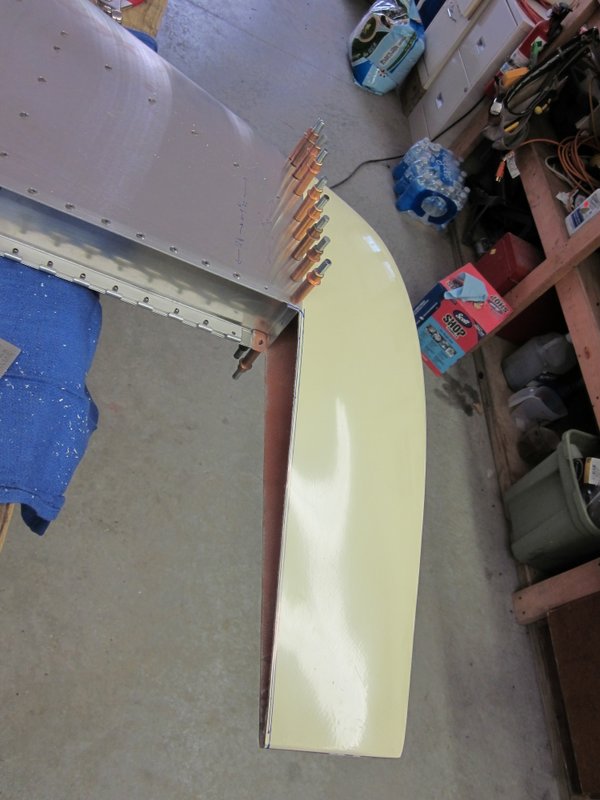
April 24th – I finished marking, drilling, updrilling and deburring the tip rib today. I cleaned off all the markings and hung the rudder again. All looks good. I am going to leave the riveting of these components for now, the tips will eventually have to be painted and the skin polished, all of which will be easier to achieve as separate pieces. There is a slight gap between the aluminum and glass fiber at the leading edge, I will fill this in during the paint preparation stage.
-
- Tip installation complete.
-

- Rudder in place.
-
- Slight gap to be filled at paint time.
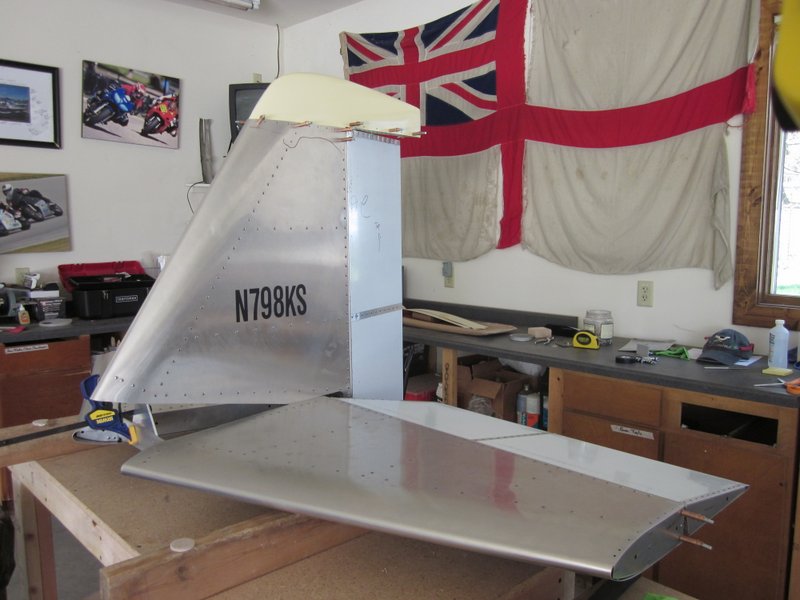
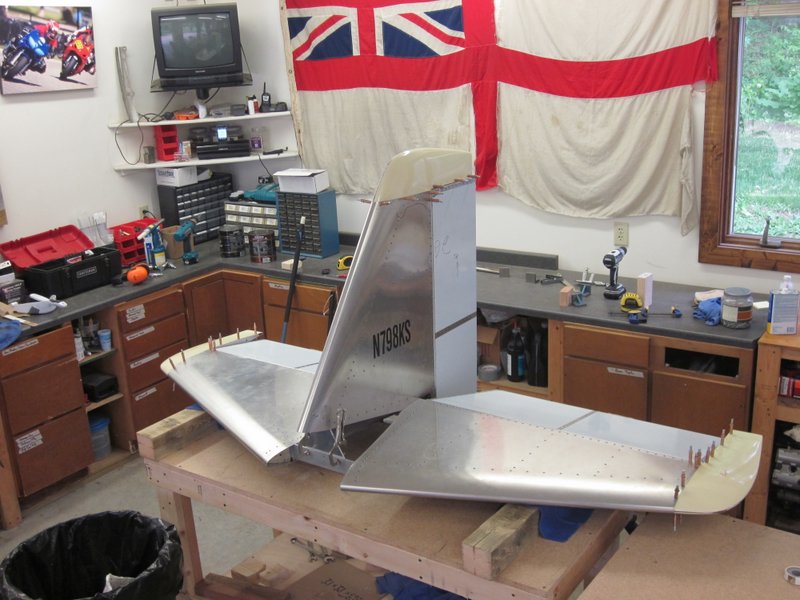
April 30th – As a little aside, I am in the process of financing the rest of the kits, there is a discount if they are all bought together. The Bank that is providing the loan requires that the “airplane” be registered so I reserved an N number with the FAA. When Sonex 1597 takes to the sky, the call sign will be November Seven Nine Eight Kilo Sierra.
With that in mind it seemed appropriate to put some vinyl on the tail!
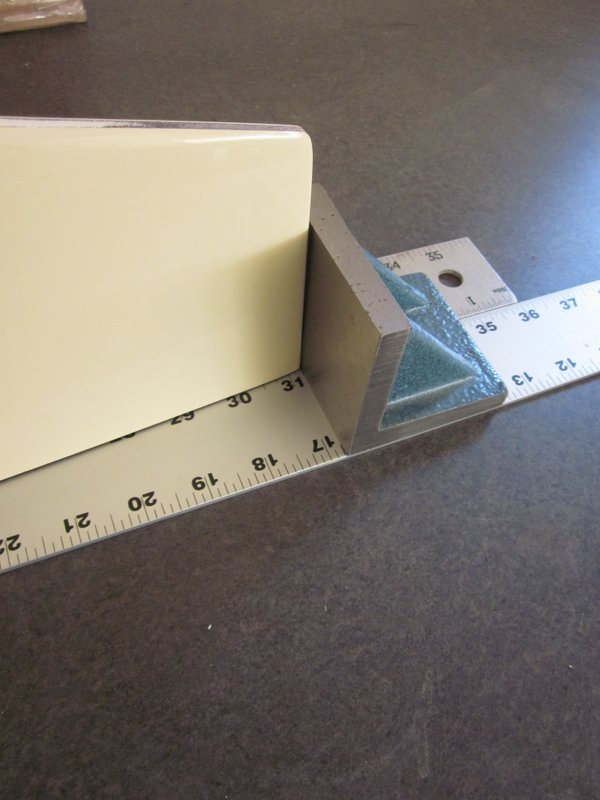
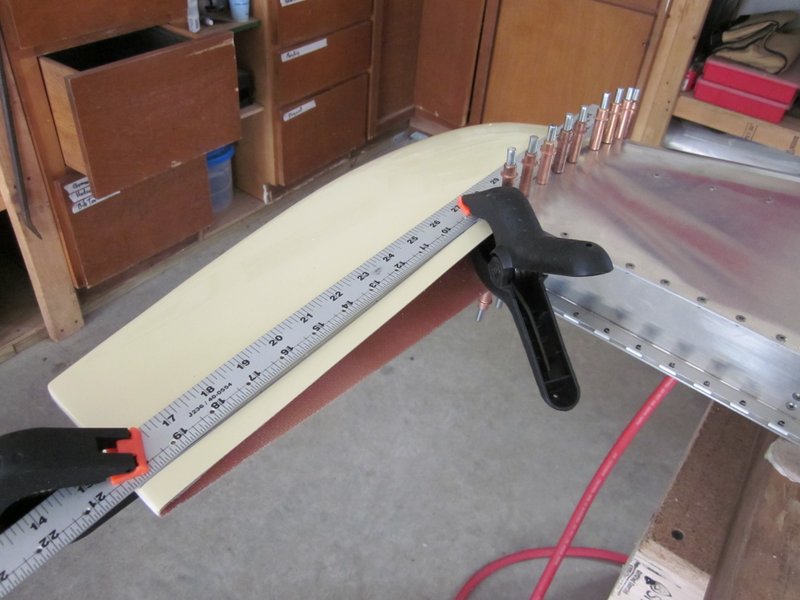
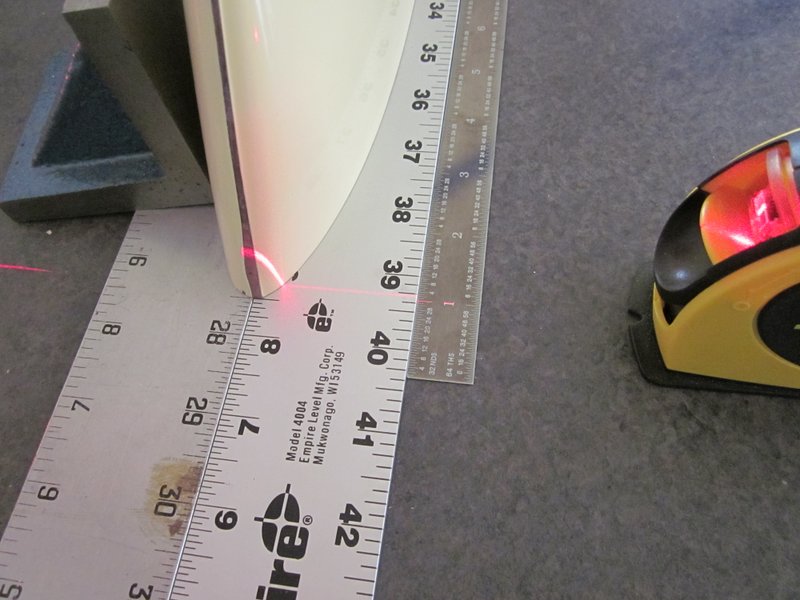
With the photo opp out of the way I started on the tips for the horizontal tail. The two glass fiber pieces seem pretty symmetrical so I chose one to start on the starboard tip. I had good luck on the vertical tail with removing the end rib to improve access during fitting so I will do the same here. First I wanted to get an accurate measurement from Leading Edge to Trailing Edge so I clamped a rule on and took the measurement before removing the elevator. Next up was to mark up the tip for cutting. The primary dimension is to ensure that the width of the glass fiber is the same as the LE to TE that I obtained before removing the elevator. To do this I laid two rules down and placed the tip on the resultant center line then used the laser level to project the LE/TE distance and mark it.
Then it was time to sleep ready for my night shift. The fun will continue!
-
- LE to TE measurement.
-

- Square block on two rules.
-
- ‘Zero’ point…
-

- …projected dimension.
May 6th – Continued with marking up the glass fiber. I used all three laser levels to keep things as square as possible and ended up with a good reference line. I then drilled out the rivets from the tip rib to ease the fitting process, two came out easily but on the last one, the remains of the mandrel hampered the process. It came out eventually but not very tidily so I may have to use an oversize rivet when I put it back on, it will be covered by the cap so won’t be an aesthetic issue.
The tip fit nicely under the skin but is a little long, time to get the cutting wheel out!
-
- All lined up.
-
- Cut line projected and marked.
-
- Fits pretty well.
-

- Some trimming required.
May 9th/15th – I’m on the 0900-2100 shift this week so on most days have managed to get a little done before leaving for work. Continuing on the Starboard tip, I have been measuring, cutting and fitting. First thing was to trim the nose of the rib and the glass fiber to get a good fit, the dremel tool was handy for this. Cutting, grinding and sanding glass fiber not only stinks but also makes a lot of very fine dust which itches and is not good for your lungs. With this in mind, I got a canister type respirator which not only protects but also stops your glasses steaming up! Once the rib was a good fit, the tip was drilled and clecoed in place so the cut for the elevator could be marked and made.
-

- Trimmed rib with drilled tip.
-
- Tip fitted.
-
- Marking for the cut.
-
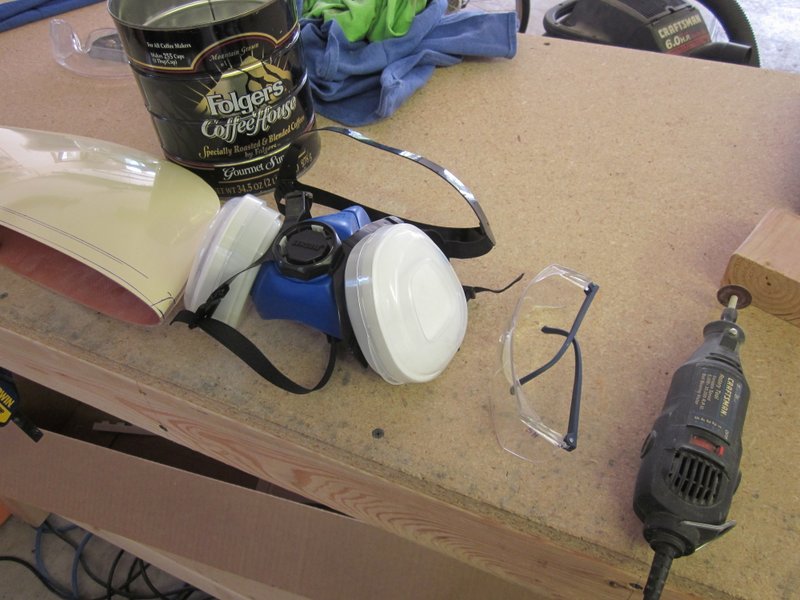
- New respirator.
-
- Cut, trimmed…
-
- …and ready for elevator fitting.
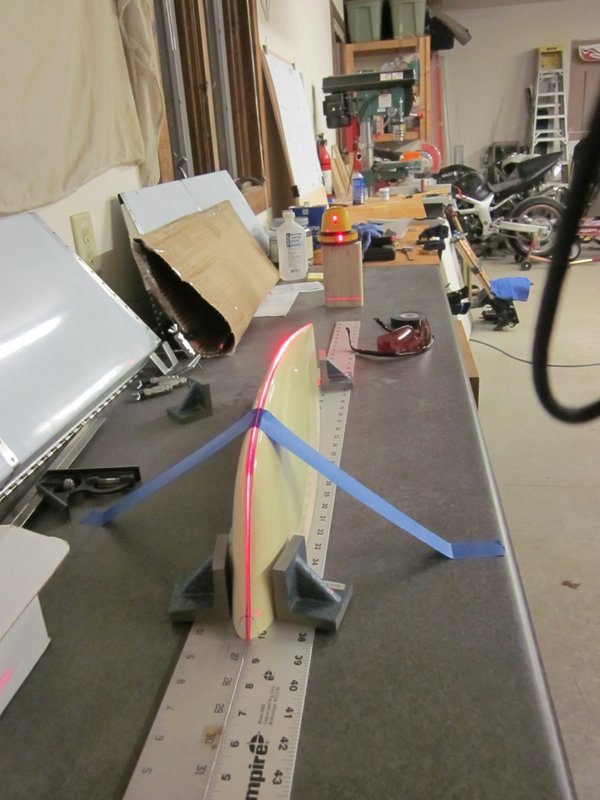
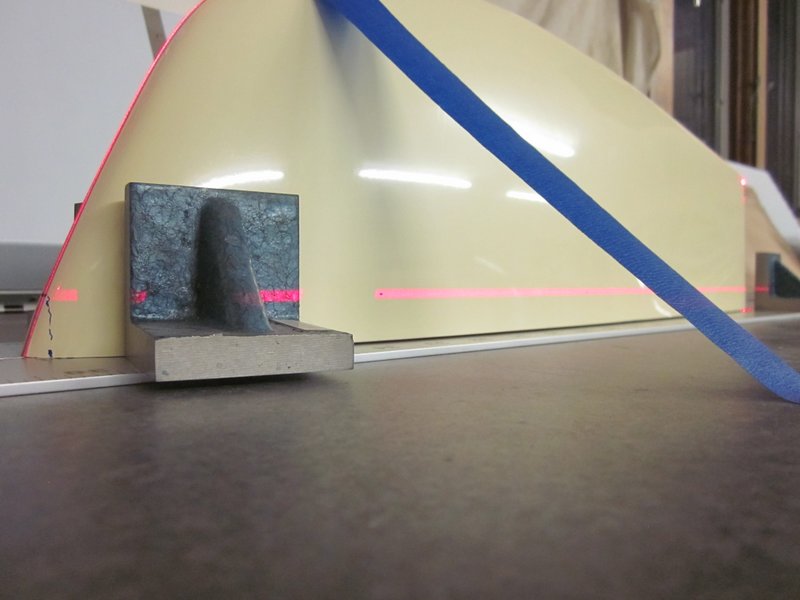
May 21st – The elevator fit was pretty good, just a little trimming required so I marked, drilled and attached the tail tip rib in place. Time to move to the other side. This is a repeat of the same procedure but as I’m off this week it allowed me time to take a few more pictures of how I used the three laser levels to mark up the blank fiber glass tip.
First thing is to get it square to the bench so the two small laser levels were used to project a vertical line up the leading and trailing edges. The two laser lines extend along the top of the tip. Not perfect, but good enough.
I had already measured the LE to TE distance, so I projected that dimension onto the blank tip and marked it.
The third laser level I have sits on a tripod and rotates to project a horizontal line. If this line bisects the mark I made denoting the LE/TE dimension, I should have a line perpendicular to the elevator hinge line, of the right length to match the LE/TE dimension where the tip cap meets the end of the horizontal stabilizer.
-

- Vertical Trailing Edge.
-
- Vertical Leading Edge.
-
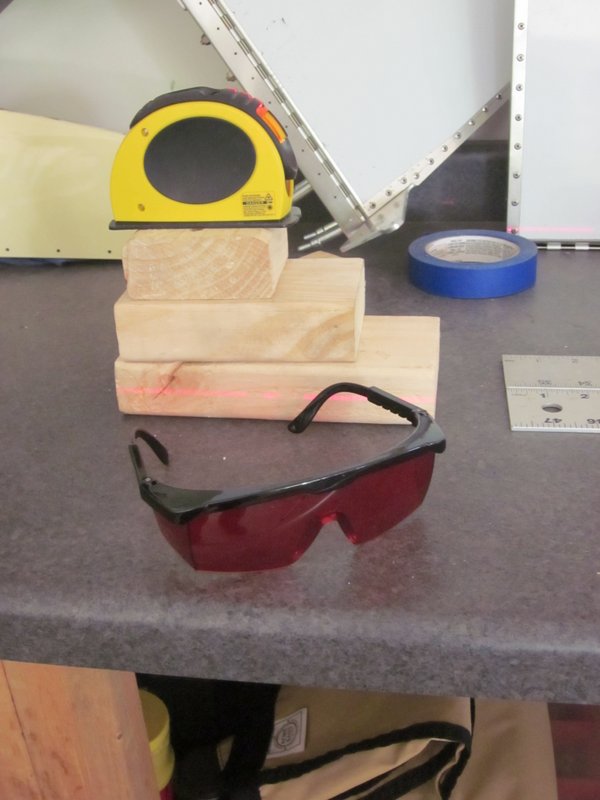
- Red glasses make the laser line easier to see.
-
- Vertical and square.
-
- LE to TE measurement.
-
- Measurement projected onto blank.
-
- Rotating laser (in foreground) projects horizontal line.
-
- Horizontal line intersecting LE/TE dimension.
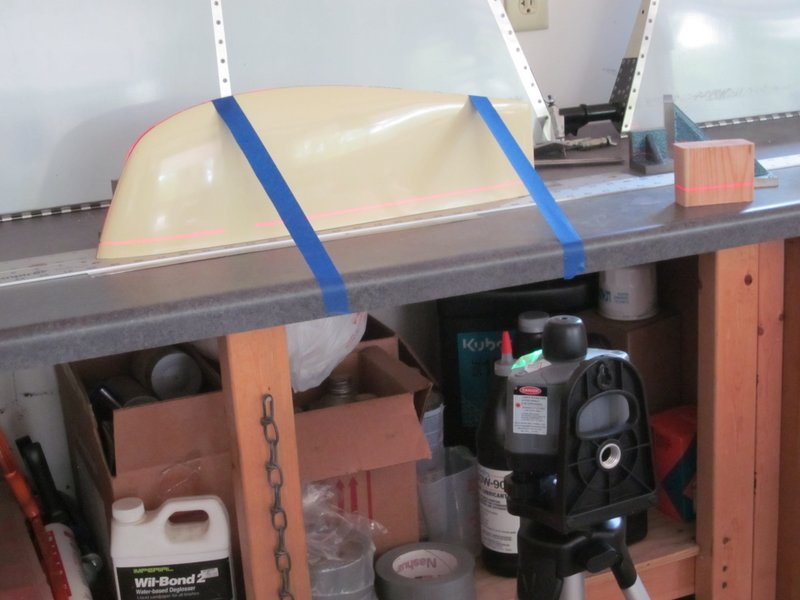
May 22nd – I finished the second tip today following much the same technique as the other side. Lots of measuring, removing, cutting, replacing and measuring again. I carefully drew the line to get the correct clearance for the elevator, cut and drilled everything and put it all together!
-
- Tip measured and marked for the final cut.
-
- All put together!
However…
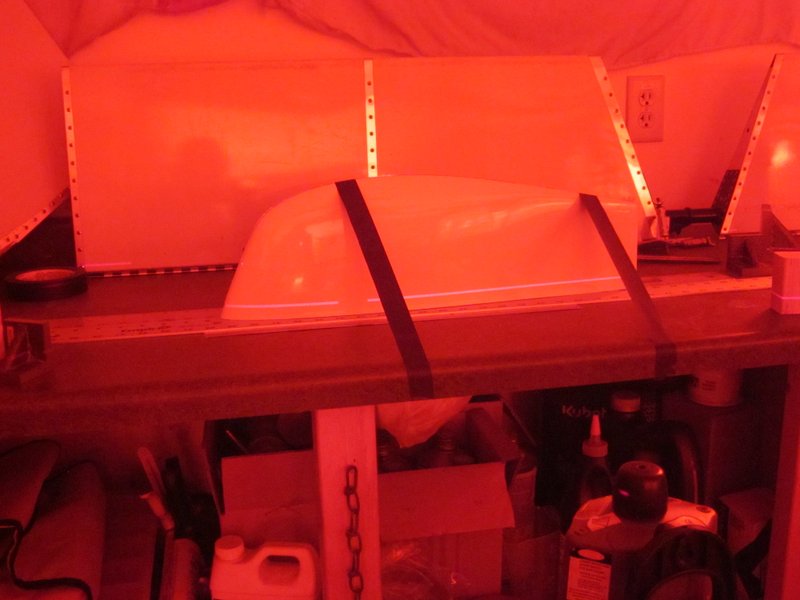
I must have goofed up in my measuring somewhere as the gap between the elevator and the tip is off by about 3/32″.
-
- Good tip…
-
- …bad tip.
I took the tip off again and trimmed it to give the correct gap but the line of rivets is not square and the furthest aft one would be too close to the edge. It may work but is not elegant and would bug me forever, so I ordered another tip and tip rib which I will get next week when I head to Oshkosh to pick up the rest of the kit.
May 30th – Today, Ross and I headed to the Sonex factory to take delivery of the rest of the parts to make N798KS. We stopped at Gus’s Diner for a serious breakfast to keep us going through the busy day.
-

- Ready to hit the road.
-
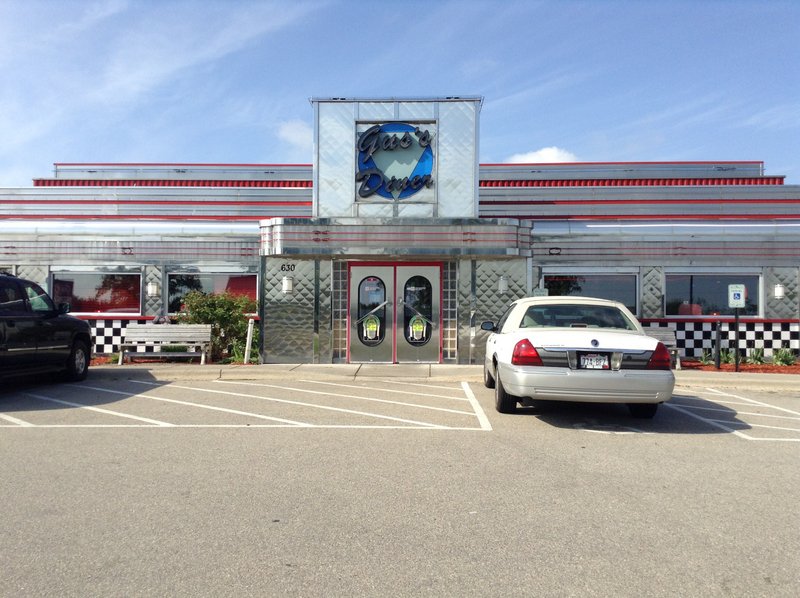
- Gus’s Diner.
-
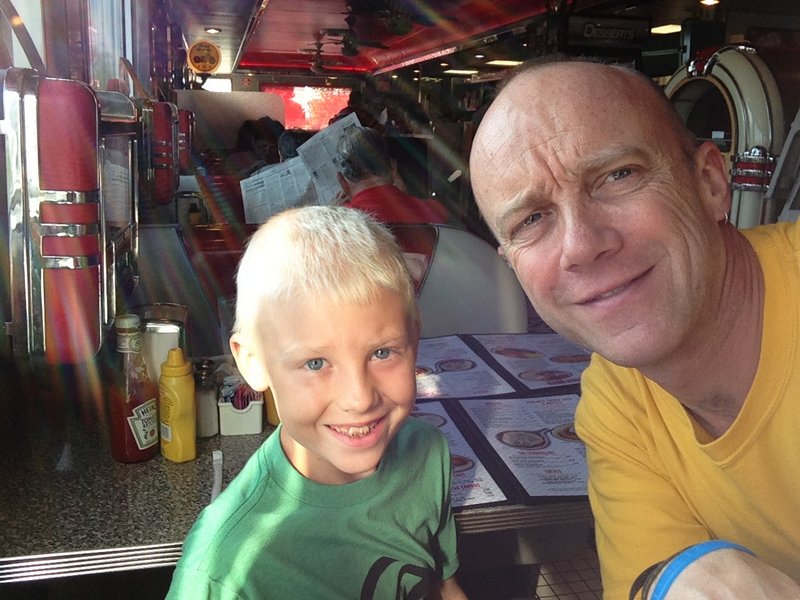
- A most excellent breakfast!
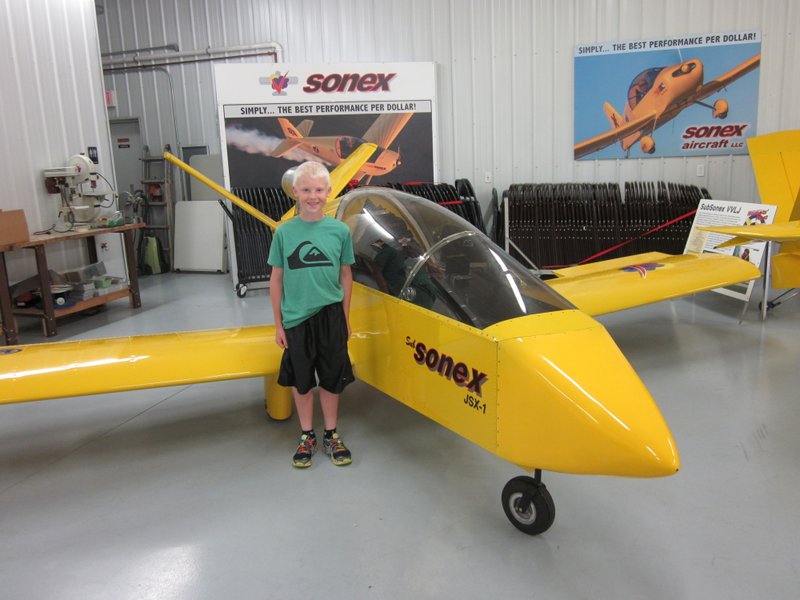
When we arrived at the factory, we had a chance to check out all the Sonex line of aircraft as well as sit in the mock up, by the time I’m done Ross should be able to reach the pedals!
-
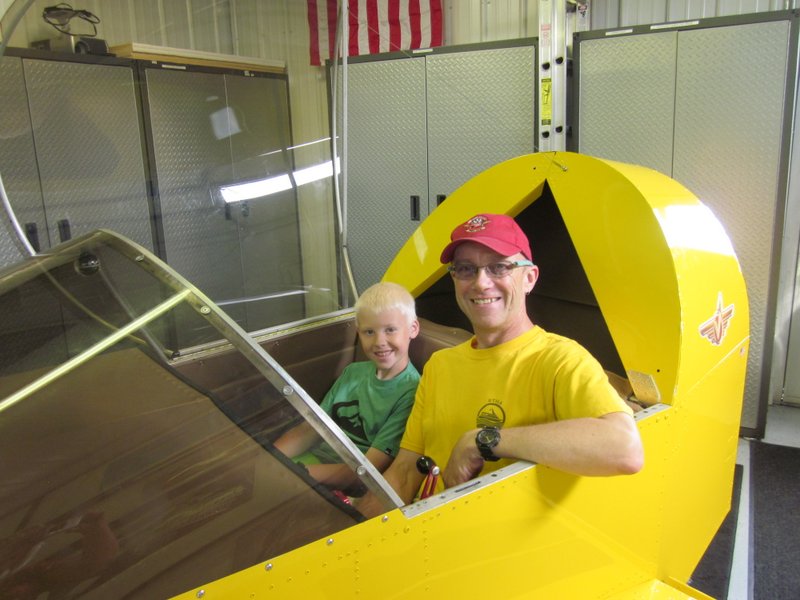
- Trying the mockup for size.
-
- I think this one is Ross’ favorite!
Then we backed the trailer up to the warehouse and a forklift carefully loaded the crate.
-
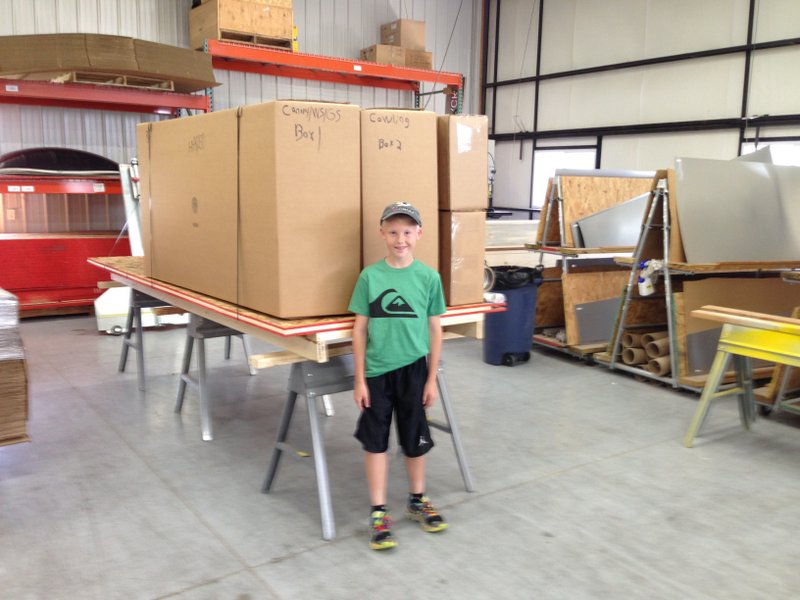
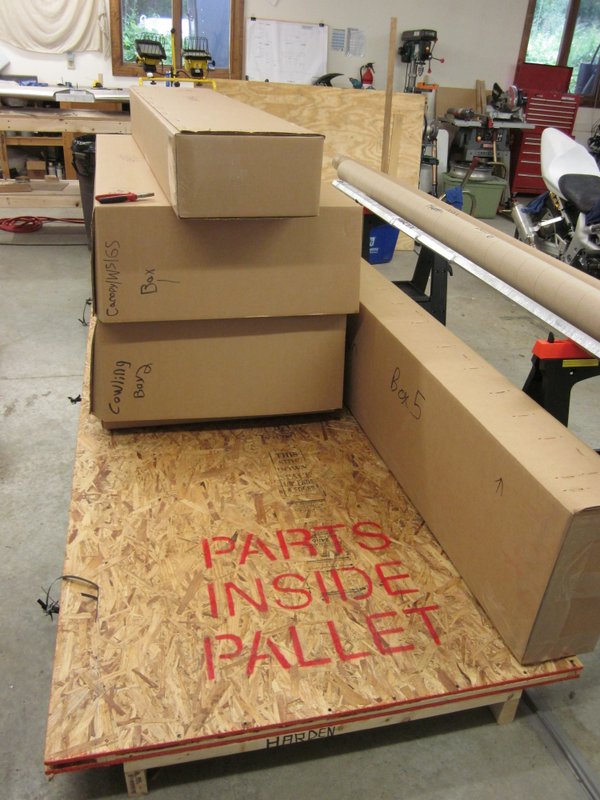
- All the parts packed up and waiting for us.
-
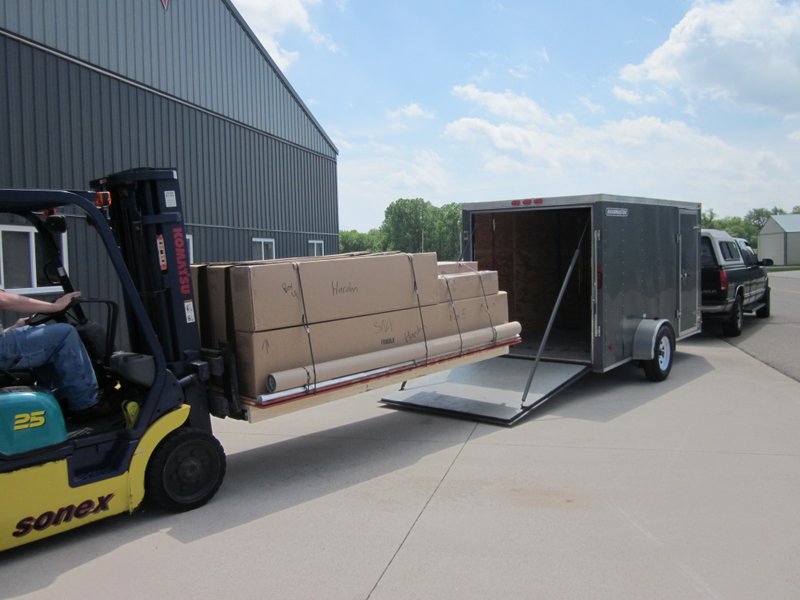
- Made to measure.
All loaded up, we headed for home. The only thing remaining was to stop for ice cream to keep our strength up. A most successful day!

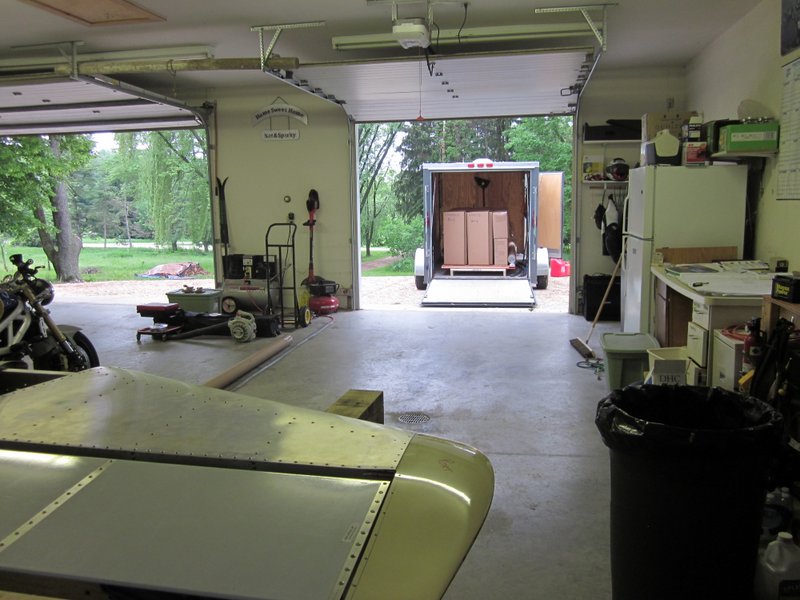
May 31st – I cleared some room in the garage and unloaded the trailer. Got a busy few days coming up so not sure when I’ll get round to inventorying everything.
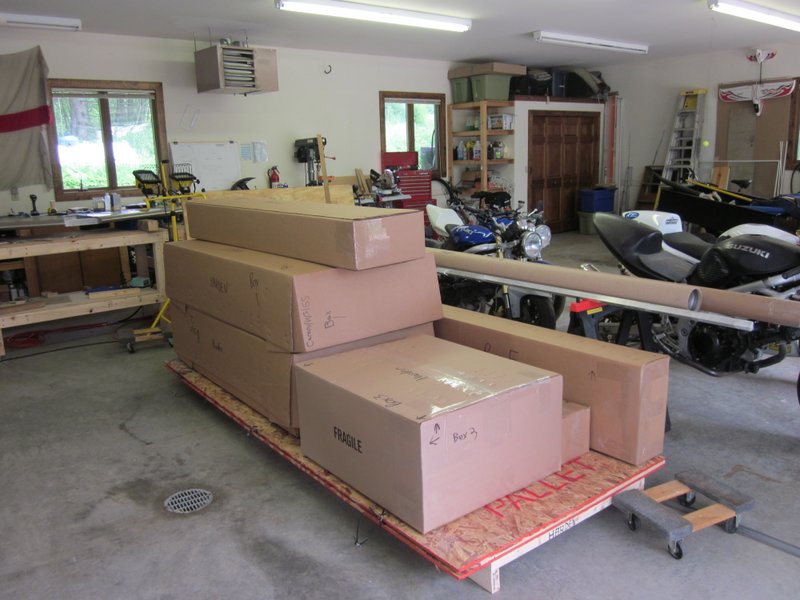
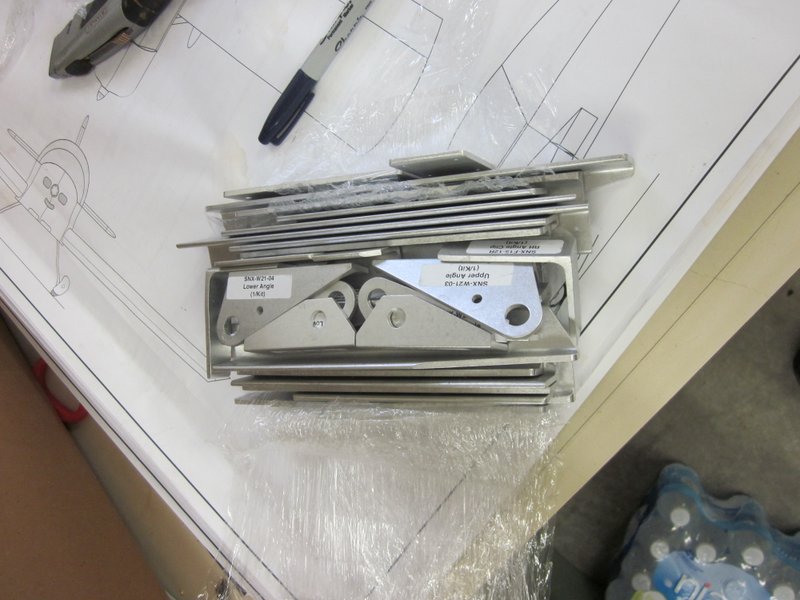
June 15th – Finally got round to inventory. The packing done by Sonex is outstanding, I suppose they do ship kits around the world so it has to be, but everything was well protected and easy to get at, using cling film instead of sticky tape. There are a few pieces on back order but everything else is there, time to finish off the replacement tip and then move ahead with the next section.
June 17th – I had some help today, Ross came over and we completed the replacement Horizontal Tip. He helped set up the laser levels for measuring, watched while I cut the glass fiber and wielded the cleco pliers as needed.
-
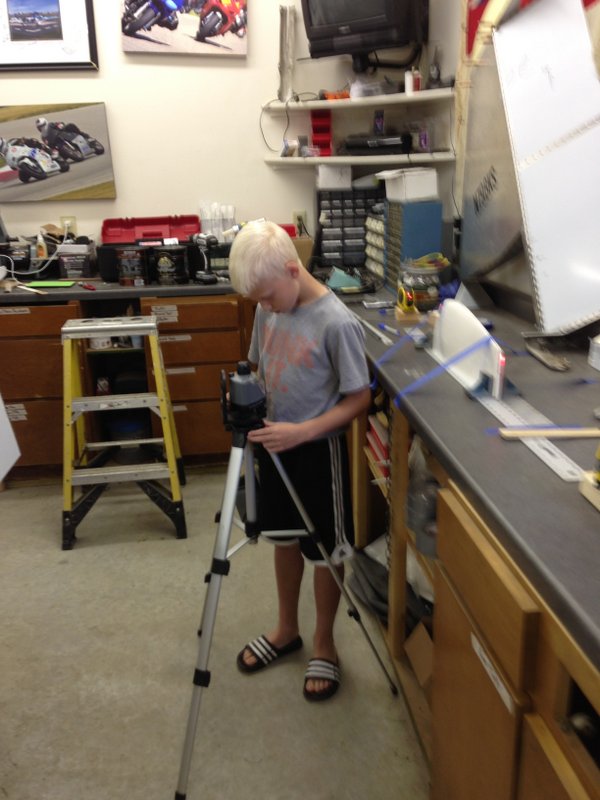
- Setting up the laser.
-
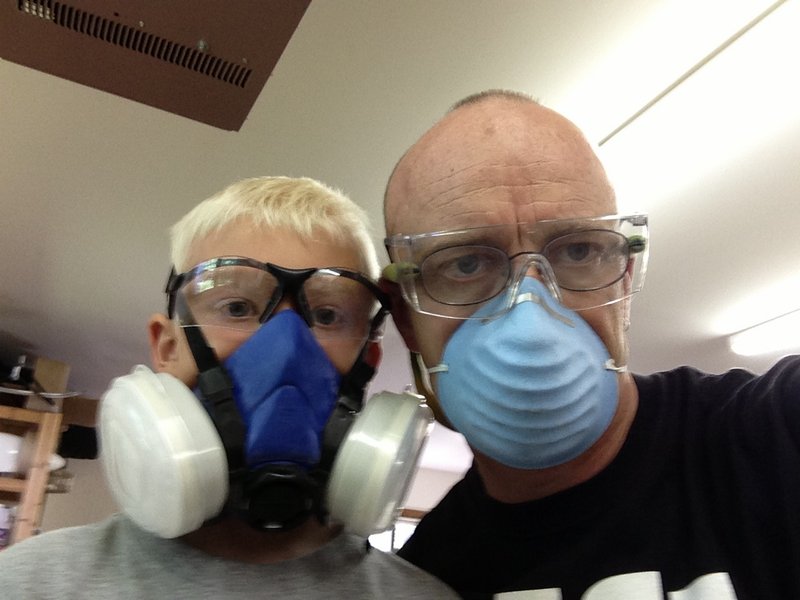
- Correct protective gear.
-
- Cleco Master.
-
- That’s better!
So that’s the tips complete. Next I have to build some storage for all the parts then I’ll be getting going on the fuselage.