
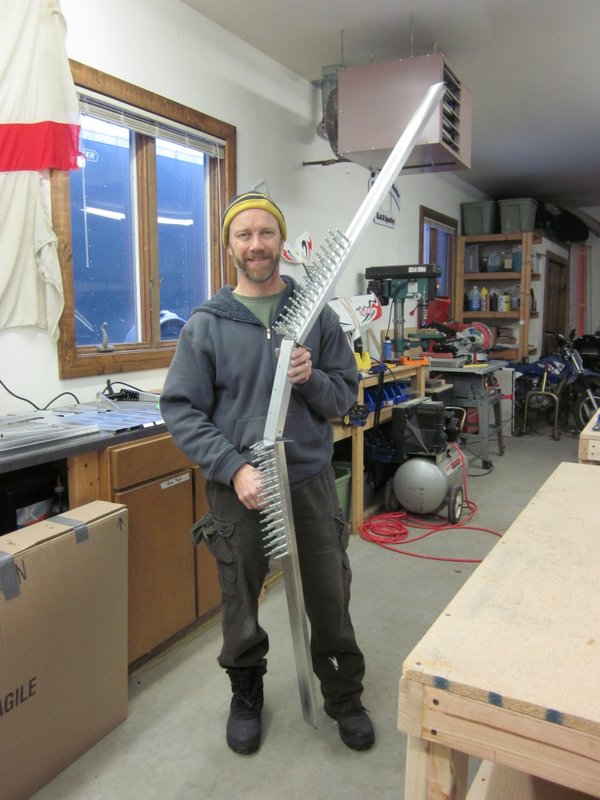
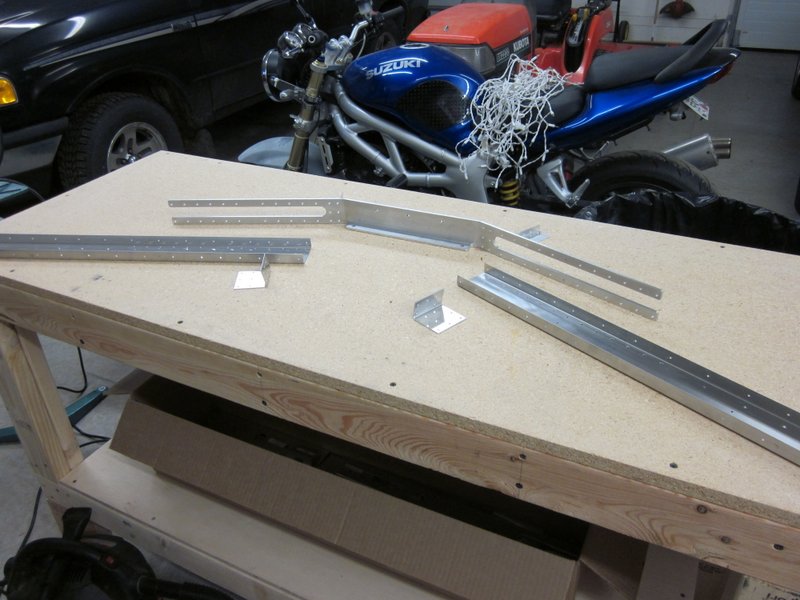
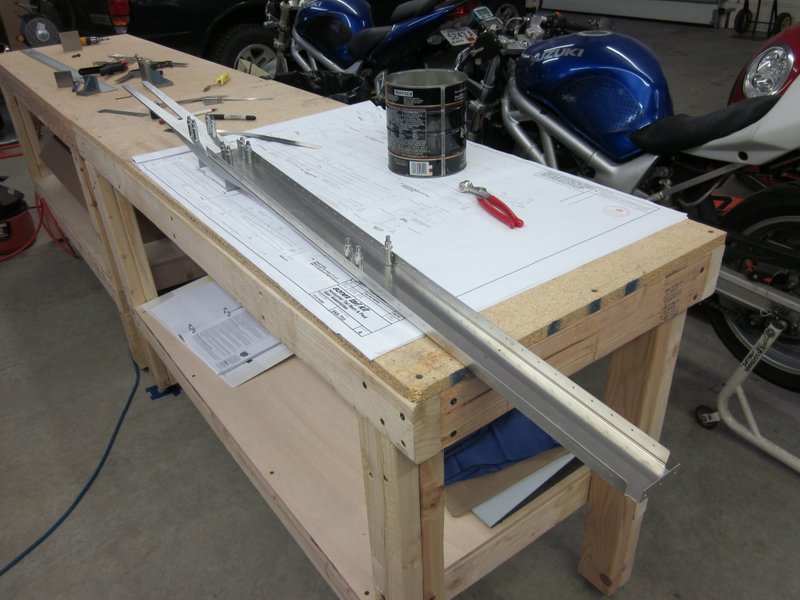
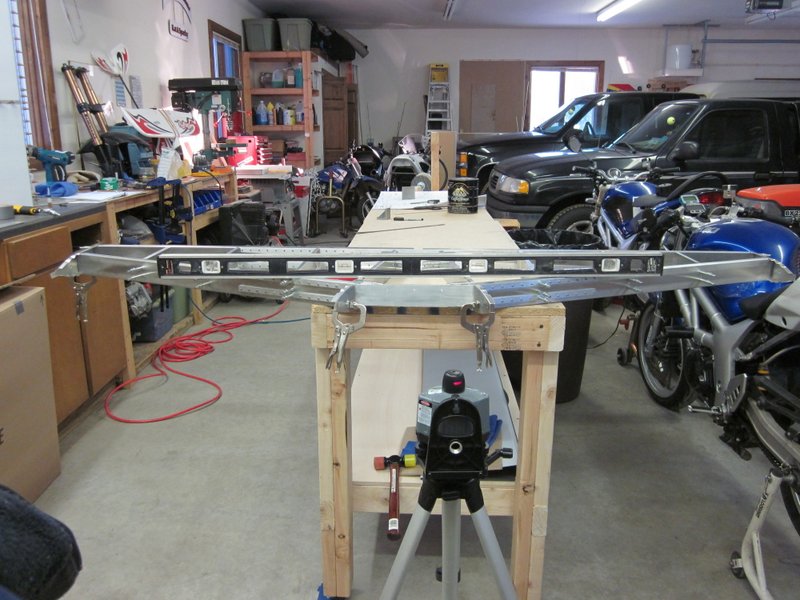
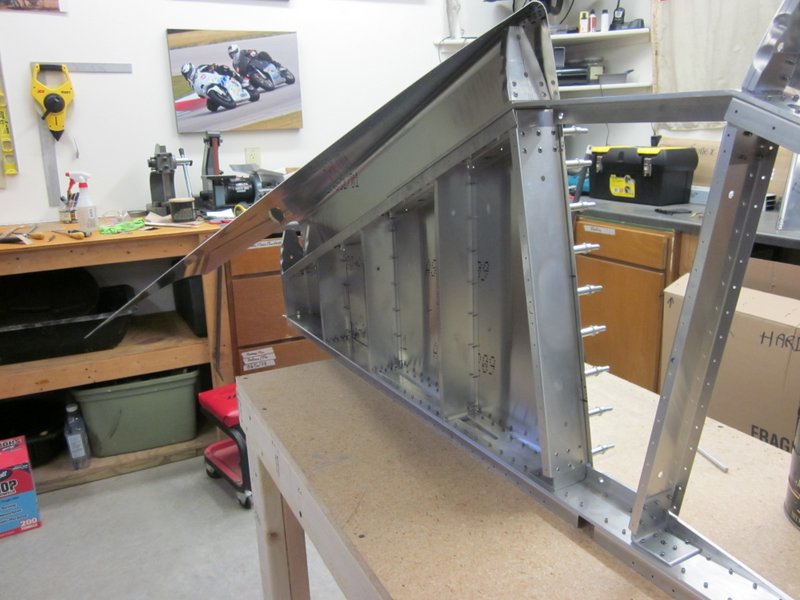
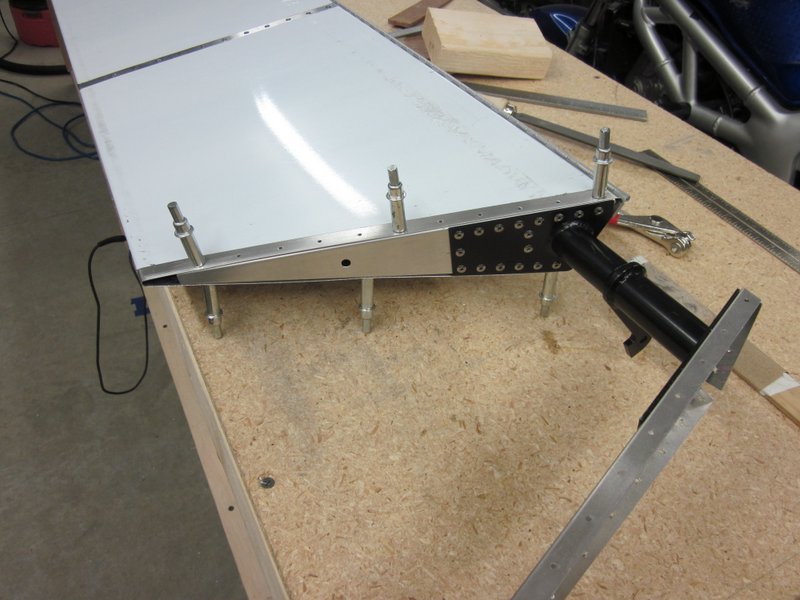
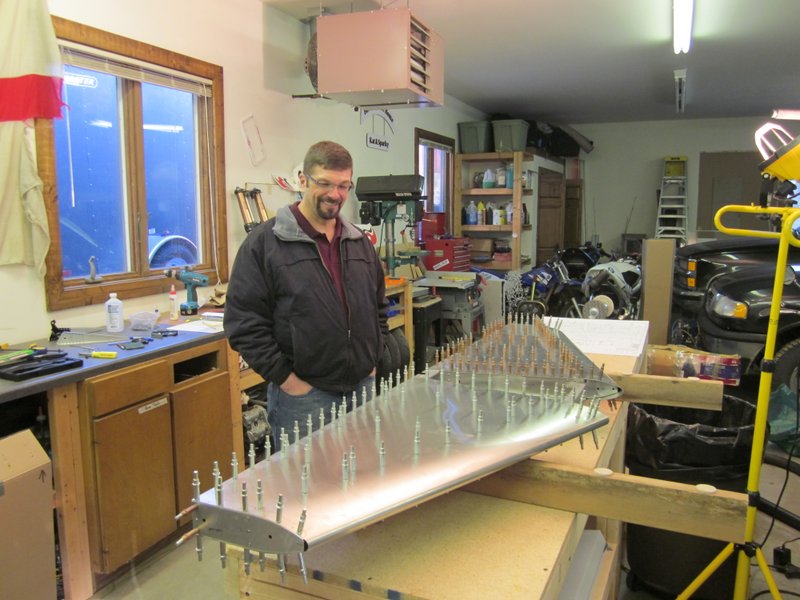
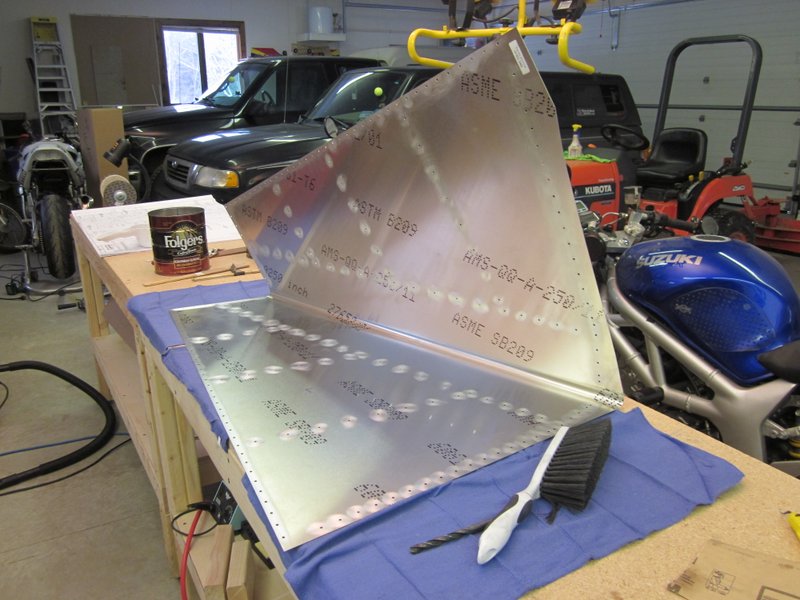
Dec 11th – Started work on the Forward Spar, clecoed everything together.
-
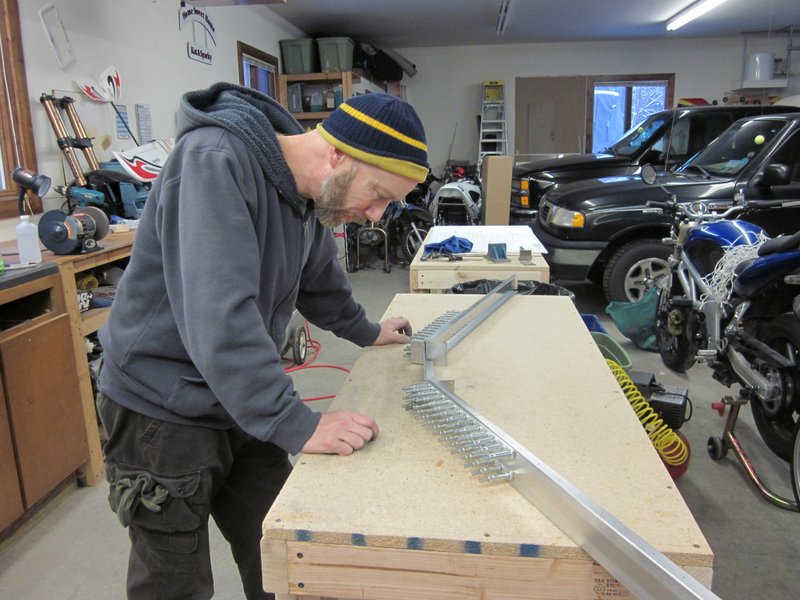
- Looks about right!
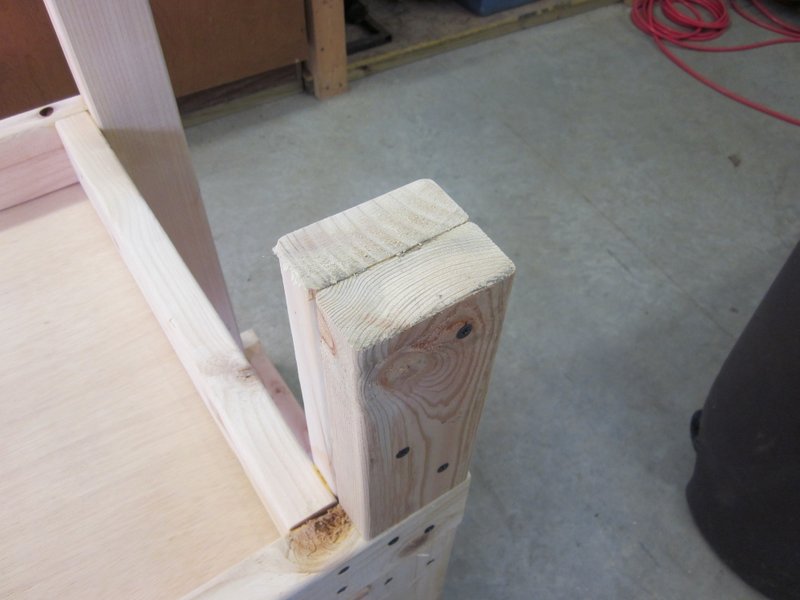
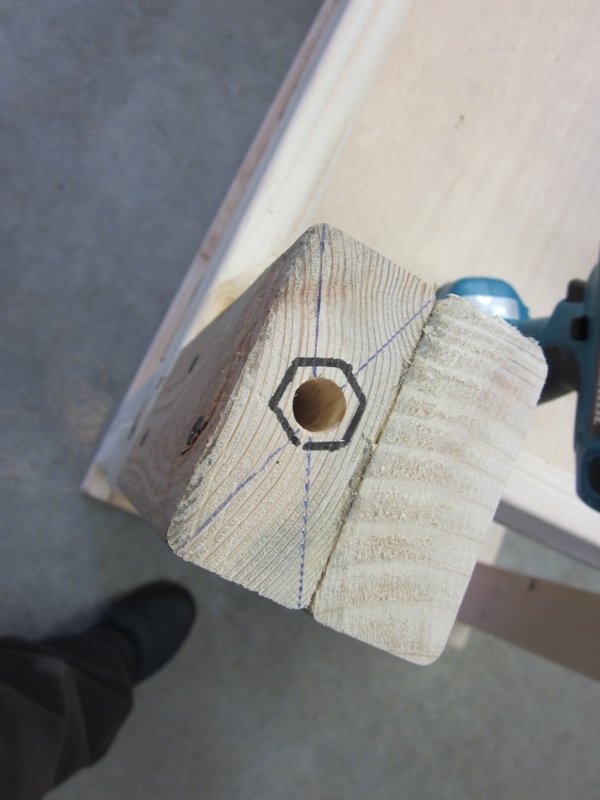
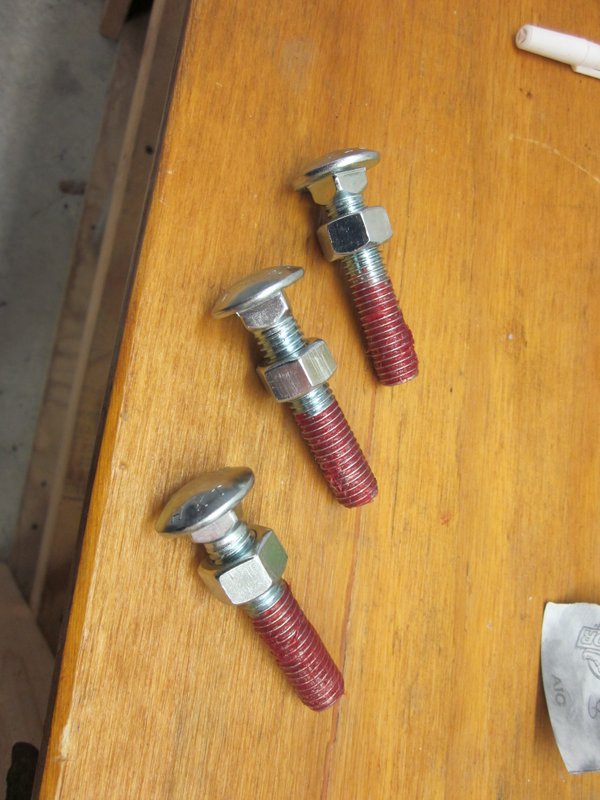
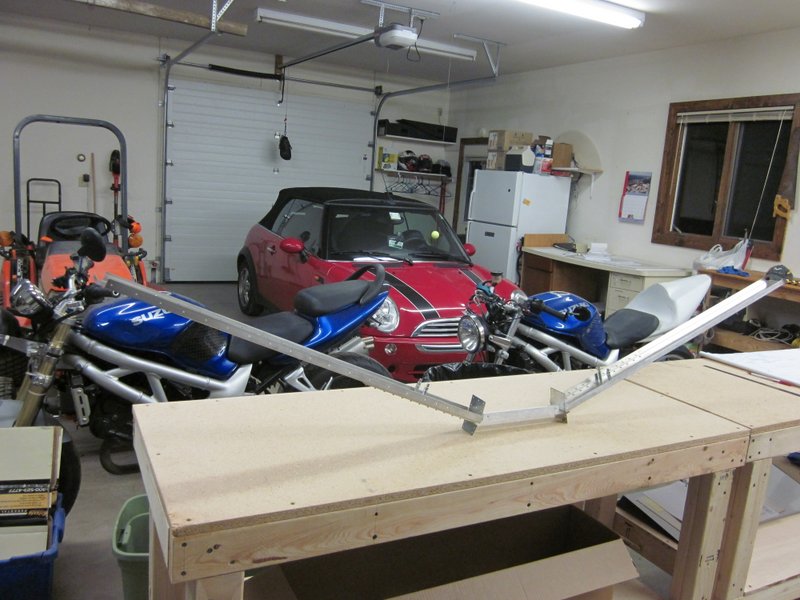
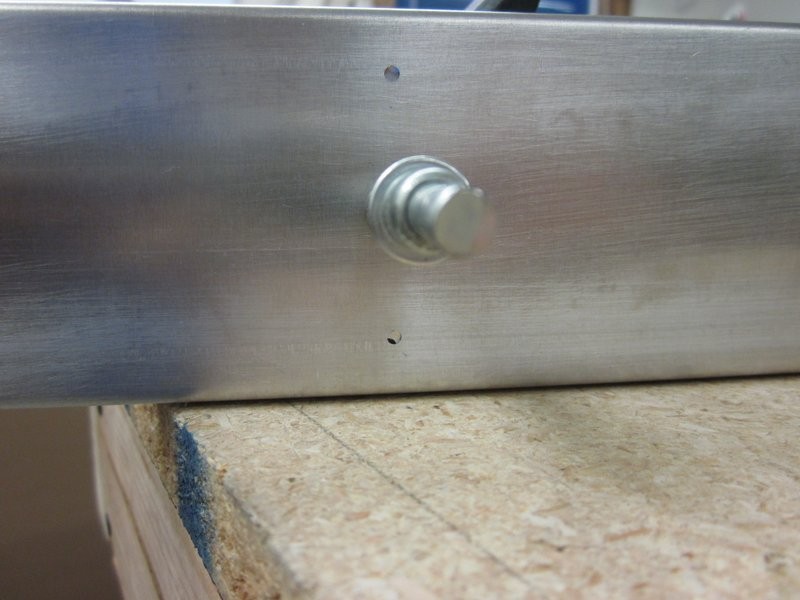
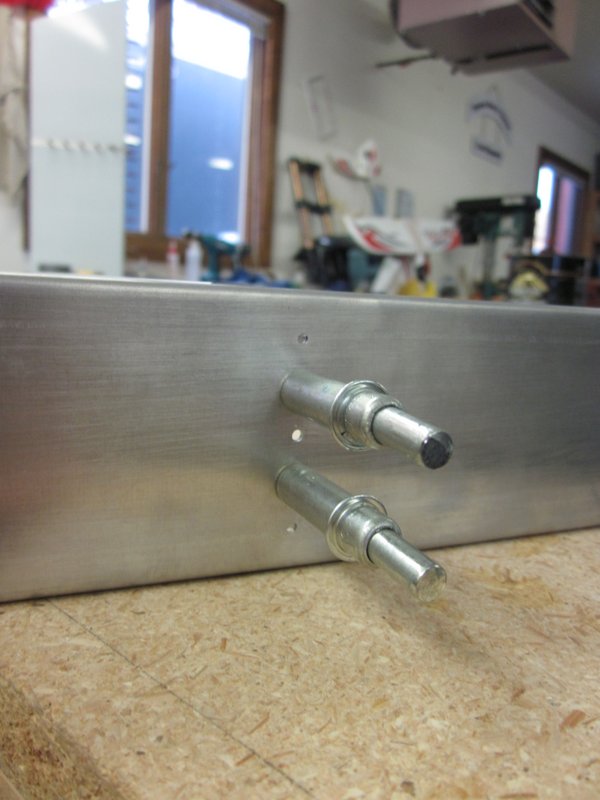
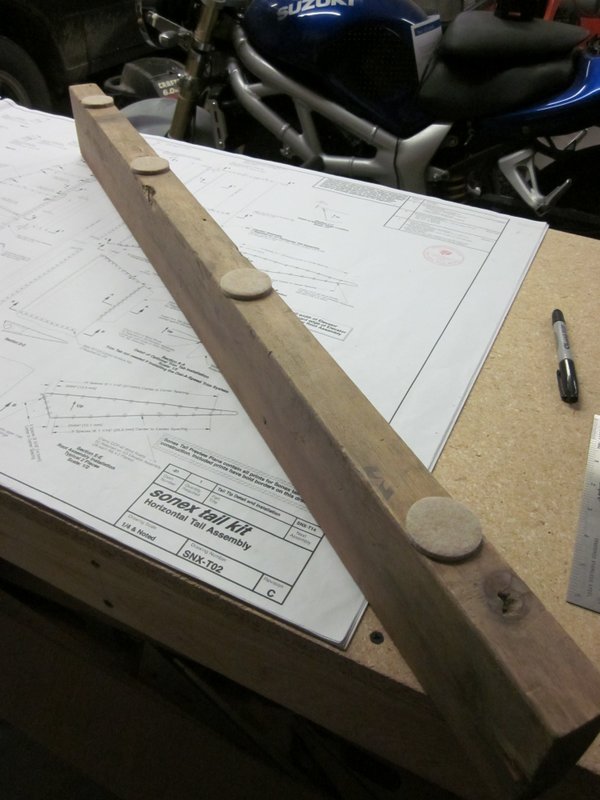
Dec 12/13 – Took a break from airplane construction to work on the benches. The garage floor is pitched to run water to a floor drain so I had shimmed the legs to stabilize the benches. I saw on another build site a way to make the legs adjustable using Lag Bolts so I copied it.
-

- Original shimmed leg.
-
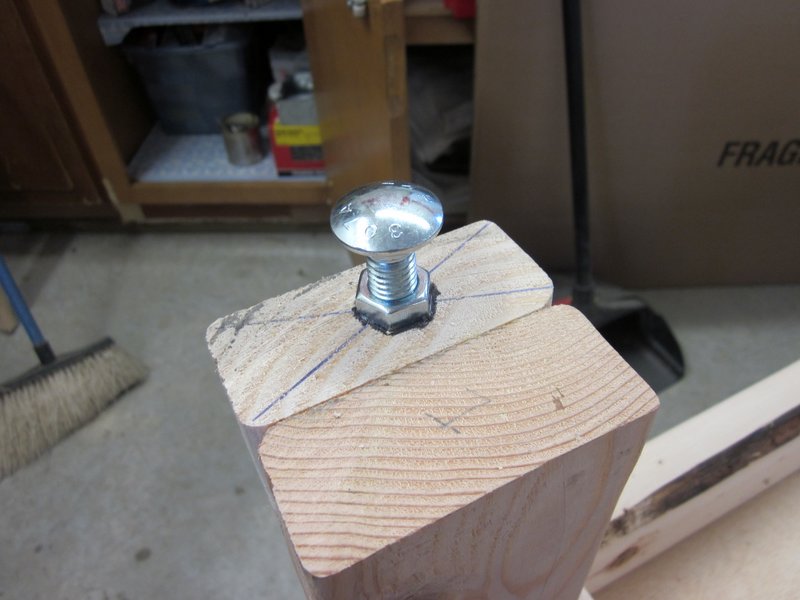
- Nut position marked.
-
- Greased to stop glue from sticking to the threads.
-
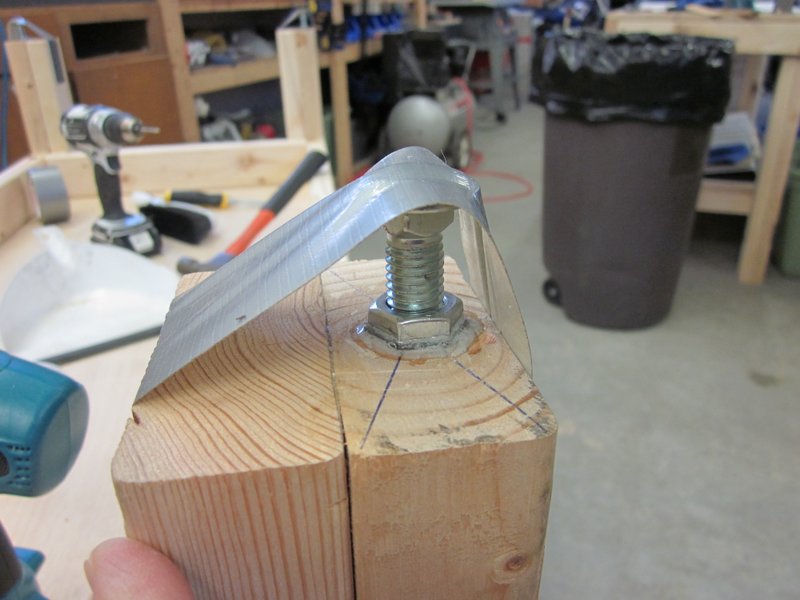
- Glued and taped.
-

- Glue set, bolt and lock nut in place.
-
- Should work!
-
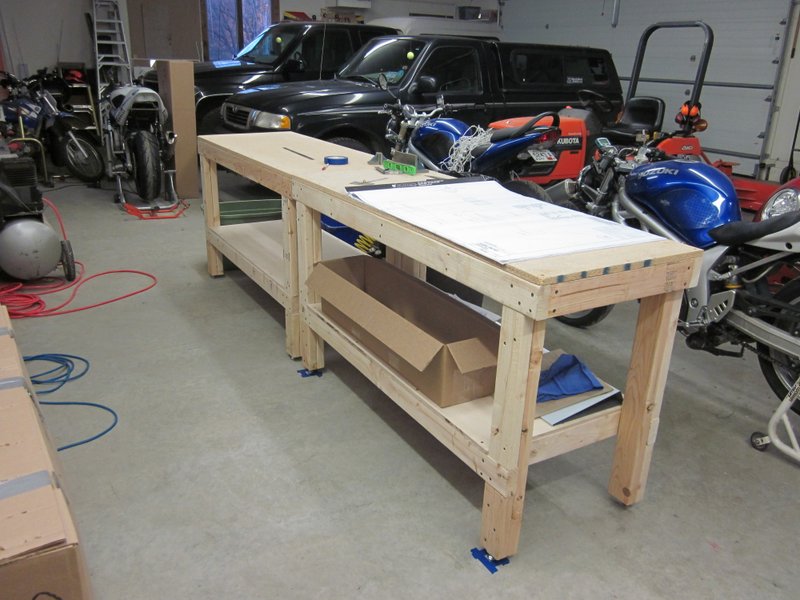
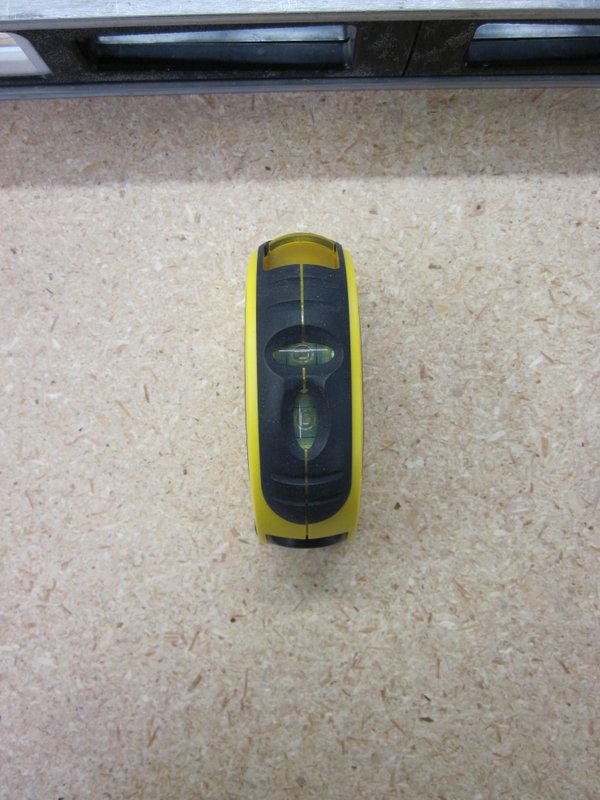
- Two level benches.
I used Gorilla Glue which is strong but seems a little flexible, I may try re-gluing using 30 minute epoxy instead.
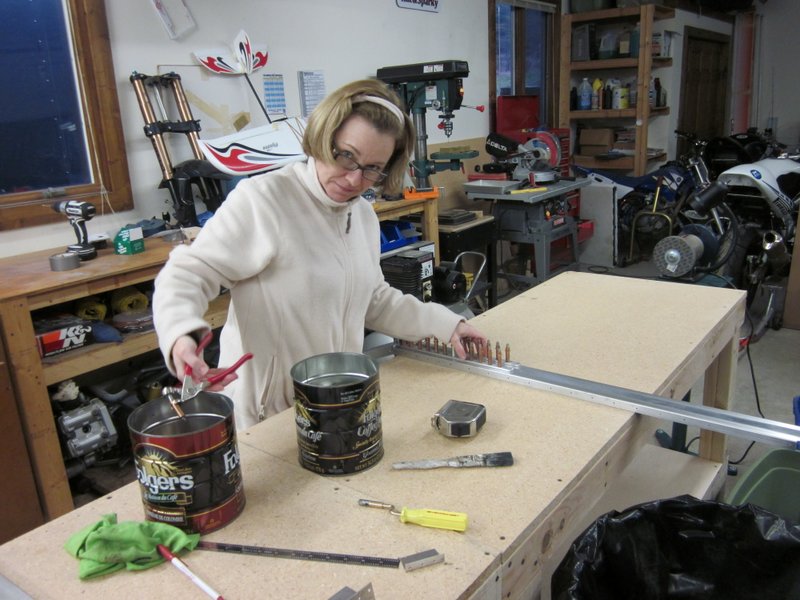
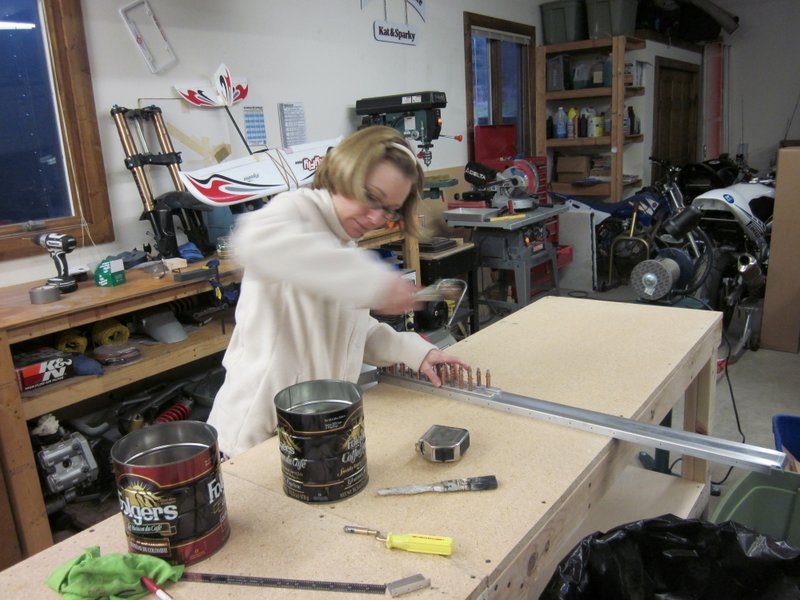
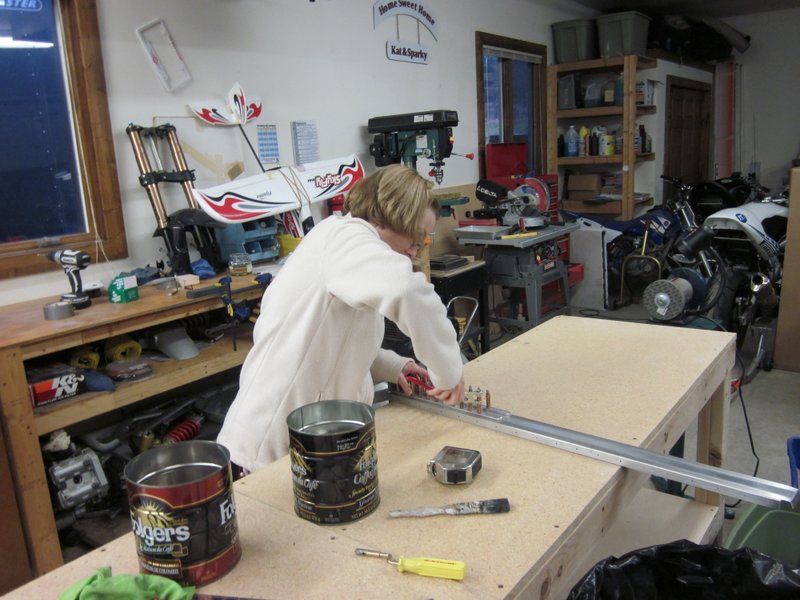
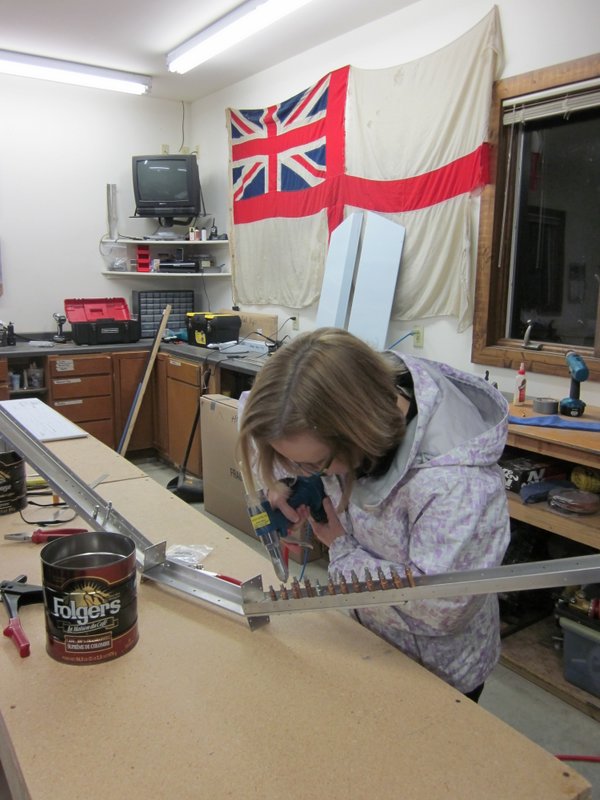
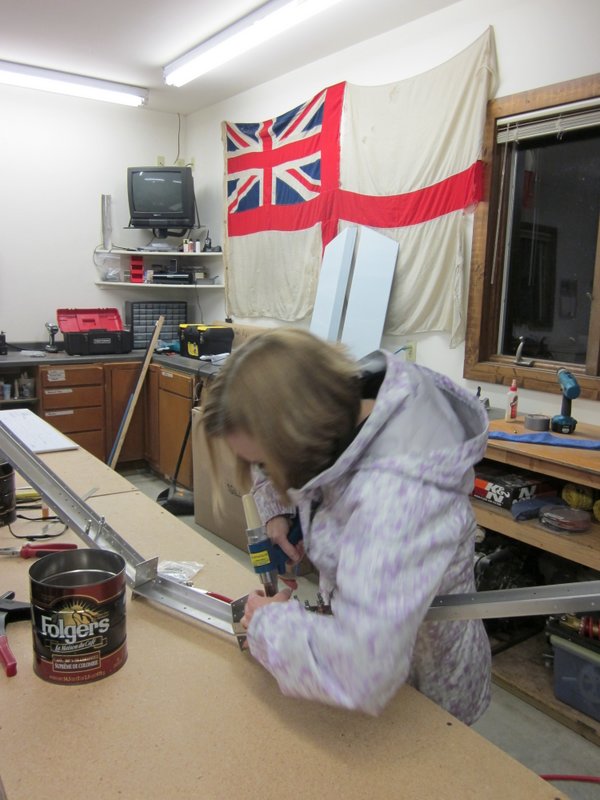
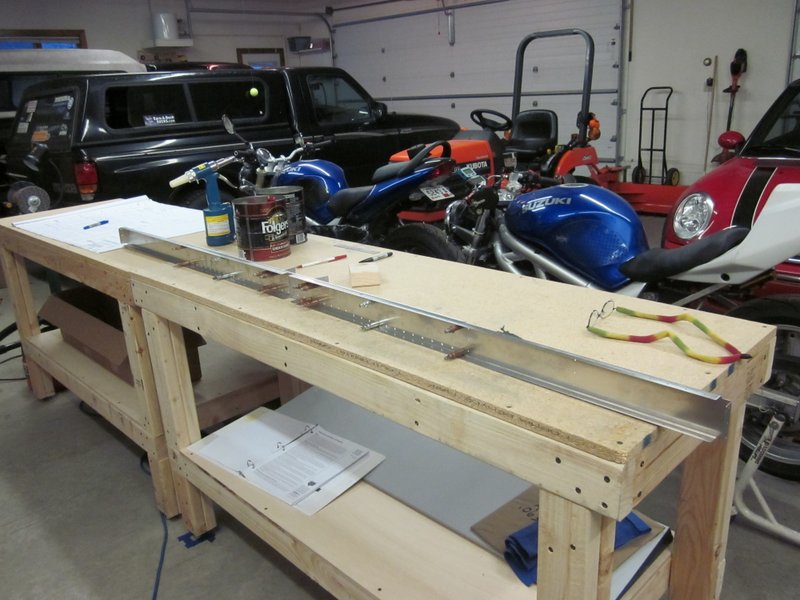
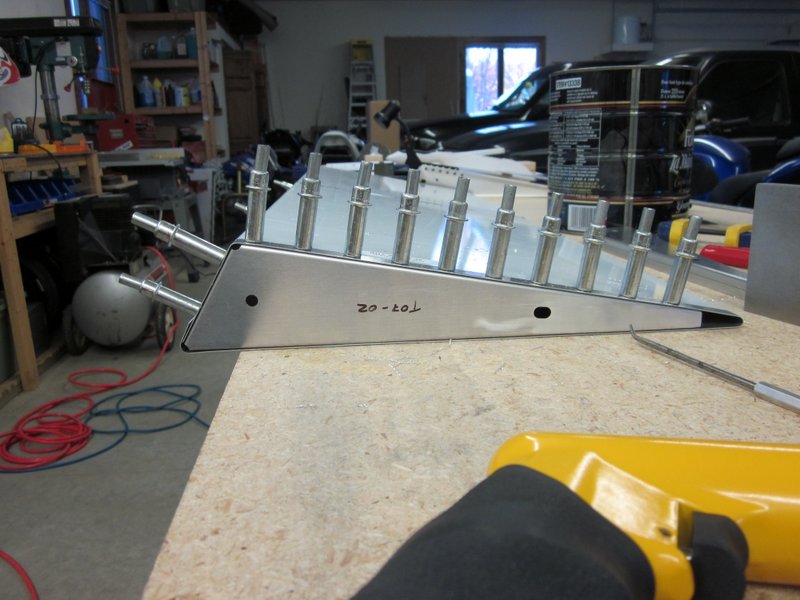
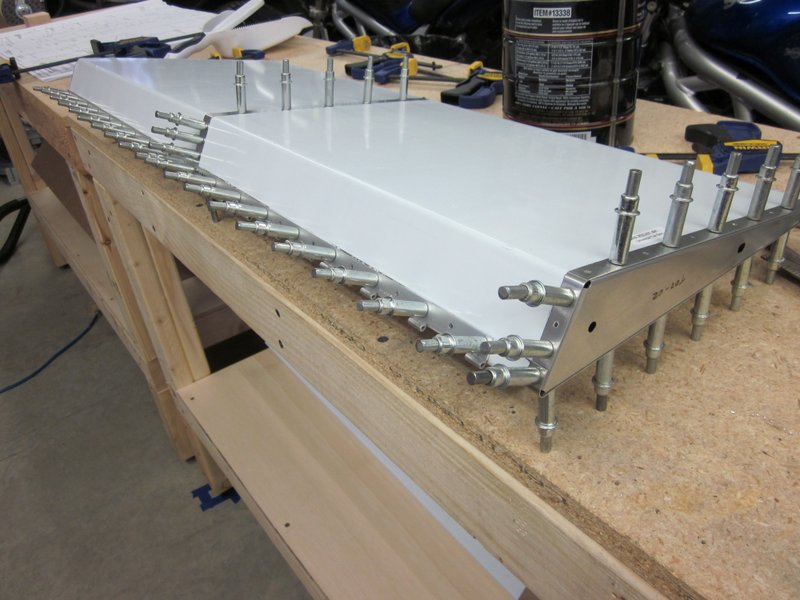
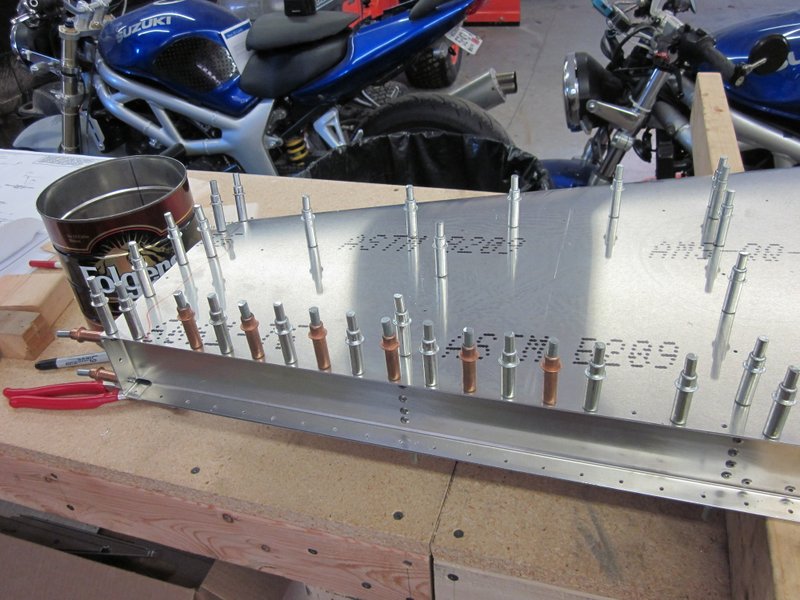
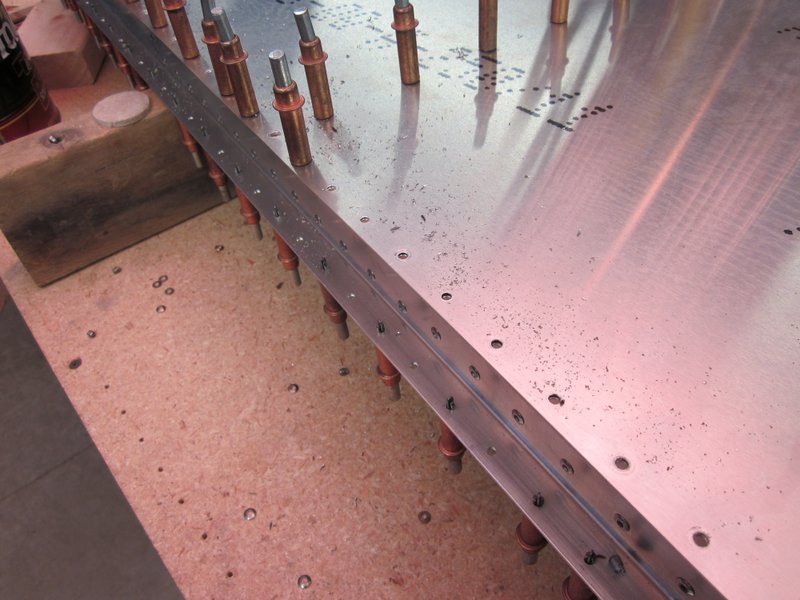
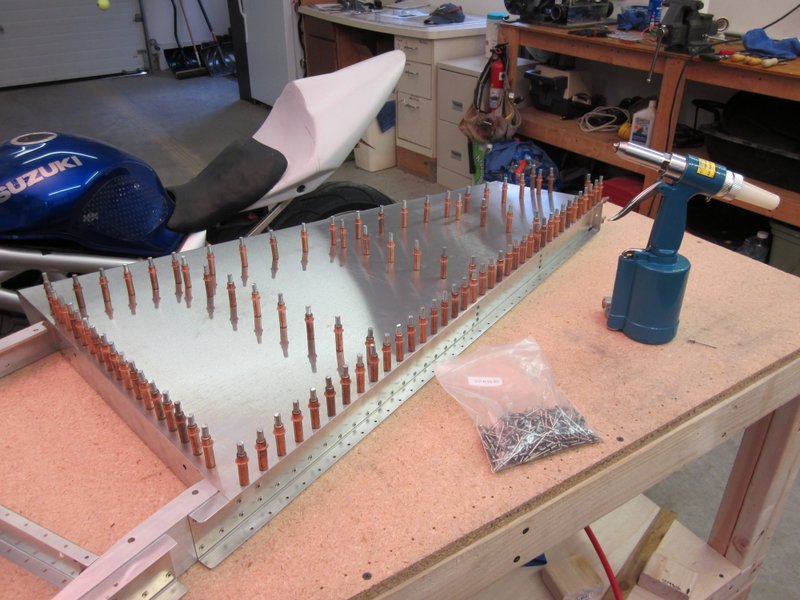
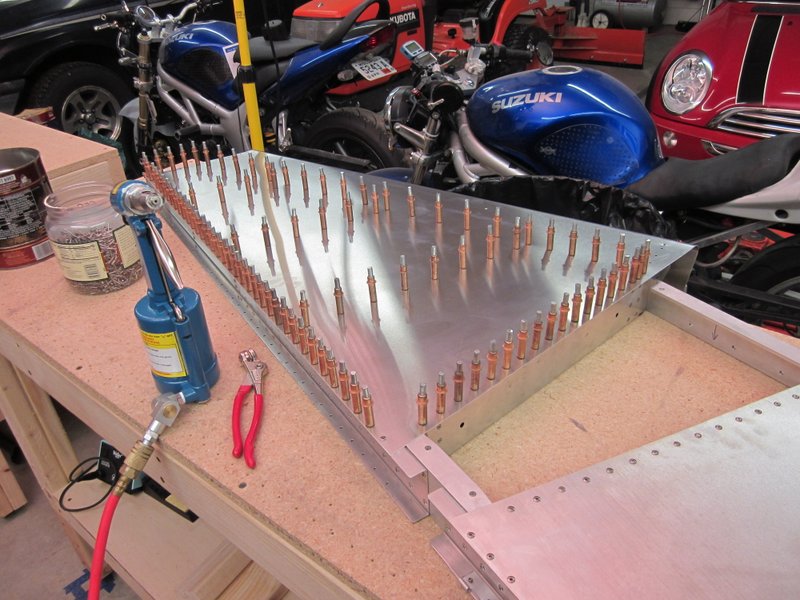
Dec 16th – Back on construction today, had a visit from the Cleco Queen and ended up with all parts for the front spar updrilled, deburred and ready for riveting.
-
- The Cleco Queen….
-
- …moves….
-
- …at high speed!
-
- Deburred and ready to rivet.
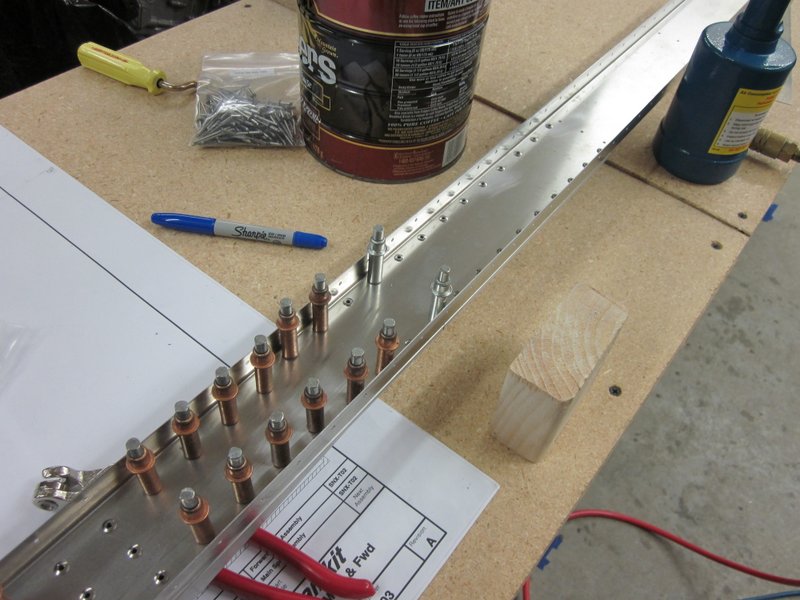
Dec 18th – Started the riveting process. I misread the instructions and put a couple of rivets in that were the wrong length. They didn’t sit right and after checking both the drawing and the label on the bag of rivets, I realized I had used CCP-42’s instead of CCP-44’s.
Quick lesson on rivet Identification codes: 1st letter is rivet material, 2nd letter is mandrel material (the mandrel is the long stem that fits in the tool and is pulled to set the rivet), 3rd letter is the head style, 1st number is rivet diameter in 32nds of an inch and the 2nd number is rivet length in 16ths of an inch. So, CCP-44’s are Stainless Steel body, Stainless Steel mandrel, Protruding Head, 1/8″ diameter, 1/4″long.
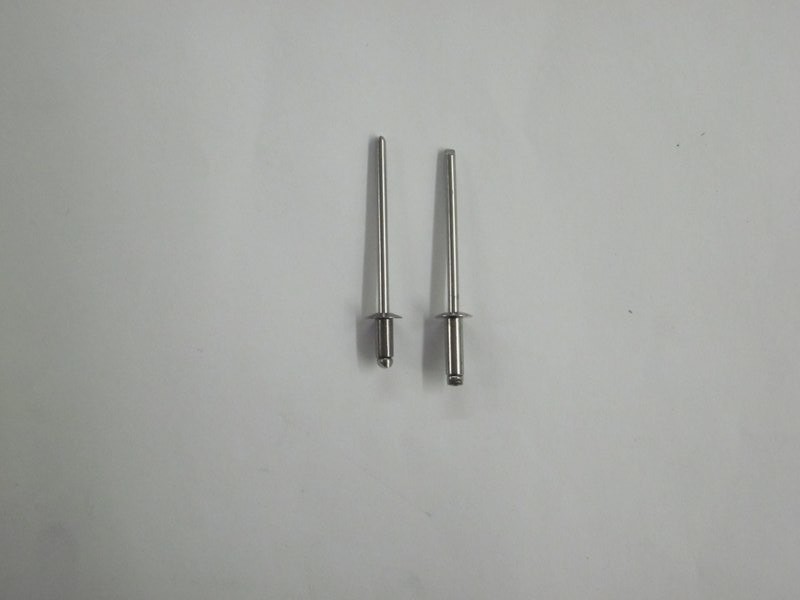
CCP-42 vs CCP-44
I drilled out the 42’s and replaced them with 44’s. The next snag was that the head of the rivet gun would not fit flush on the rivets so I ground the nose piece down. Once again, not my idea but one I copied from another build log that I read.
-

- Problem……
-
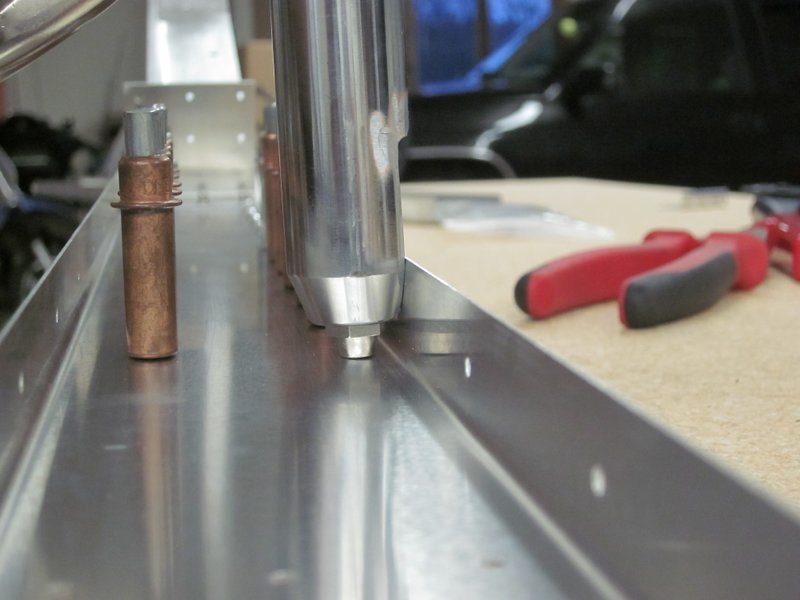
- …..solved!
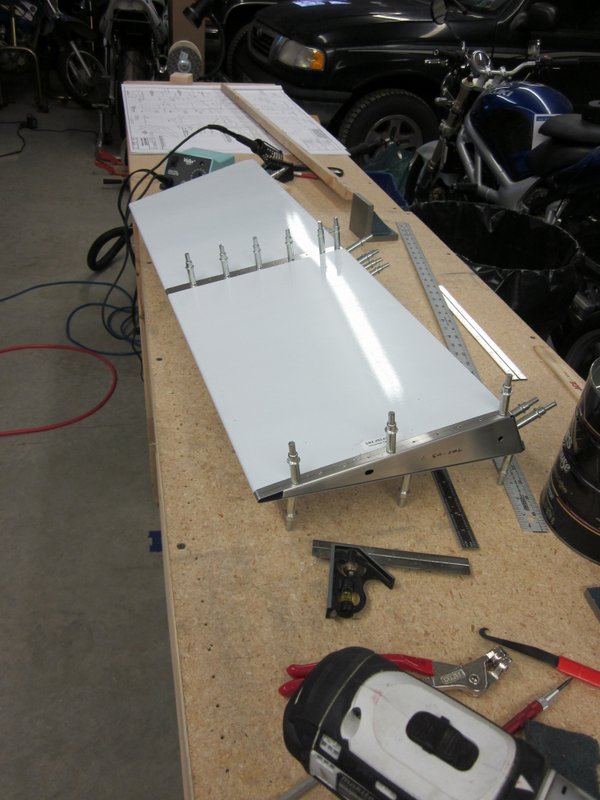
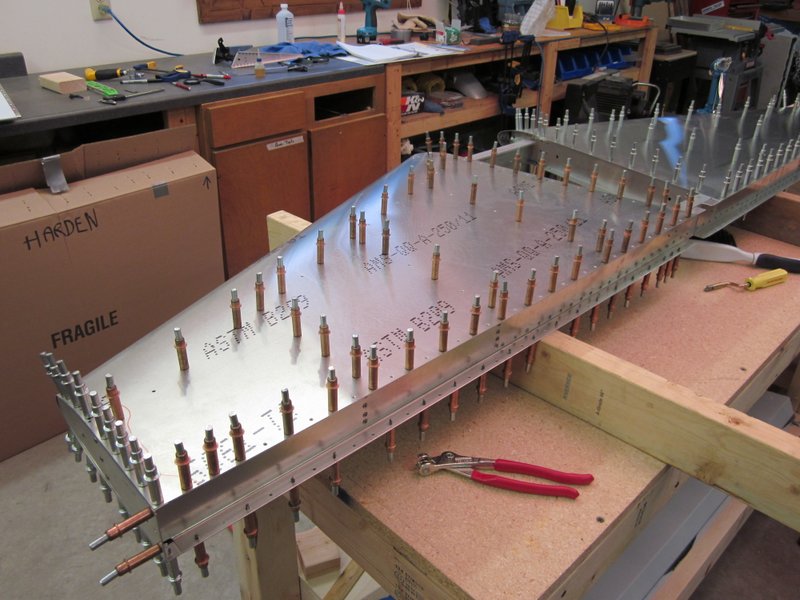
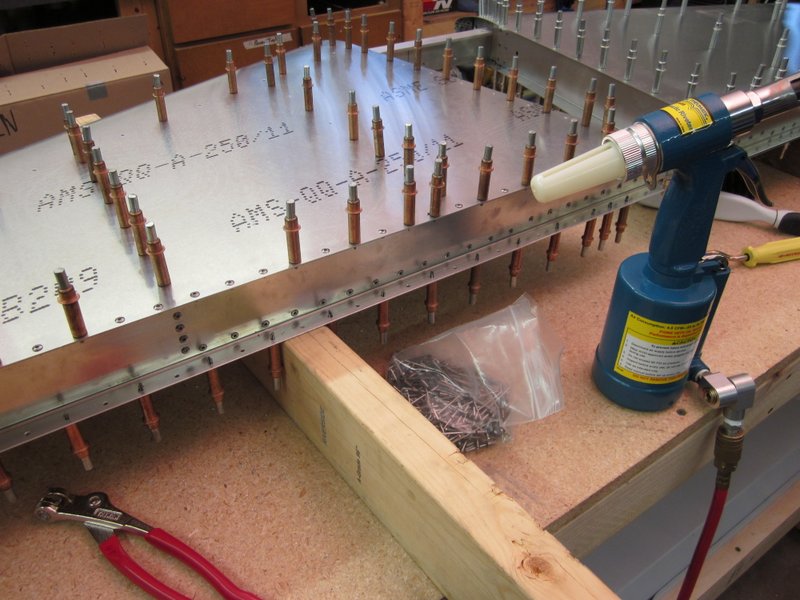
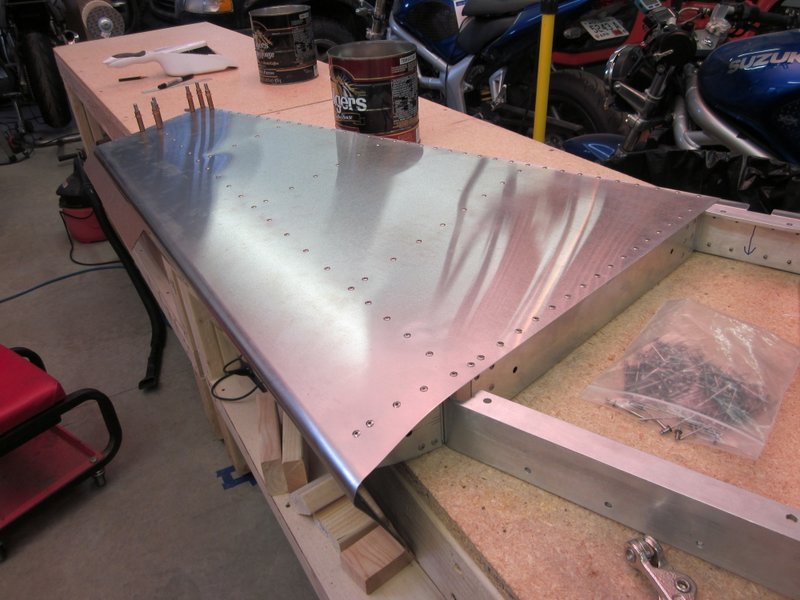
With the correct size rivets and modified tool I finished one side, then Kat came home and between us we finished the Front Spar Assembly.
-
- First side done
-

- Second side clecoed
-

- Cleco out…..
-

- …rivet in…..
-
- …gun in place…..
-
- …setting the rivet.
-
- All done.
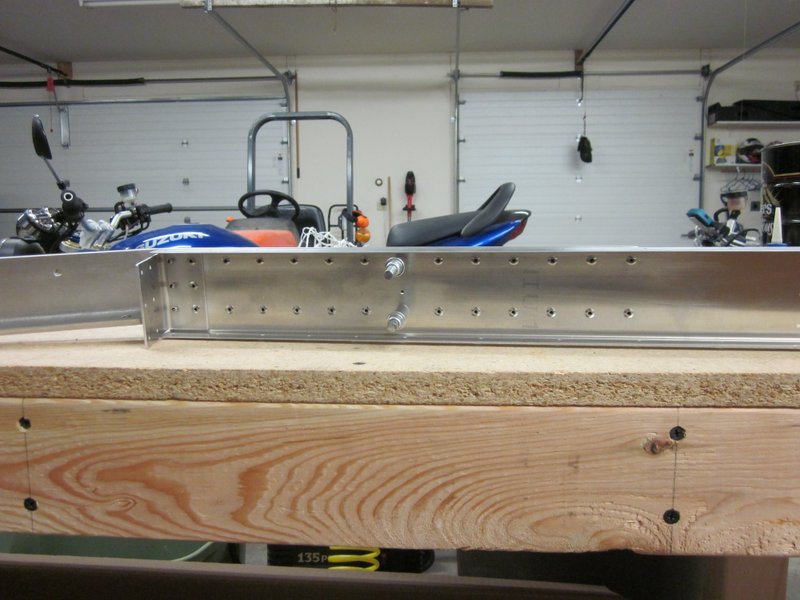
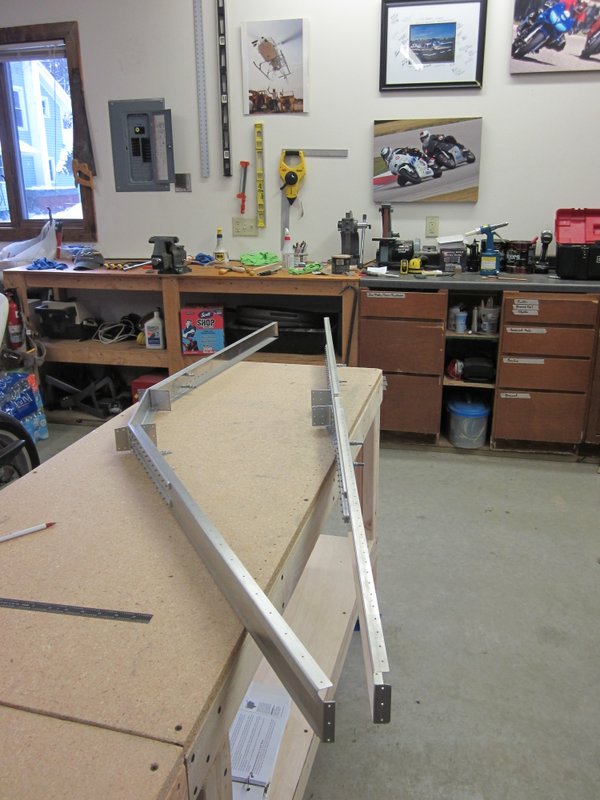
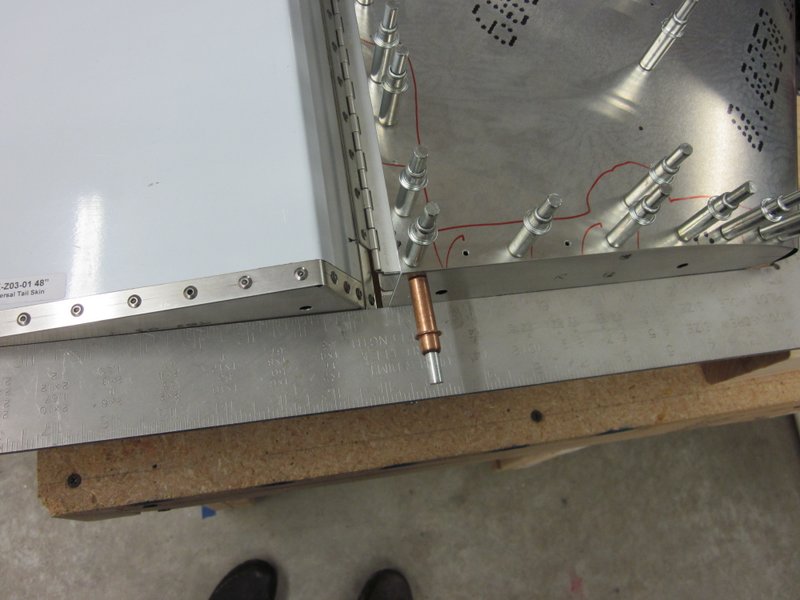
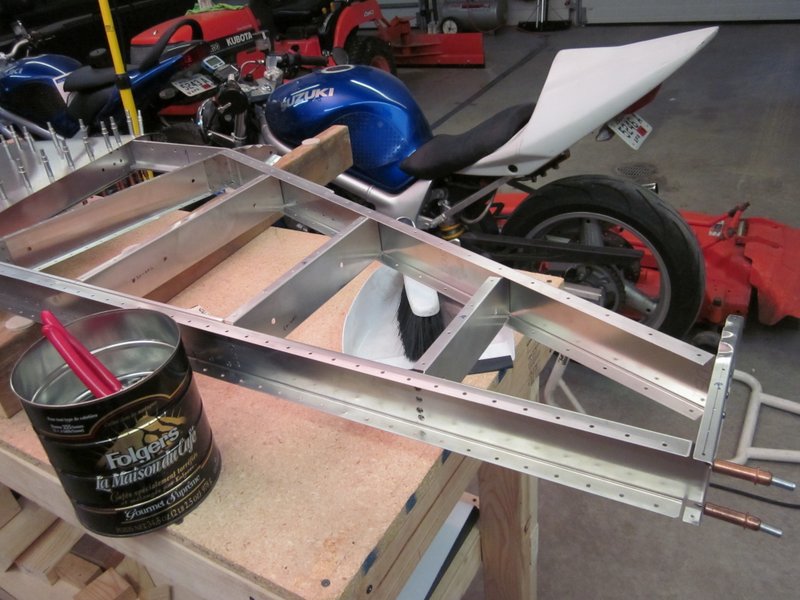
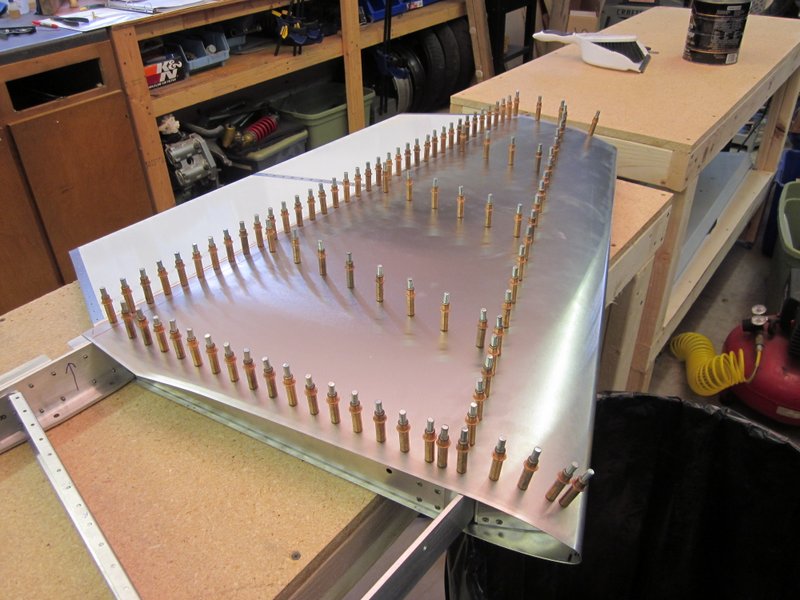
Dec 20th – Started on the main spar. Spent a lot of time measuring to make certain the clips were in the right place before committing to drilling holes in them.
-
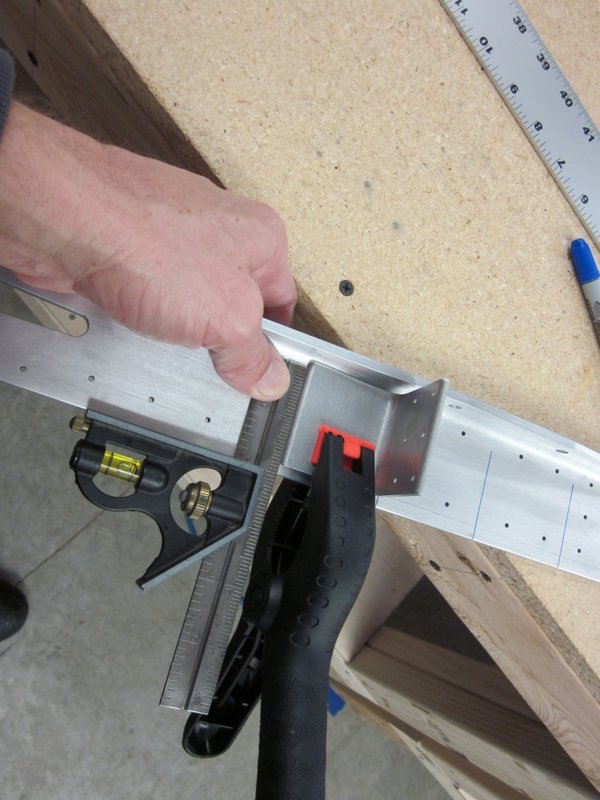
- Measuring position for the clips
-

- Clips located, drilled and clecoed.
Then it’s just a case of more updrilling, deburring and riveting. Nearly finished one side in between plowing the driveway during our 19″ of snow today!
-
- Starting assembly.
-

- #40 clecos.
-

- Updrilled to #30’s.
-
- Assembly after deburring.
-
- Rivets going in.
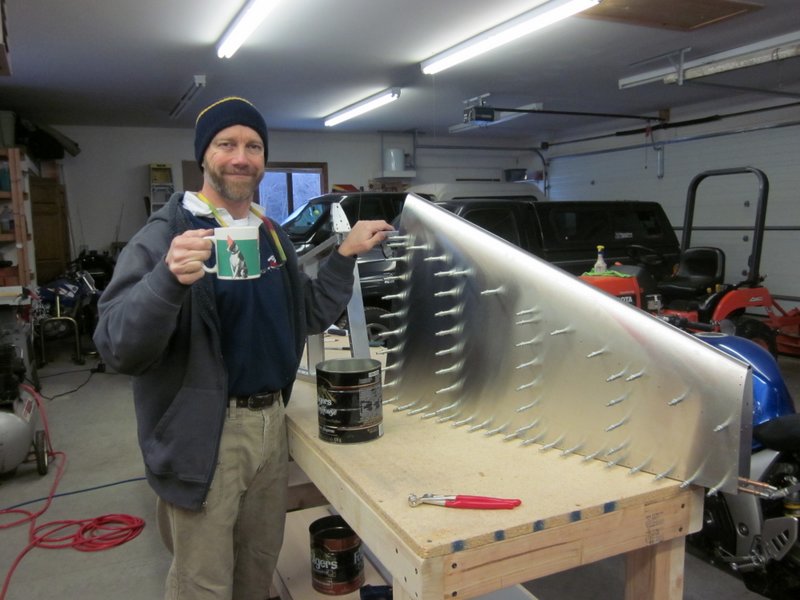
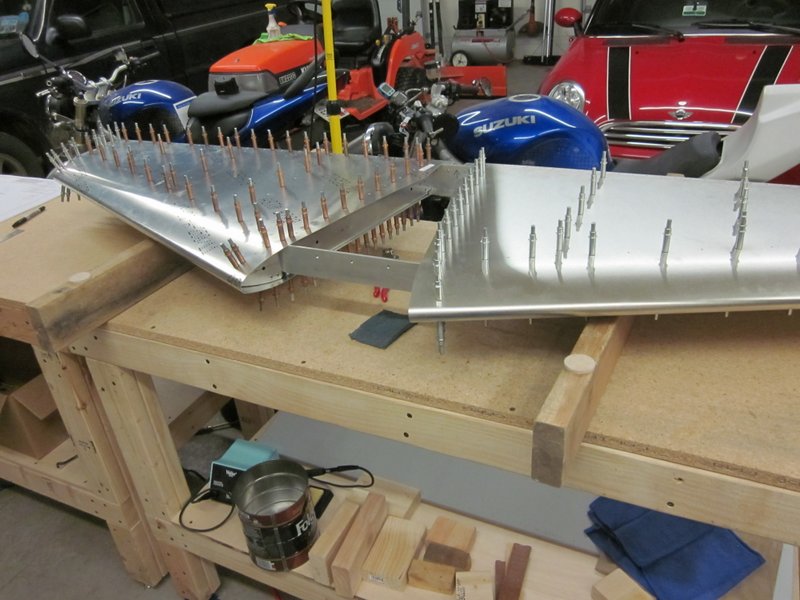
Dec 30th – Back in the garage after a week of day shifts and our resultant delayed Christmas celebration. I got a very nice picture of Kat at the track which is now hung on the “Hero Shot” wall.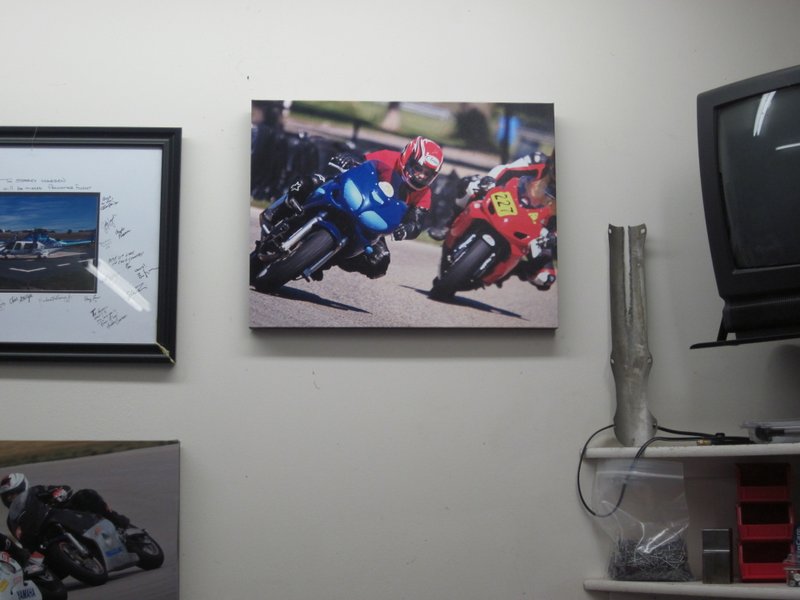
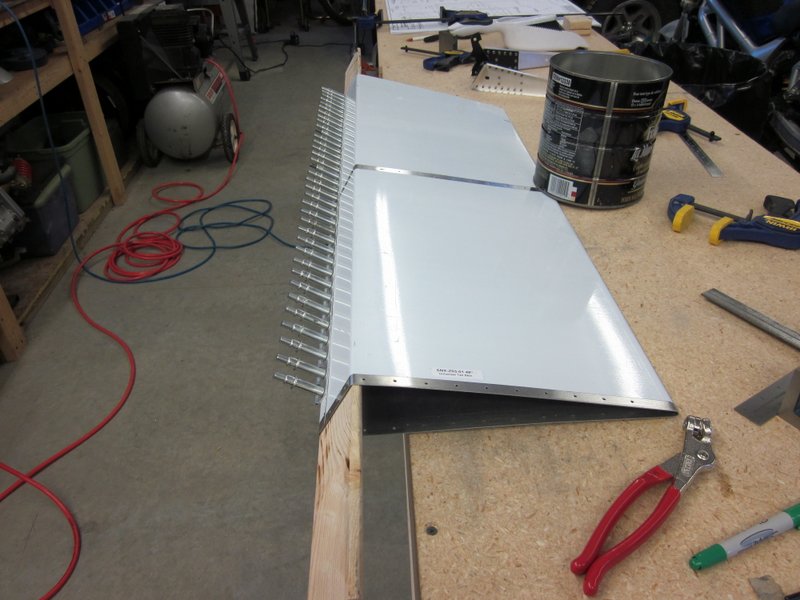
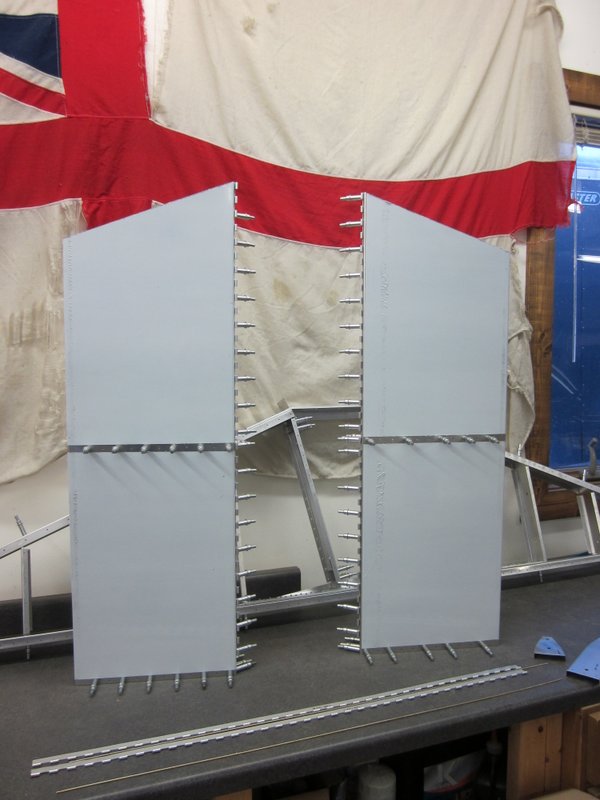
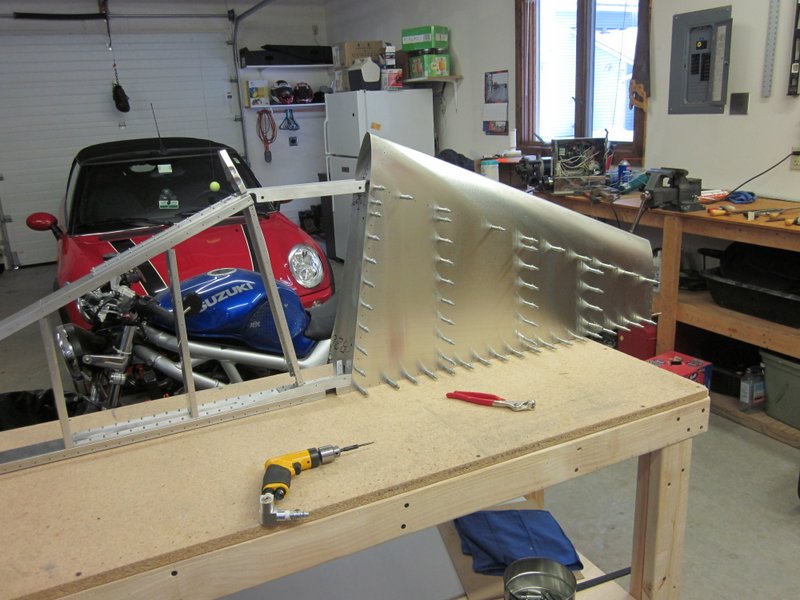
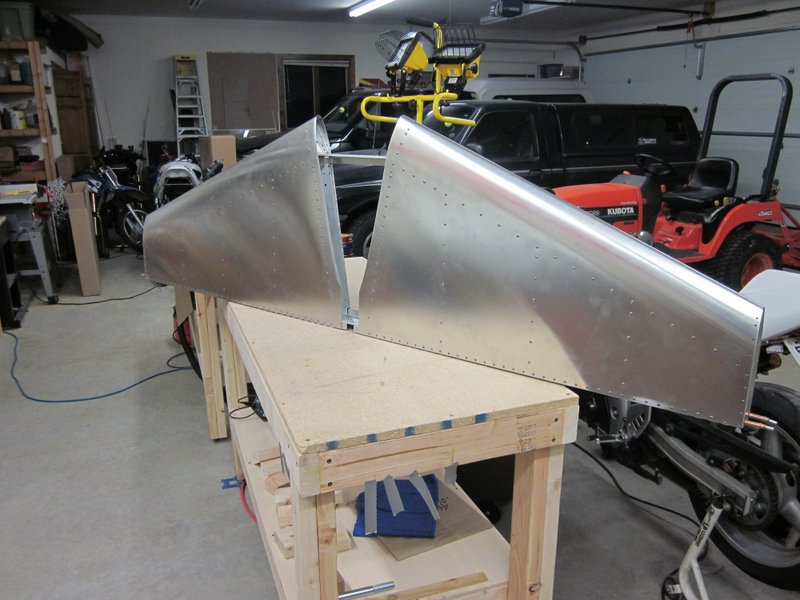
I finished riveting the Main Spar and started to cleco together the Tailplane. Everything was coming together nicely until I tried to line up the outside two ribs on either side. The center holes are good but the other holes are quite a long way out, more than what would be taken up by updrilling in my opinion. I will be sending some photos to the Sonex people to see what they think would be the best next step.
-
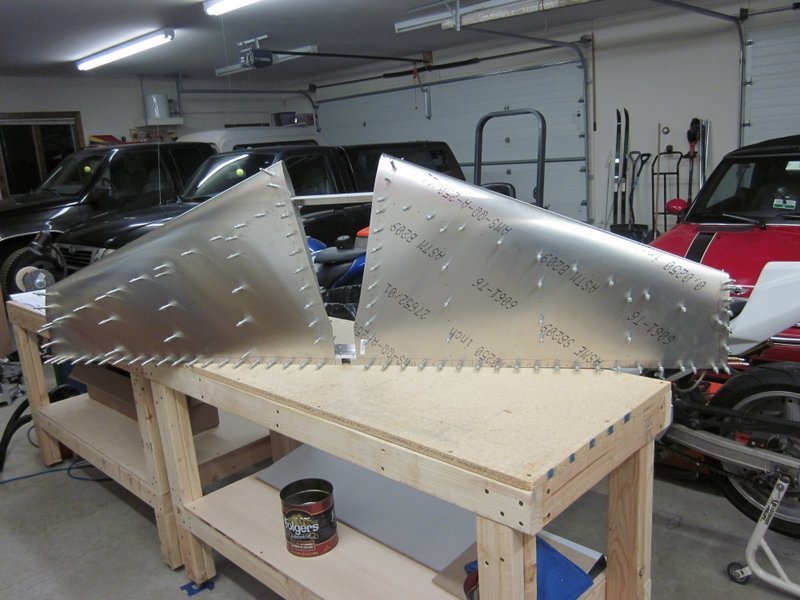
- Tailplane Spars completed
-
- Another box done.
-
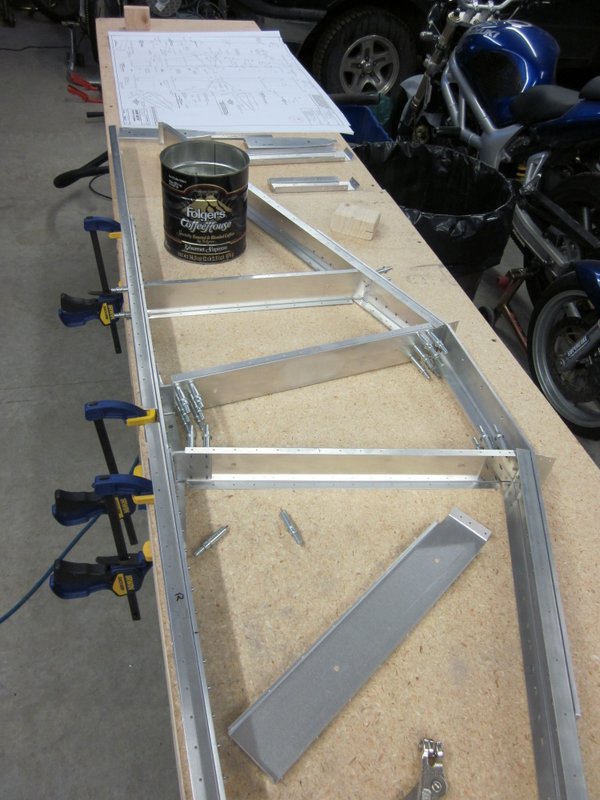
- Assembling the Tailplane.
-
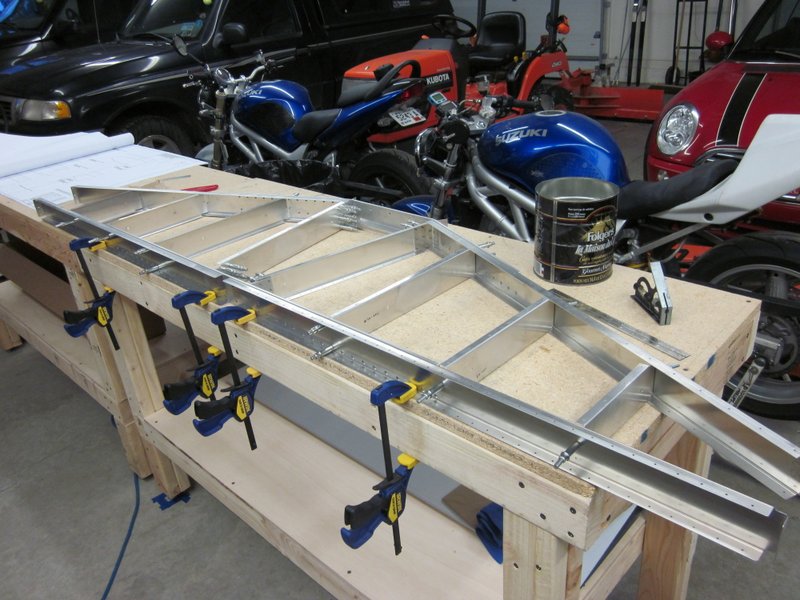
- Looks good, but….
-
- ….the holes do not all line up.
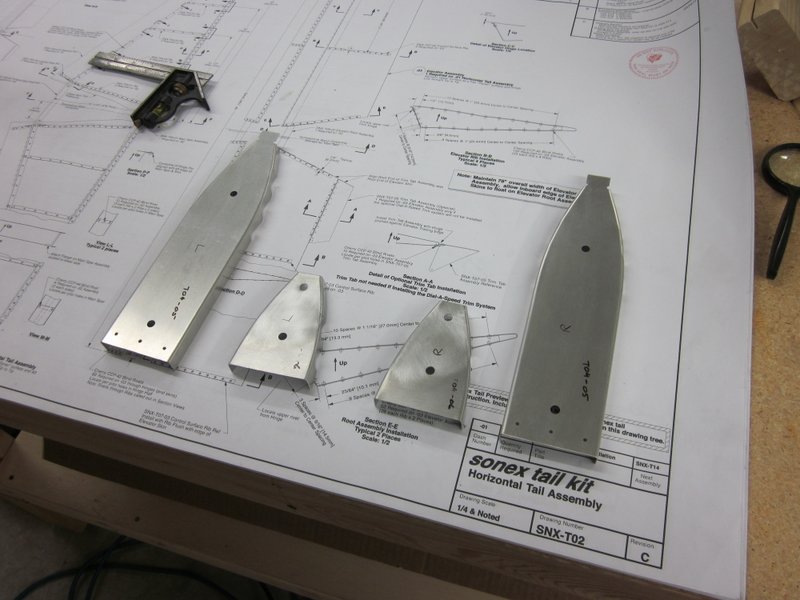
Started measuring, marking and drilling the Elevator skins while waiting to continue work on the Tailplane.
-
- Marking the skins and ribs.
Jan 1st/2nd – I heard back from Sonex, they suggested drilling out the mismatched holes and adding a couple of extra rivets to ensure adequate strength in the join.
As I have started on the elevator skins I decided to keep working on them before I go back to the Tailplane. I spent a fair amount of time measuring the position of the ribs before drilling the holes and when they were done, I used the soldering iron to cut off a strip of the plastic protective covering where the rivets will go. I’ll leave the rest of the plastic on until it’s time to finish the elevators.
I ripped a piece of 2×4 on the table saw to make a form to provide a firm drilling surface for the hinges. They also have to be shimmed up about .067″ from the surface of the skin, which happens to be the thickness of one of my rulers so I used that and clamped everything down ready for drilling.
-
- Soldering Iron……
-

- …..to cut the protective plastic.
-
- Wooden form.
-
- Clamped for drilling.
-
- Hinge drilled.
-
- Drilling ribs.
-
- Right elevator done
-

- Starting on the left elevator.
-

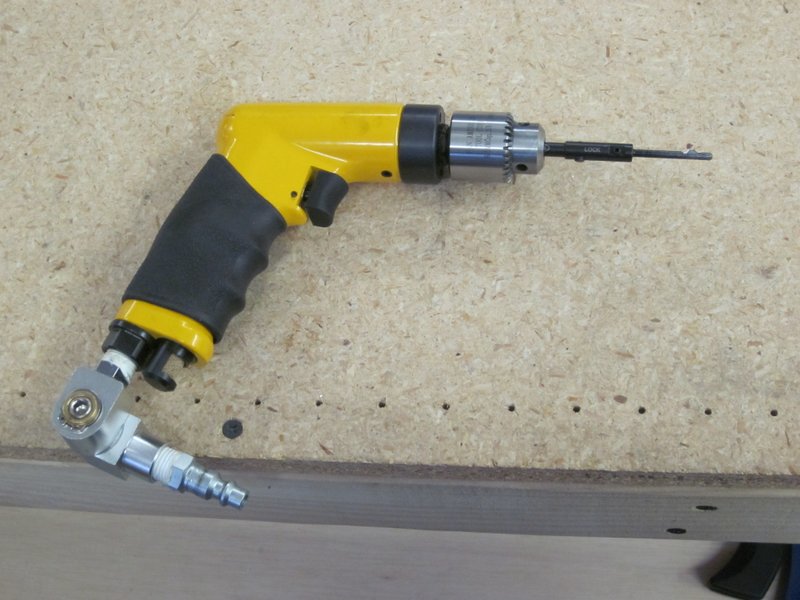
- You just have to love air tools!
Jan 8th – I continued working on the left elevator skin today. They are both done now and updrilled ready for riveting. I am waiting for a new tool to arrive, a rather clever piece of kit that deburrs both sides of a hole on a single pass which will make it a lot easier to deburr the back side of some of the more inaccessible parts. I will take pictures of it when it arrives to clarify what I’m talking about!
I also drilled some holes in the tailplane structure to put the extra rivets in that Sonex recommended.
-
- Drilling left elevator skin.
-
- Elevator skins.
-

- Placed together, just for looks.
-
- Updrilling
-
- Holes drilled for extra rivets.
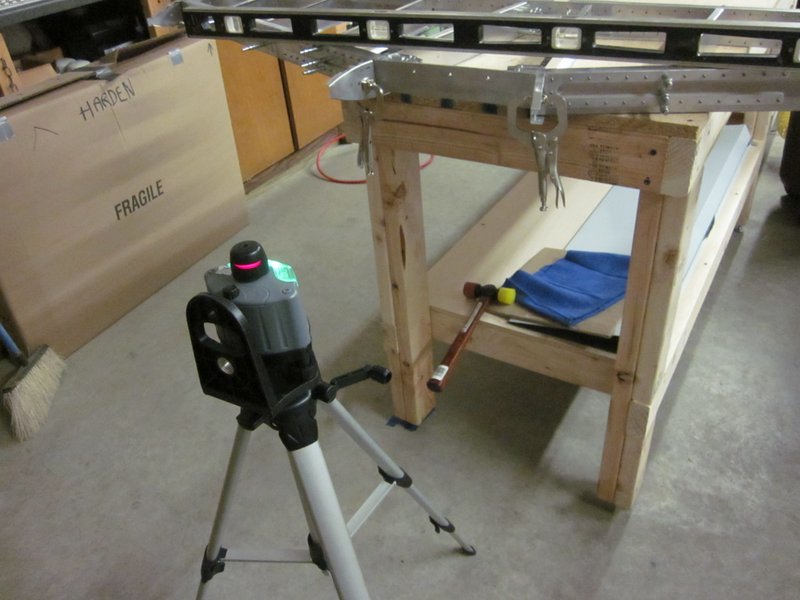
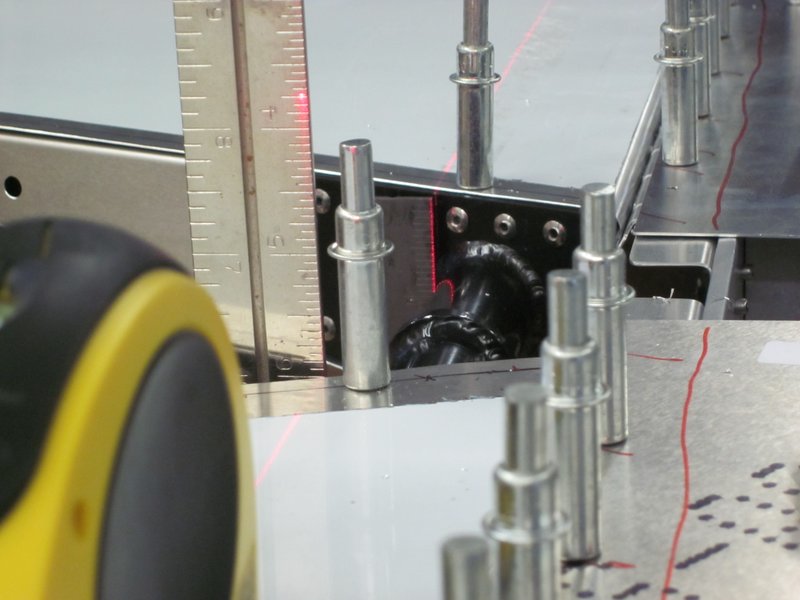
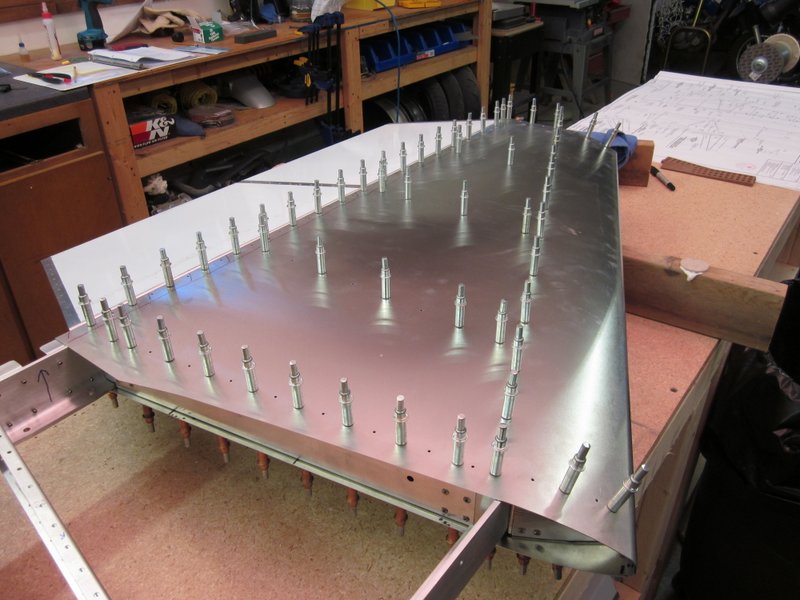
Jan 9th – There are two leading edge ribs on each side that the skins will wrap around. I used a laser level to make sure everything was lined up before drilling the pilot holes then updrilled everything ready for deburring and riveting.
-
- Leading edge ribs.
-
- Clamped in place.
-
- Old and new style levels.
-
- Laser level is difficult to photograph.
-
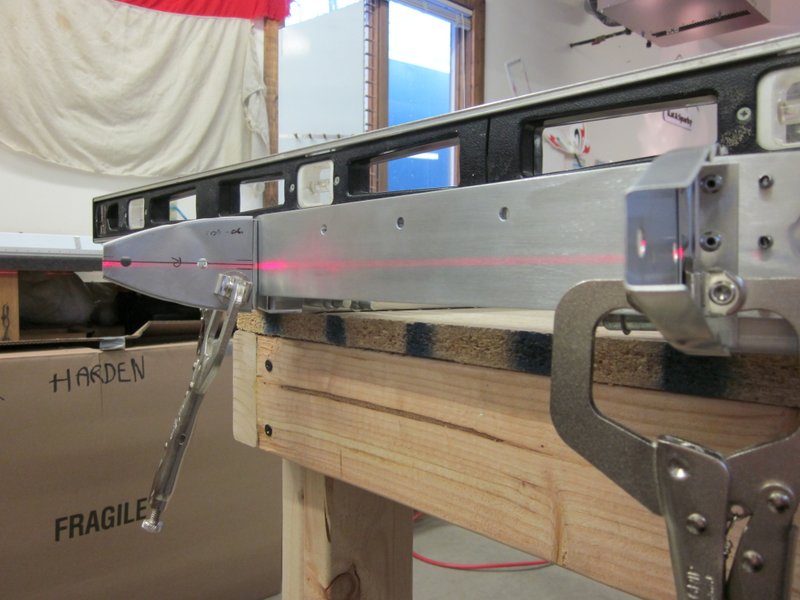
- Pretty well lined up.
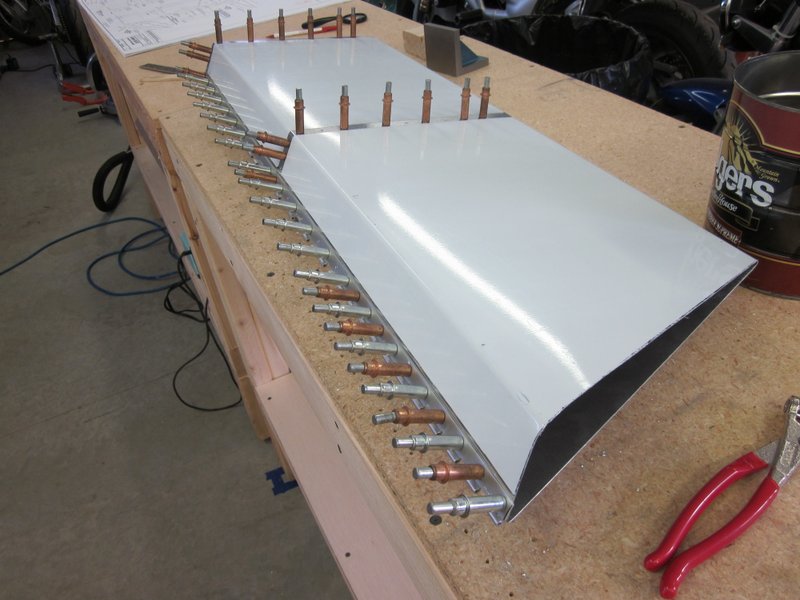
Jan 10th – I got a full day in the workshop today with quite a lot achieved, mostly good, with one “oops”! I updrilled the tailplane, took it apart, deburred it and reassembled it ready for riveting. Upon studying the plans to confirm what size rivets go where, I realized that one line of holes on the end ribs should have been left as pilot holes, ready for attaching the tip caps later in the process. I don’t think it will present any major problems but highlights the necessity of reading the instructions thoroughly!
The rear holes should be left at #40 size.
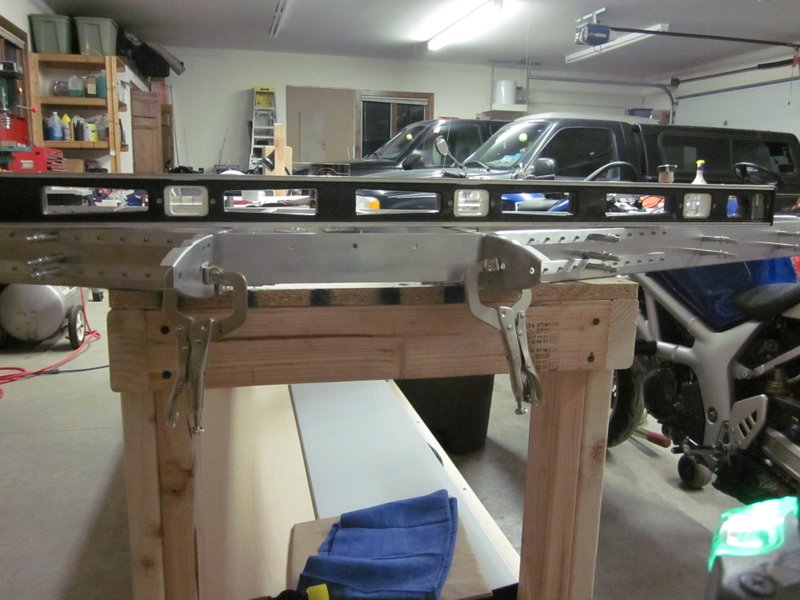
Moving on, I riveted the entire structure up and as I was on a roll started to attach the skins. The matched holes lined up well in most places, the only problematic ones were on the top of the ribs which had the misalignment issues earlier in this section. However, with a little fiddling, lubricated with the occasional burst of verbal persuasion, both skins are now attached.
-

- Bottom side on first….
-
- …wrapped around the leading edge ribs….
-
- …..then the top side.
-
- My lovely assistant brought tea.
-
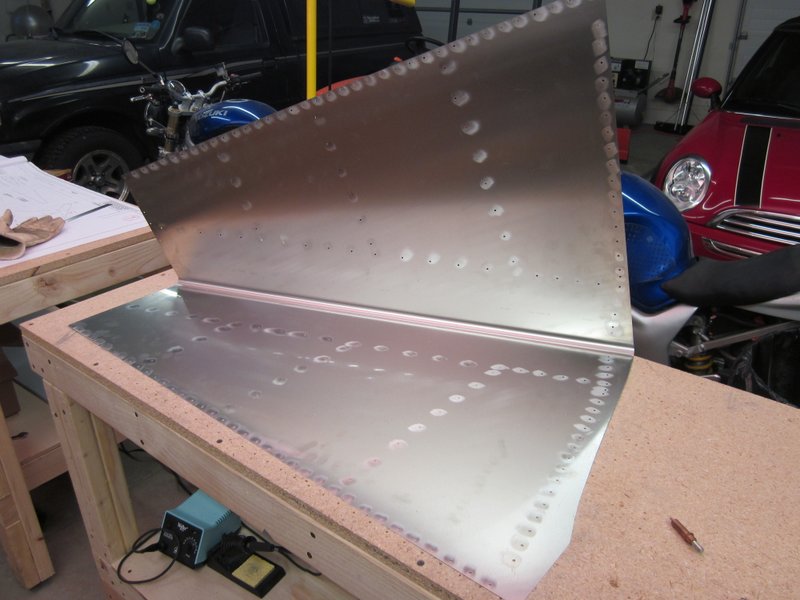
- Both sides skinned.
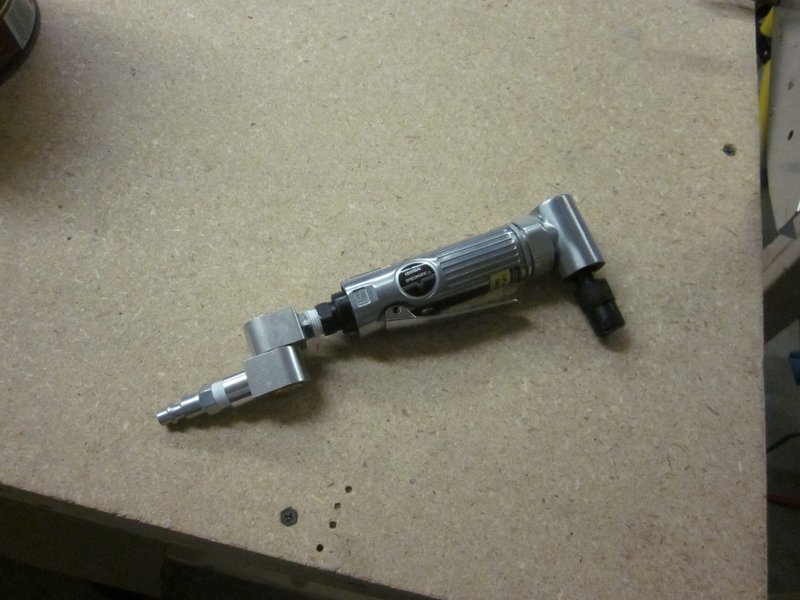
The UPS man delivered my new tool! It goes in a drill, is sized to fit in the updrilled #30 hole and on the end is a sprung, two edged deburring blade. As it is spinning in the drill and is passed through the material, the first edge deburrs one side of the hole, is pushed closed as it goes through the hole, then the second edge deburrs the back side of the hole as it is pulled out. Fiendishly clever and ridiculously expensive but an enormous time saver and the only way to deburr the back of some of the more inaccessible holes.
-

- You can see the two edges at the top.
-
- This will make life easier.
With the EZ Deburr tool in hand, I had the first elevator cleaned up and riveted before it was time to call it a day.
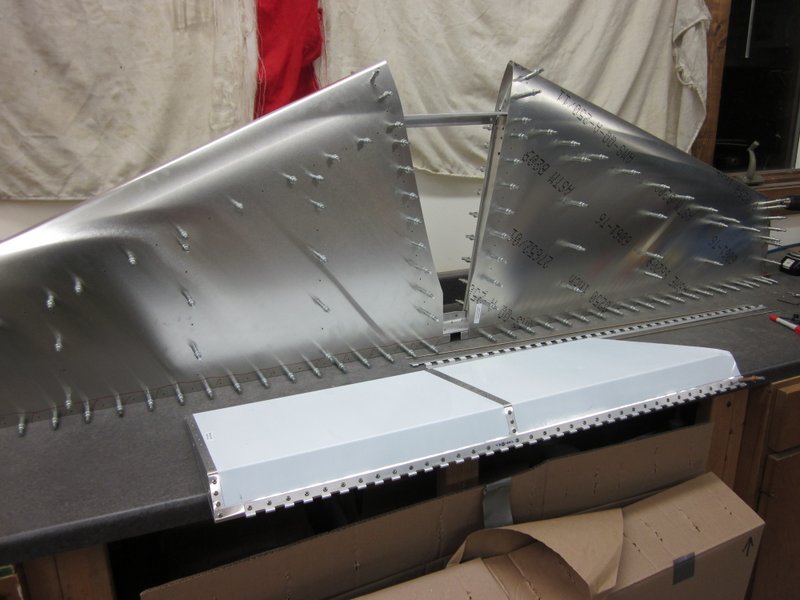
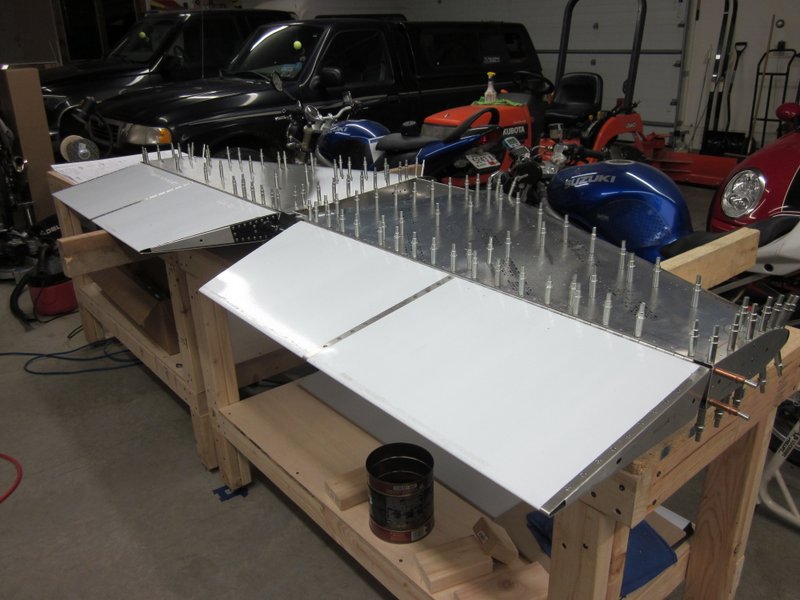
Skinned horizontal tail and one elevator.
Jan 11th – When I was riveting the elevator yesterday I noticed that the rivets were a bit loose in the holes so today I experimented a little with the EZ Deburr tool. I drilled a few holes in a scrap piece of Aluminum and then deburred them at different adjustments of the tool then measured the hole with a micrometer. With the tool set to an aggressive cut, the holes were enlarged quite noticeably, particularly on thin sheet. I will need to pay close attention to this as I proceed.

Test holes in a piece of scrap sheet.
Jan 12th – Finished the rivets on the second elevator then put them together to see what it looks like.
-

- Rivets done.
-
- Joined together to check fit.
Jan 13th – I dodged a bullet today. Despite paying what I thought was careful attention, when it came to attaching the elevator hinges, I managed to set everything in place upside down. The hinge comes undrilled and so is clamped in place and the pilot holes in the main spar are used to locate the holes in the hinge. It wasn’t until I was setting things up to drill the second elevator that I realized that I had done the first one using the bottom row of holes rather than the top. Fortunately, the holes on the rear spar are symmetrical about the longitudinal axis, so when I clamped the elevator in the correct place, the holes still lined up. Phew!
-
- Positioned for measuring (incorrectly!)
-
- LIned up….
-
- ….first hole marked.
-
- Starting the drilling.
-
- Complete.
-
- Error corrected, both elevators attached.
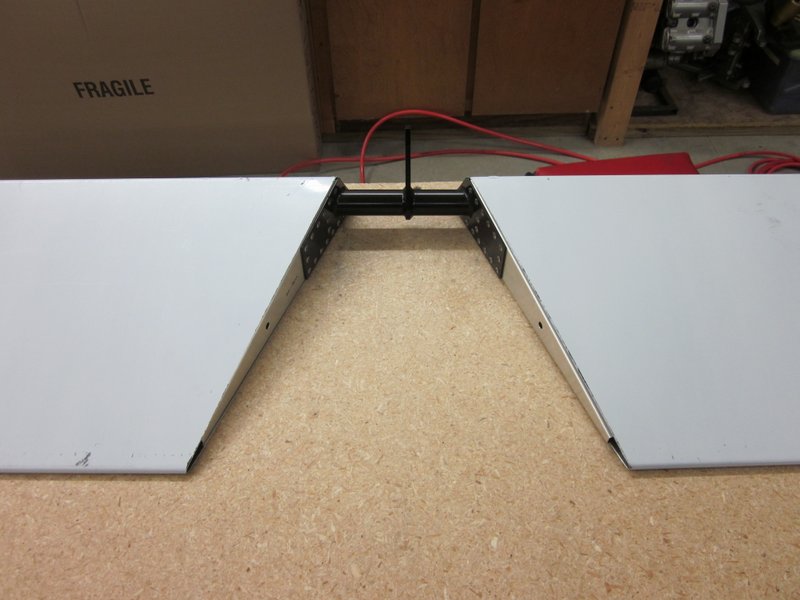
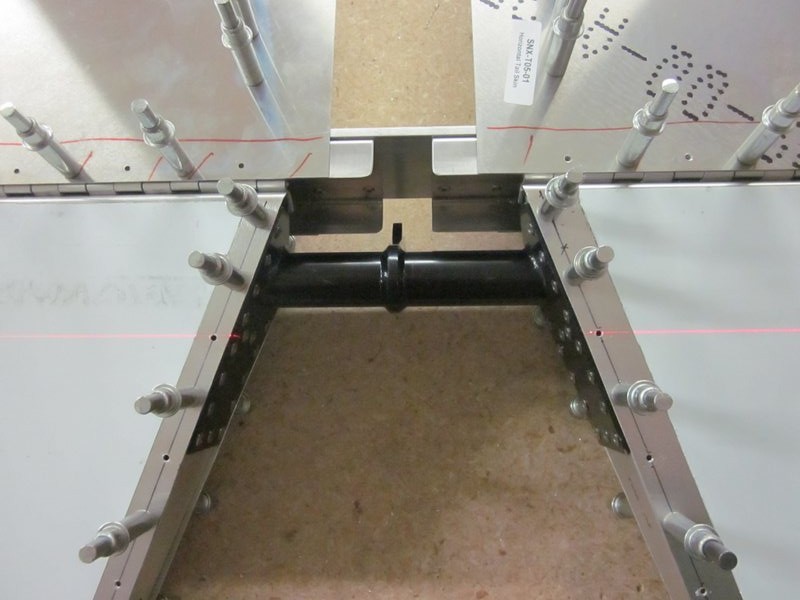
I then inserted the elevator root assembly to establish it’s position ready for drilling and riveting. I am going to have to trim some of the skin to get a nice flush, accurate fit.
-
- Lines up OK, but….
-

- ….some trimming required…..
-
- …..on both sides.
Jan 14th – Before trimming, I had to line up the elevator root assembly to ensure the axis of rotation was parallel to the main spar. This involved a lot of measuring with squares, levels and a laser level. After much checking and fiddling, I got it in the right place, then used the laser level to shoot a line joining up the existing rivets in the elevators to locate the pilot holes for the rivets.
-
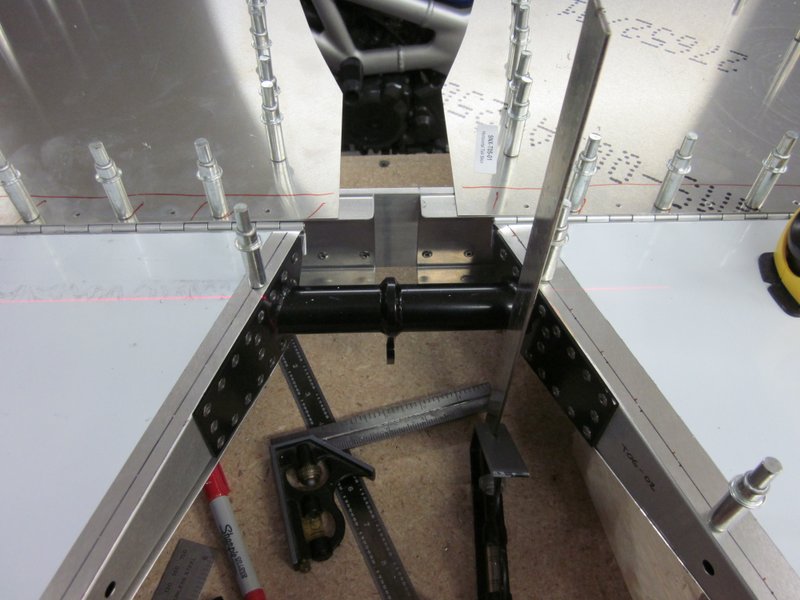
- The torque tube needs to be parallel with the main spar.
-
- Laser level lined up on two squares,
-
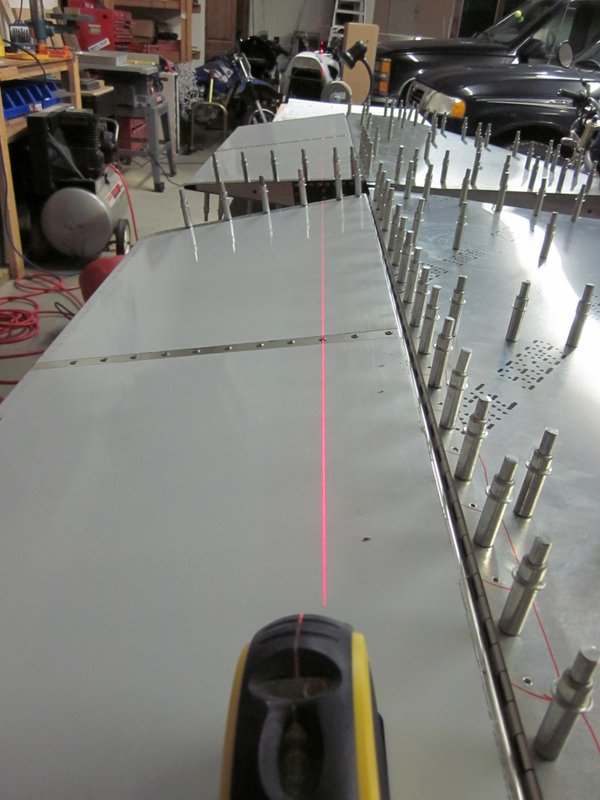
- Using the laser line to “join the rivets”
-
- Close enough.
-
- All done, both sides, top and bottom.
With the root assembly location done I could take it apart to trim the skin flush, I used a vixen file for this which has a very aggressive cut and had it done in short order.
Jan 15th – I finished trimming both skins and then moved on to updrilling ready for riveting. I don’t have enough #30 clecos to do both sides at once so I started on the right side. A few of the holes at the tip get left at #40 for lining up and attaching the glass fiber tips later in the process.
-
- Started on the bottom….
-

- ….attached the elevator…..
-

- …finished on the top.
-

- These holes are left at #40 size until attaching the tips.
Jan 16th – Took the right elevator and skin off, deburred all the holes, clecoed it back together and started riveting.
-
- Deburred, ready for…..
-
- …..rivets.
Jan 17th – I think I’ve made the first major “oops” of the build! But I get ahead of myself, let me recount how I found it.
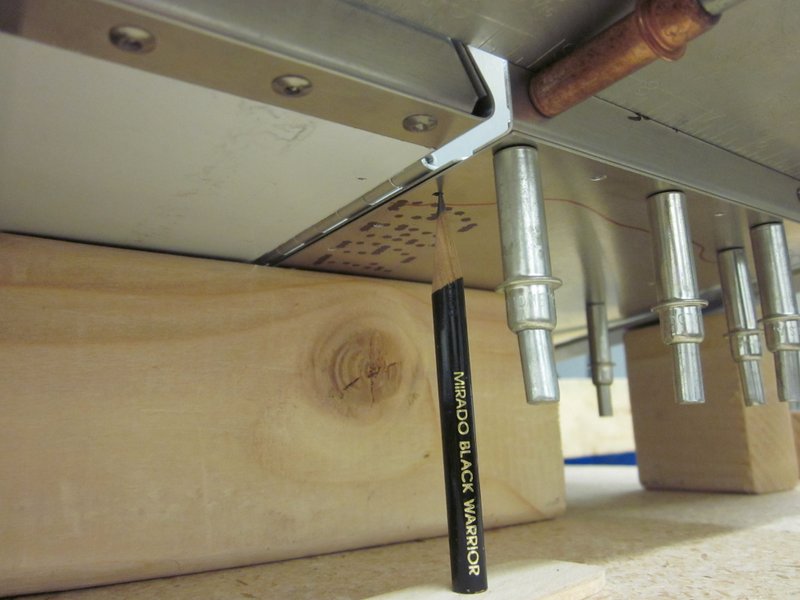
I had noticed that despite being careful to protect the surface of the tail skins, they were getting scratched resting on the 2 x 4’s that I’ve been using to support the structure. I found some self adhesive felt pads designed to stop furniture scratching hardwood floors and stuck them to the 2 x 4, should do the trick.
-
- Felt pads….
-
- …to protect the skins.
It was when I was moving the structure around that I got to have a second look at some of the holes that I had deburred yesterday, and they did not look good. On one side of the skin the deburring was aggressive enough to be countersinking, I managed to get some macro photos to show the difference between what I consider a good and bad deburring job.
-
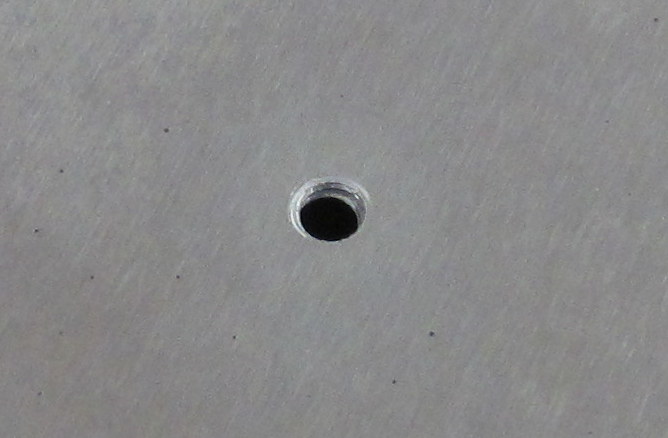
- Good, and…
-
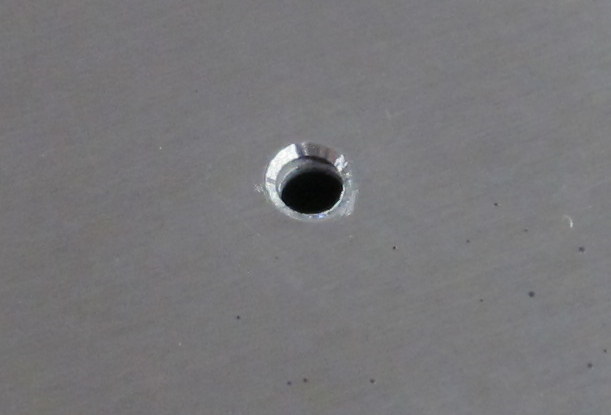
- ….bad.
I thought after the experience with the elevator skin that I had paid more attention and had done a decent job this time but it would appear not. In thinking about it, I think I have figured out what I did wrong. On the first side, I undid the clecos and deburred the skin whilst it was still attached to the frame. On the second side, the skin was removed from the frame entirely, I had it standing up, using the deburring tool with one hand as I pressed against it from the other side, in effect doubling the pressure on the work piece and resulting in too aggressive a cut. I was not working in the best of light and the holes felt smooth so I moved ahead with reassembly and started riveting. It was only today when I turned the piece over when I was working on the felt application that I noticed the countersinking issue.
I am pretty sure that I will have to drill out the rivets and order, fit, up-drill and deburr a replacement skin.
Jan 18th – I’ve decided to replace the skin, but just to be sure I asked Todd, one of our mechanics from work to come and take a look. He’s worked on all kinds of airplanes and helicopters, built a homebuilt airplane and is a walking encyclopedia on all things aviation maintenance related. He agreed with my assessment and gave me some good tips on how to avoid a repeat issue.
I have drilled out the rivets and placed the order for a new skin.
-
- Todd checking things out.
-
- Rivets drilled out.
Jan 19th – I took the right skin off and started working on the left side, updrilling the pilot holes, carefully deburring as I go.
-
- Bad skin off,,,,
-
- …carefully working on the good one.
Jan 20th – More updrilling.
Jan 21st – Finished updrilling,removed skin and started deburring the inside of the skin.
Jan 23rd – Spent a long time on the deburring, using a large drill, scotchbrite pads and 150 grit sandpaper. It did a good job but is incredibly slow going. I have ordered a wheel that will chuck into a drill or die grinder and take a scotchbrite cover, hopefully this will speed things up. I got the bottom skin clecoed on ready for rivets.
-

- Started off with a drill.
-

- Finished off with 150 grit.
-
- All holes and edges deburred.
-
- Bottom skin clecoed on.
Jan 24th – Riveted the bottom skin , flipped everything, clecoed the top skin and elevator hinge, then riveted that all up too. The UPS man brought me a package from Sonex but unfortunately it contained another left skin instead of the right one that I needed. I spent some time tidying up the workshop and getting the die grinder that I bought from Harbor Freight Tools ready for the ongoing deburring battle. Normally I don’t go for cheap tools but it was only $15 on sale compared to $150 for the Pan American equivalent. The HF pneumatic riveter is working fine so I thought it worthwhile to give the grinder a chance. Time will tell.
-
- Bottom skin riveted.
-

- Top skin and elevator hinge clecoed in place….
-
- ….another view.
-
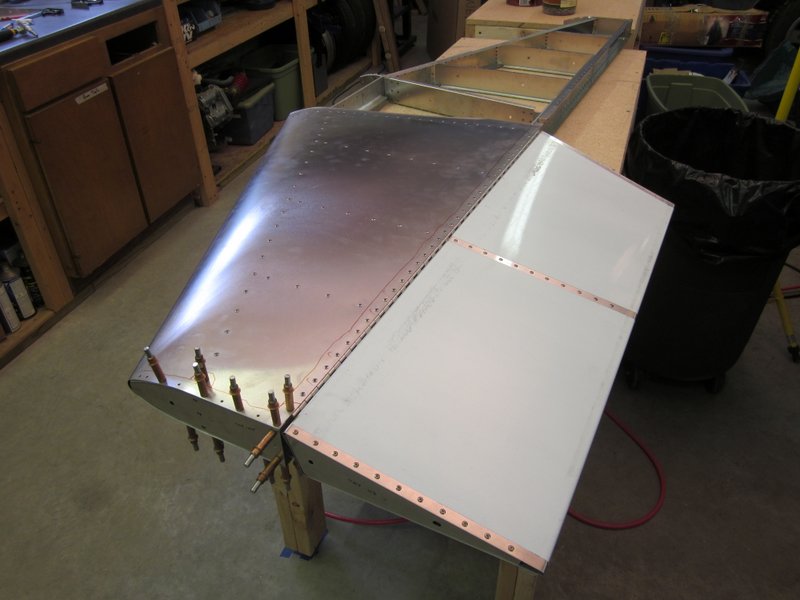
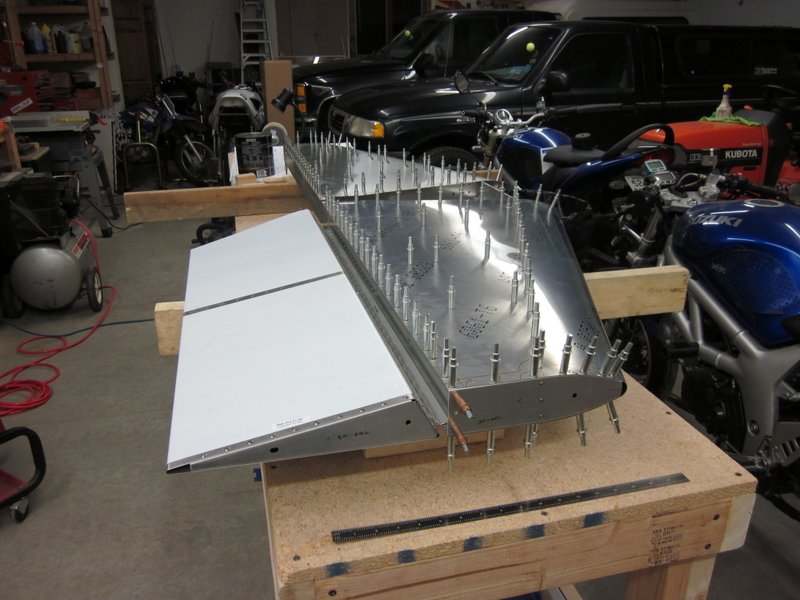
- Left side all riveted up. The remaining clecos are for attaching the glass fiber tip.
-
- Harbor Freight $15 special.
-
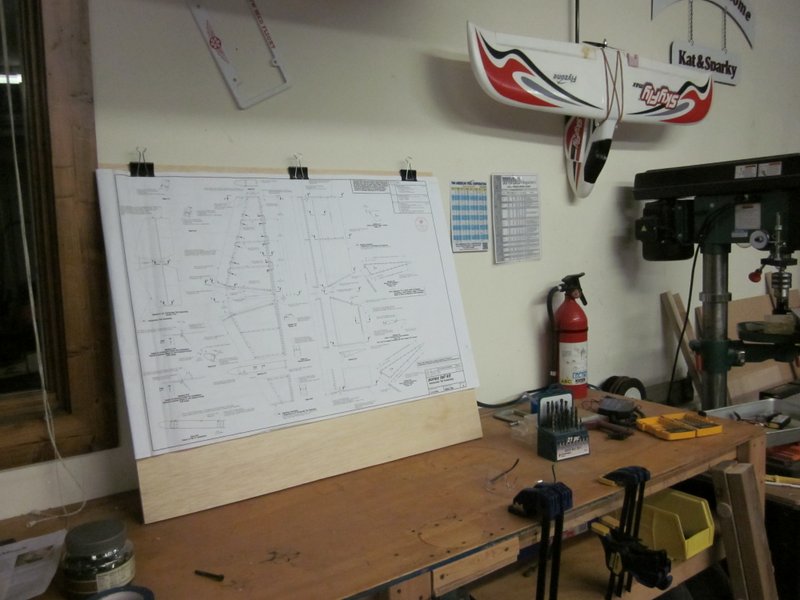
- Got the blueprints up out of the way.
Jan 28th – The replacement skin arrived today and it was the correct side, yahoo! The UPS man also delivered the 2″ deburring wheel for the die grinder and various grades of Scotchbrite to fit it. As the holes in the replacement skin are a matched fit and positioned and drilled by laser, I just updrilled the sheet to #30 holes and deburred them ready for riveting. The Scotchbrite wheel in the die grinder works a treat. What took about 1-2 minutes per hole can now be done in about 3 seconds. Have I mentioned how much I love power tools!
-

- 2′ wheel with 3 grades of Scotchbrite
-
- Makes deburring much easier.
With the skin prepared it was just a case of clecoing it all together and pulling rivets.
-
- Clecoed…
-
- …riveted.
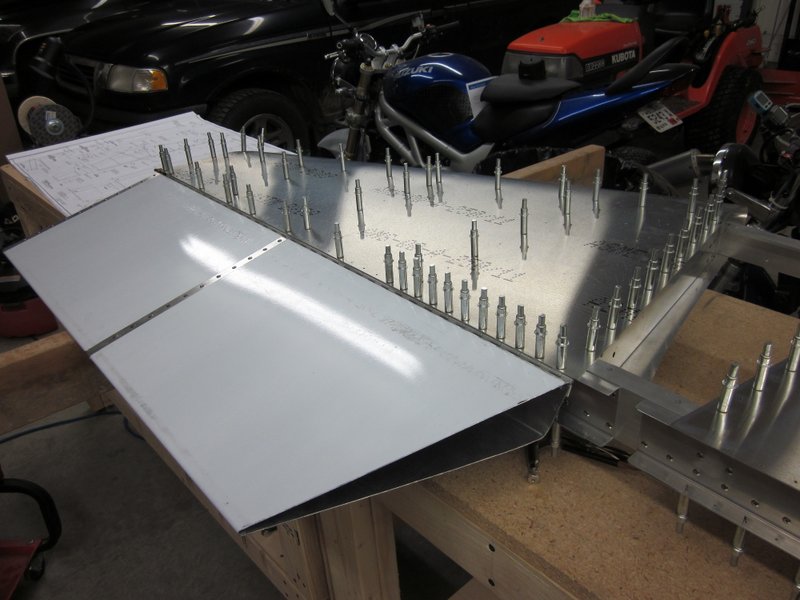
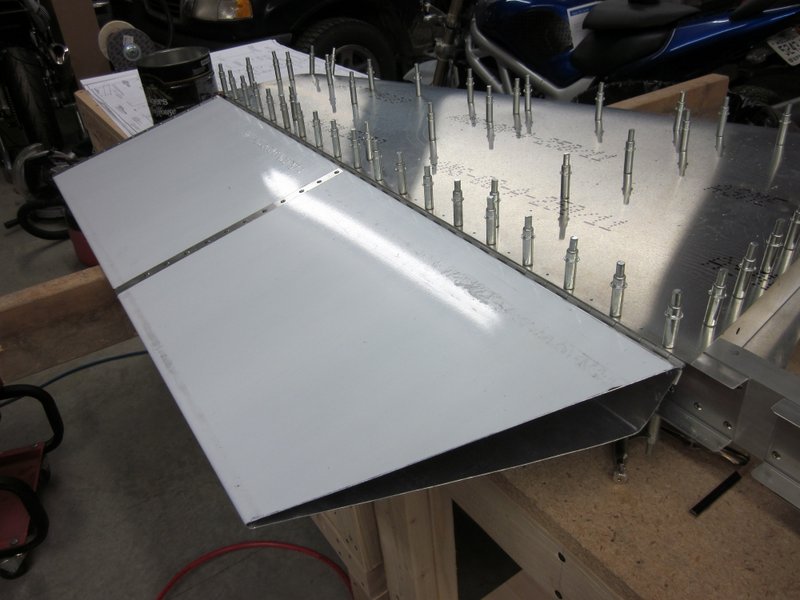
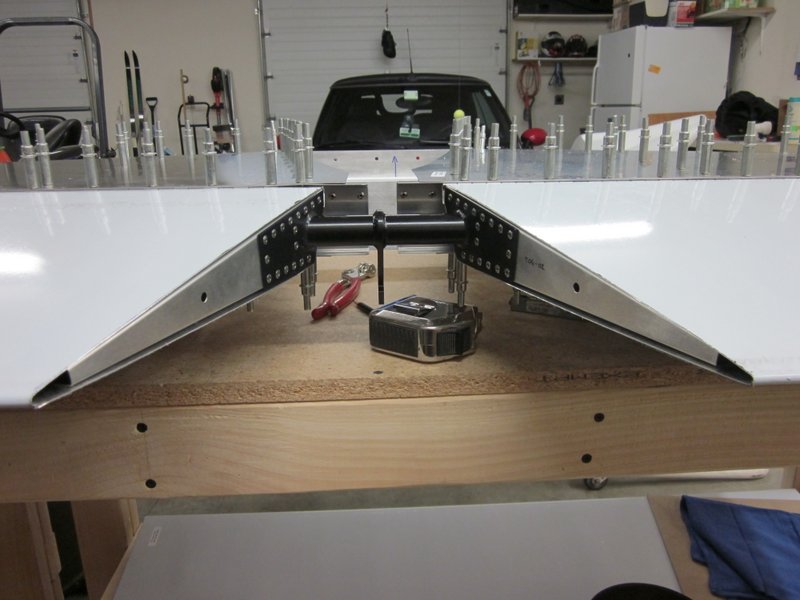
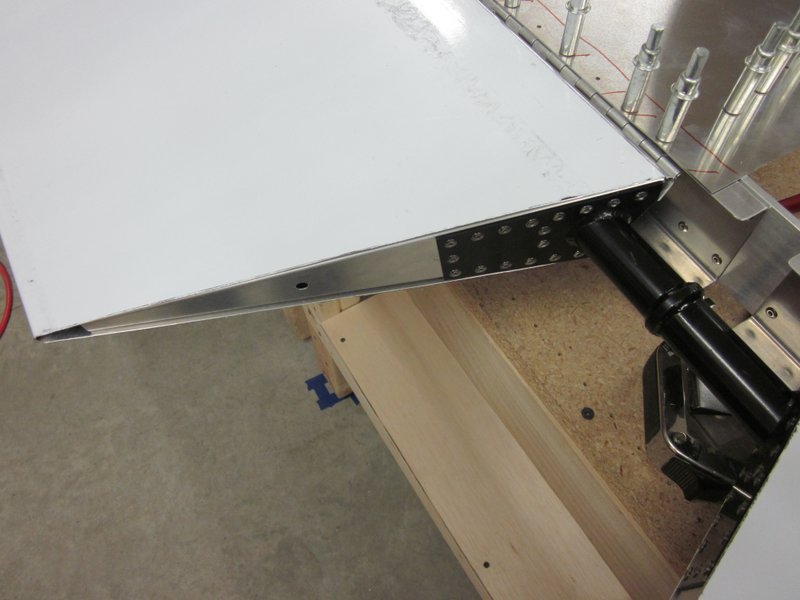
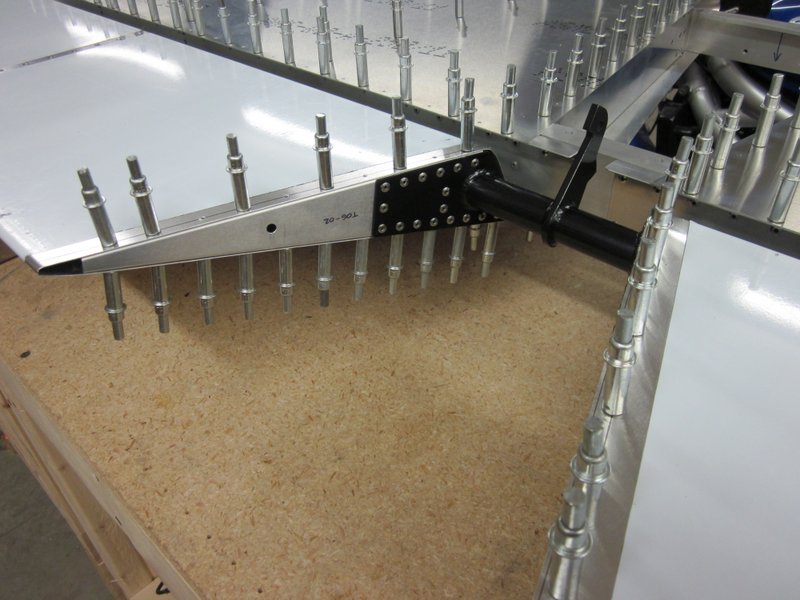
Jan 29th – With the tailplane essentially complete. it was time to attach the elevators and elevator horn assembly. The hinges lined up fine, I had used the laser level to ensure they would move without binding, but the fit of the horn assembly was a different matter. No matter how much I fiddled with the positioning, there was a large gap between the fitting and the skins at the leading edge of the elevators. I wanted this to be tighter than I could get it so I made a couple of shims out of .035″ material.
-
- Gap between fitting and skin.
-
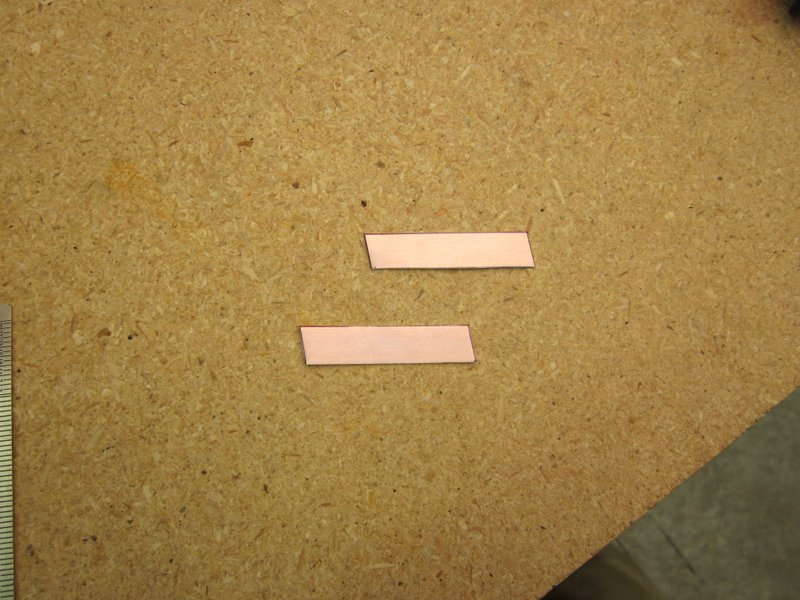
- Cut some shims….
-
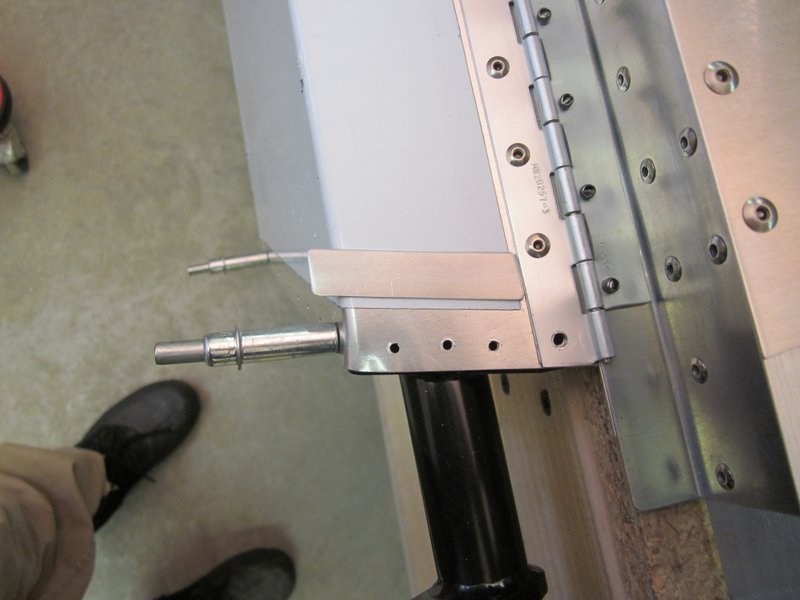
- …cleaned up ready for drilling….
-
- …..much better.
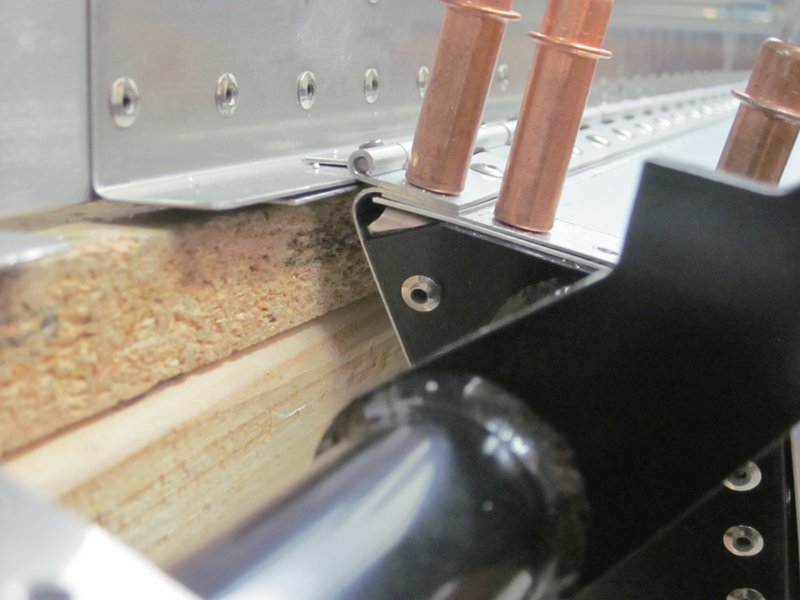
Then it was the old story, updrill, deburr and rivet. After this was done I sat back and took a look and realized that this really does look like part of an airplane. Pretty cool!
-
- How about that….
-
- …airplane parts!
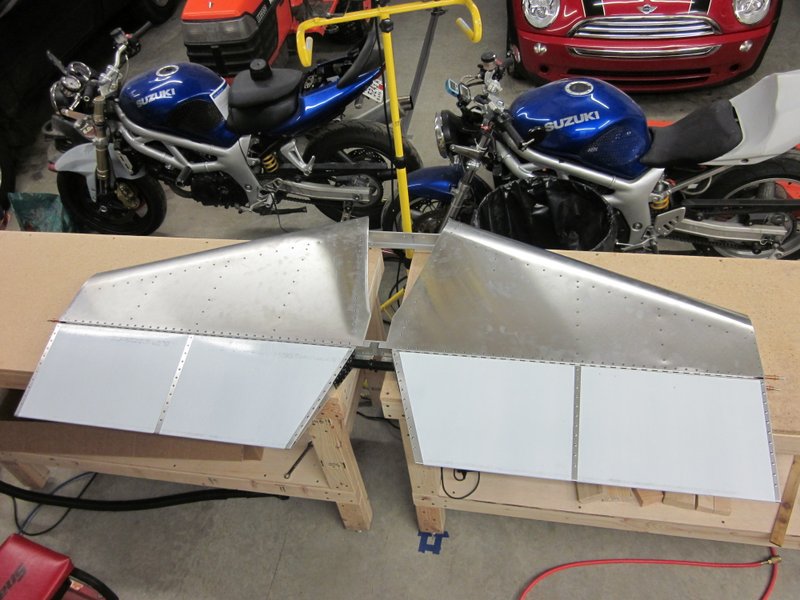
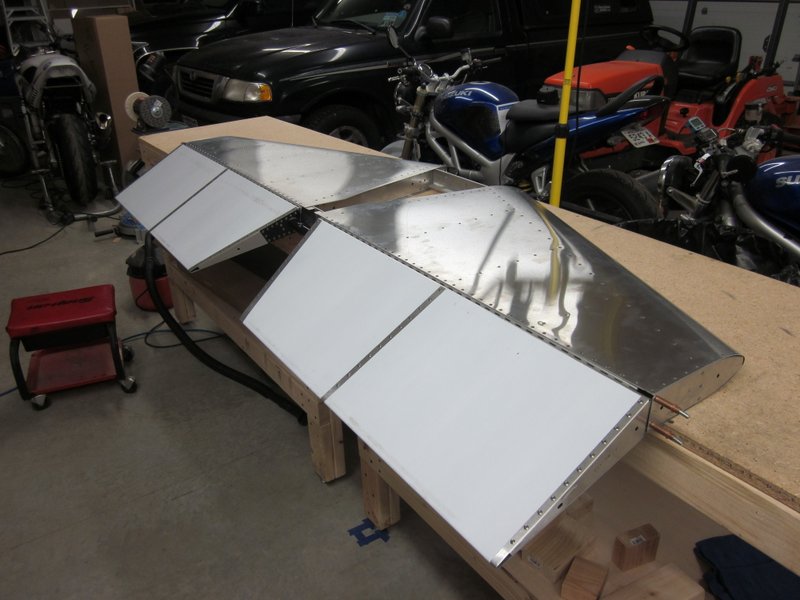
Jan 30th – The horizontal tail is essentially complete, the hinge pins have to be fastened in place but I’m toying with a way to make them more easily removable and that will involve work on the tip caps. I think I will wait until I have the vertical tail finished, then do all the tips together.
However, I did visit Harbor Freight again and picked up a few bits and pieces to improve my compressed air set up. I now have a filter/regulator and an in line oiler mounted to the workbench. The filter and oiler help prevent damage to the tools from condensed water and the regulator will allow me to change the working pressure for different tools without having to go to the compressor each time.
-
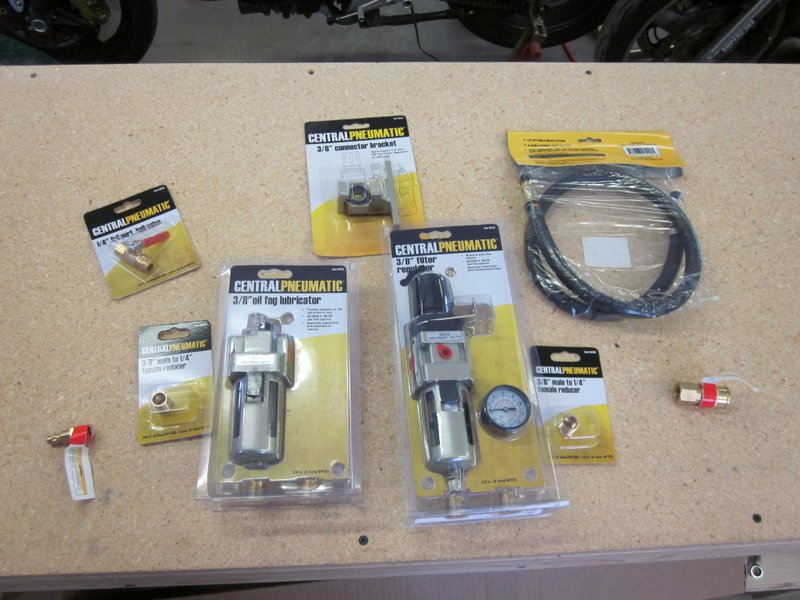
- Components to build….
-
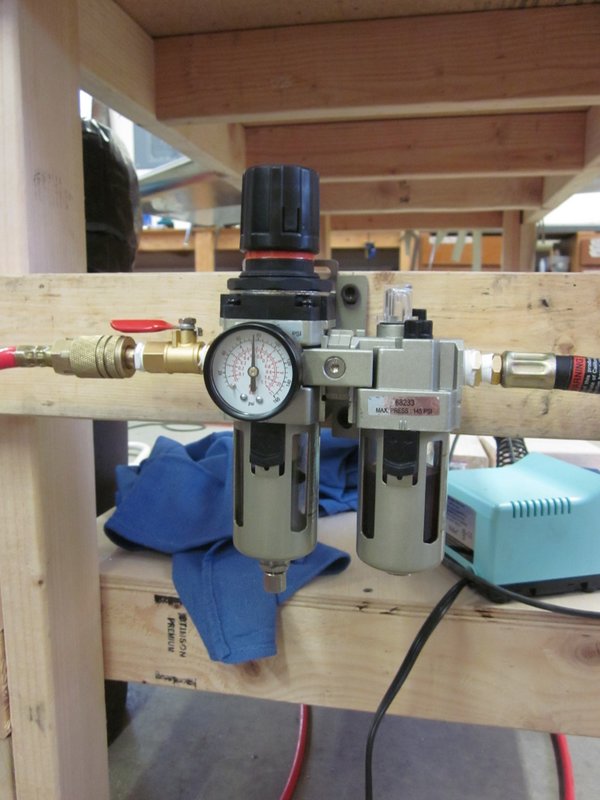
- …a filter/regulator/oiler station.
I go back to work tomorrow for a week’s worth of day shifts so not much will be happening for a while. Next week off, I’ll start on the Vertical Tail.