
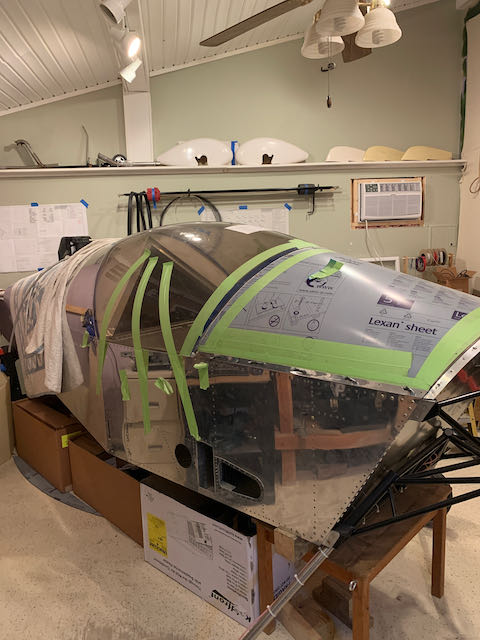
August 31st – Some of the engine parts are on backorder, so after I did an inventory, the boxes were put aside for now. As we are in the heat of Summer, I am following advice from Sonex and am going to work on the windshield and canopy. They both come as blank sheets of two different types of Acrylic and apparently are less prone to cracking during cutting and drilling when they are warm. I have read about other builders having problems with windshield cracks and Sonex have a policy that offers a discount for replacements if cracking occurs, so it would seem to be a legitimate problem.
One of my main goals is to make sure that the canopy follows a ‘fair’ line as it follows the contour of the Cowling, up the Windshield and over the Canopy; there are photos of some aircraft that have a fairly pronounced ‘break’ where the Windshield and Canopy meet. Some builders have tried to address this by making the Windshield Bow a little higher that the drawings call for, but I am going to follow the recommendations and see how it comes out.
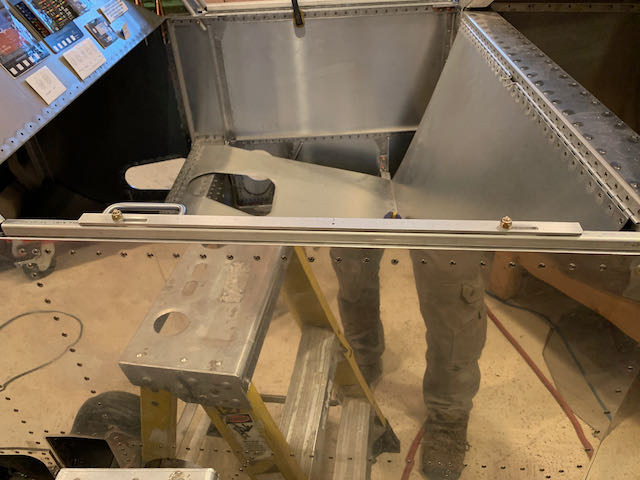
As part of the kit, Sonex provides three windshield bows; two made from aluminum tube, one from solid bar. They come pre-bent to the approximate shape but have to be cut and bent to fit. The Windshield is the first part of the process, the drawings provide dimensions so I made up a jig and got to bending metal.
-

- Initial part…
-
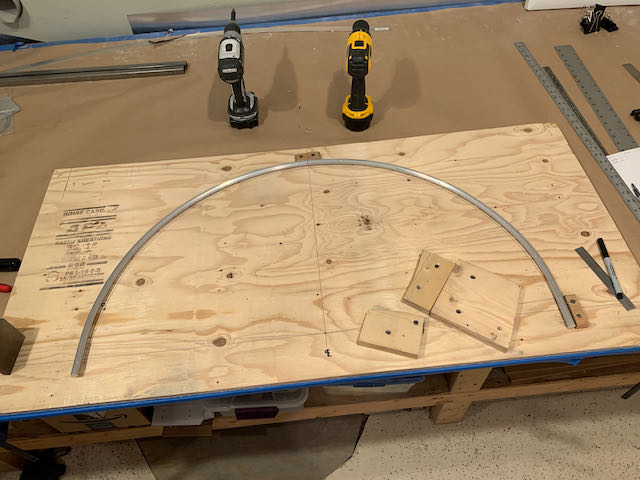
- …bent to fit.
The Bow is mounted in holes on the Upper Longerons and needs to sit at a 60° angle.
-

- Level fuselage…
-
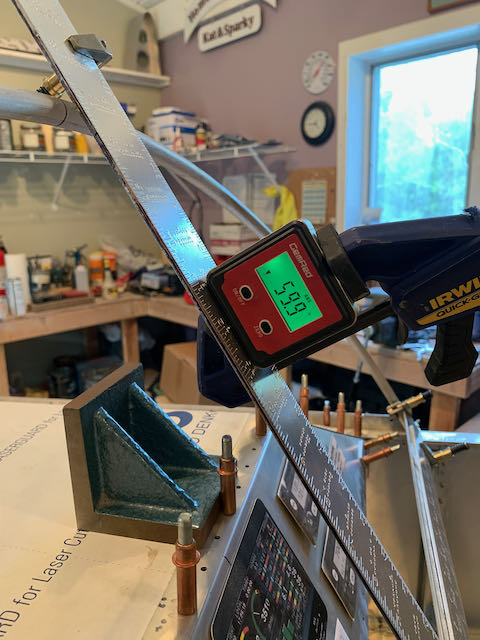
- …close enough.
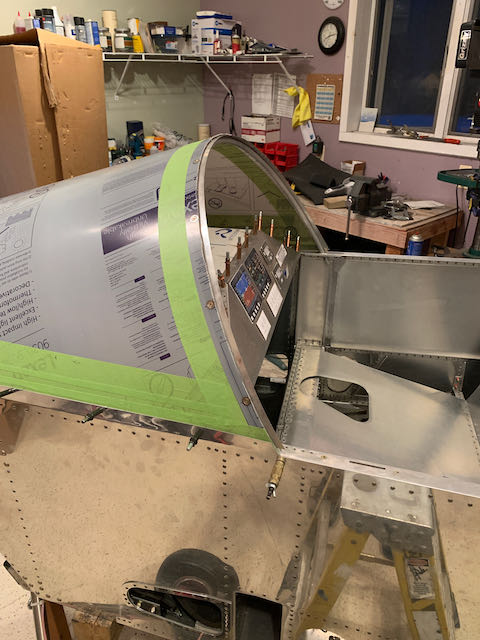
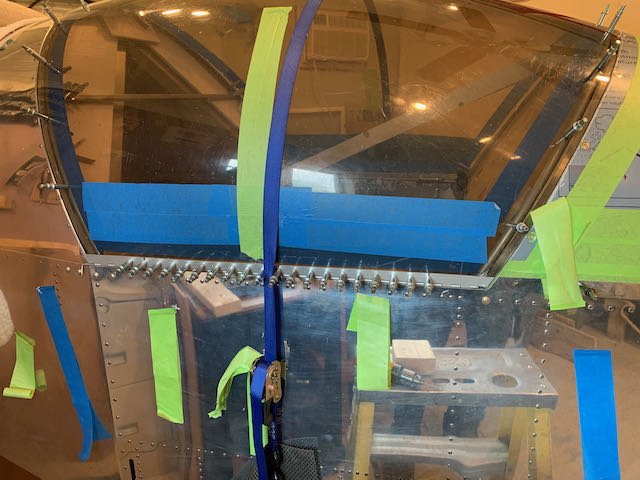
The Windshield is made from a flat sheet of Lexan, Sonex use a router to mark the approximate cut line and I was able to trim it on the bandsaw by myself. Getting it located under the edges of the fuselage skin was a bit of a fiddle, I ended up using a couple of ratchet straps to hold things in place.Then it’s just a case of marking, cutting and sanding to get a good fit. The cut edges need to be smoothed out each time to prevent stress risers that might lead to cracks.
-
- Start…
-
- …getting there…
-
- …done.
Trimming continued, to get it under the fuselage skin and lined up with the Bow.
-
- Marked…
-
- …and fit.
The fuselage sides have to be bent to fit the slope of the Windshield, the angle varies along it’s length. I tried using a length of aluminum angle clamped to the side but it didn’t work very well, on the second side I just used a soft mallet to tap along it’s length and that worked much better. You can see the angle change by the position of the clecos in the following picture.
-

- Angle at firewall…
-
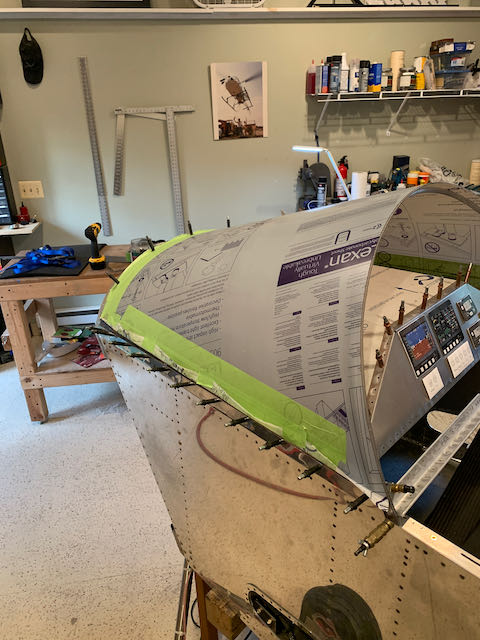
- …vertical at the Bow.
The Lexan is less prone to cracking so I drilled the front and sides and clecoed them in place. Sonex has instructions about dulling a drill bit to stop it ‘grabbing’ the material which can lead to cracking. I figured there are places around the world that drill holes in this type of material all day long, so I looked the subject up, and found all manner of purpose made acrylic drills. They have a steeper angled point and the cutting edges are ground differently; they are a little more expensive, but at $350 to replace the canopy if I goof it up, I reckoned it was worth the cost.

Regular on the left, Acrylic on the right.
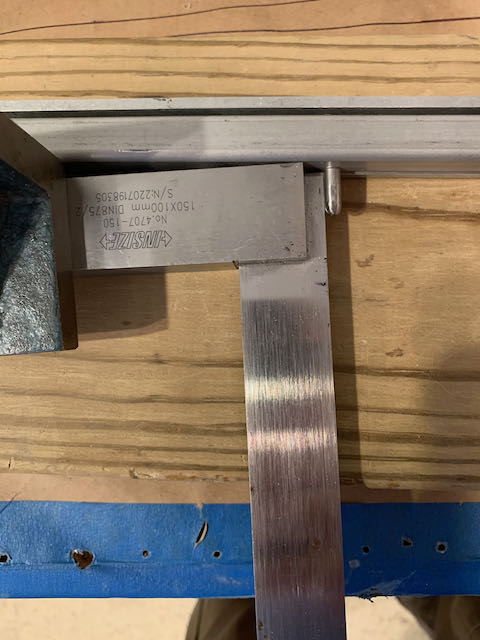
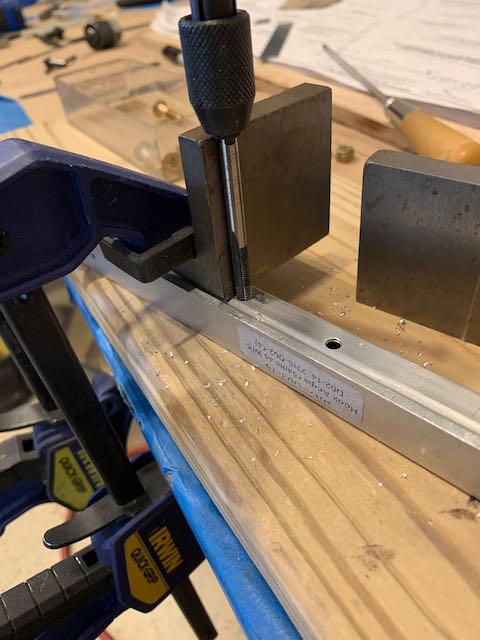
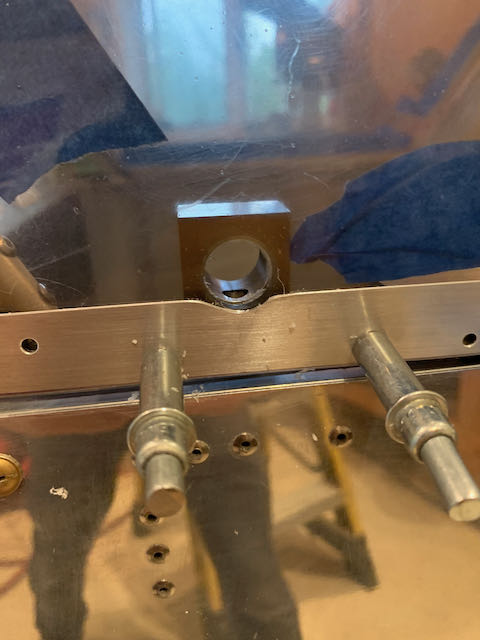
The initial drilling went fine. The holes in the forward and side edges of the Windshield are located by using pilot holes in the fuselage but the Bow is a different matter; the holes have to be centered in the tube, perpendicular to the Windshield and the Bow Strap needs to be a set distance from the edge. I made up a drilling jig to help locate these holes.

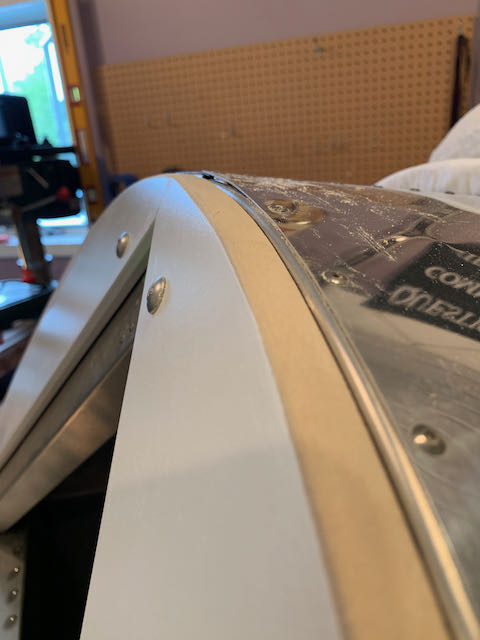
Windshield, Bow and Bow Strap lined up.
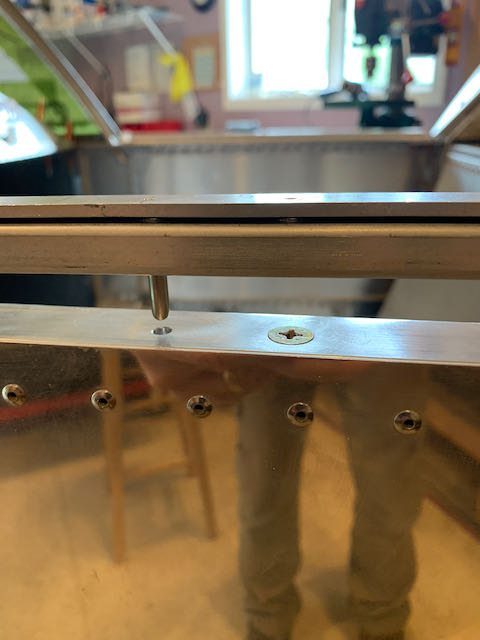
The holes in the Bow are then tapped to take machine screws and the Windshield is countersunk for some domed washers.
Bow and Bow Strap secured.
The holes in the Fuselage sides need to be dimpled to fit into the countersunk holes, I have a tool on backorder for that job but it won’t hold me up as I move on to the main Canopy.
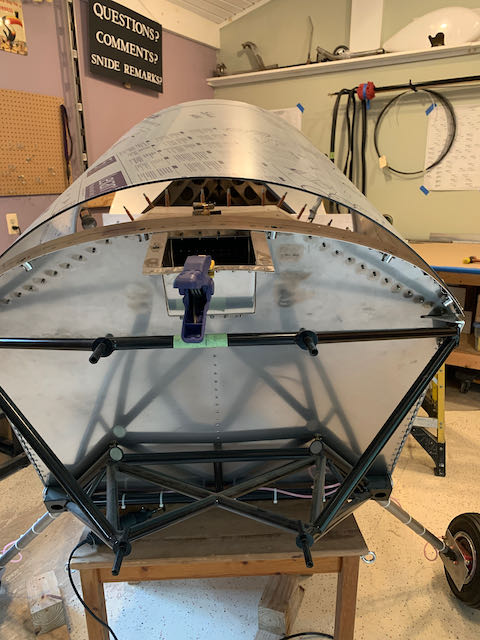
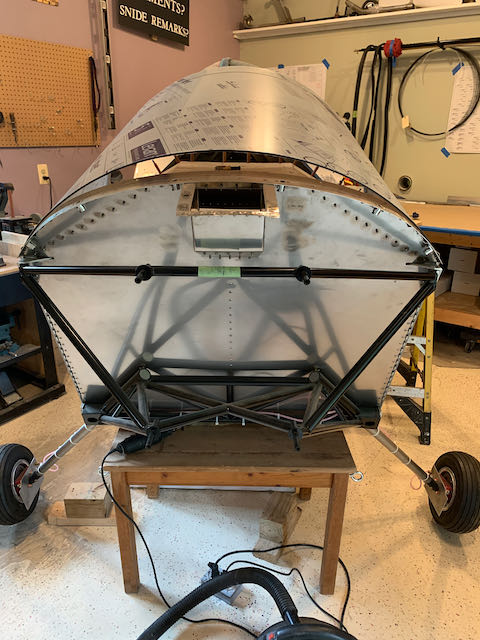
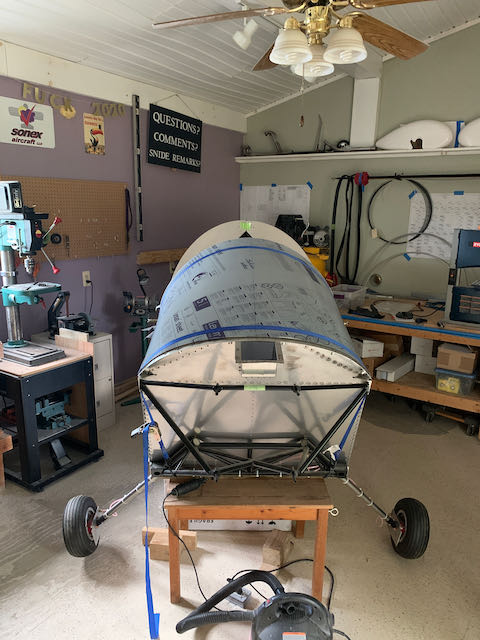
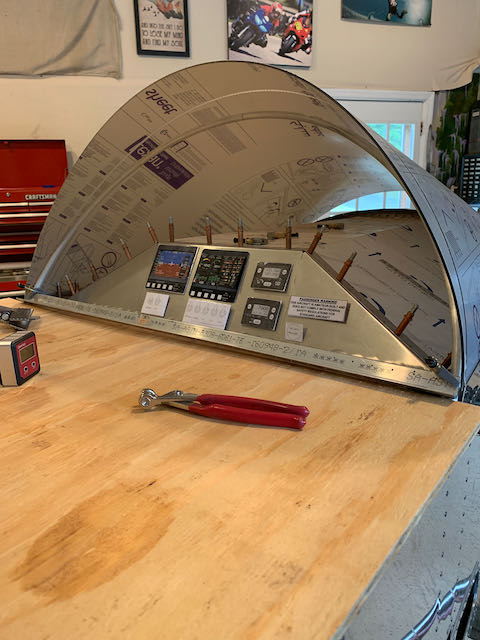
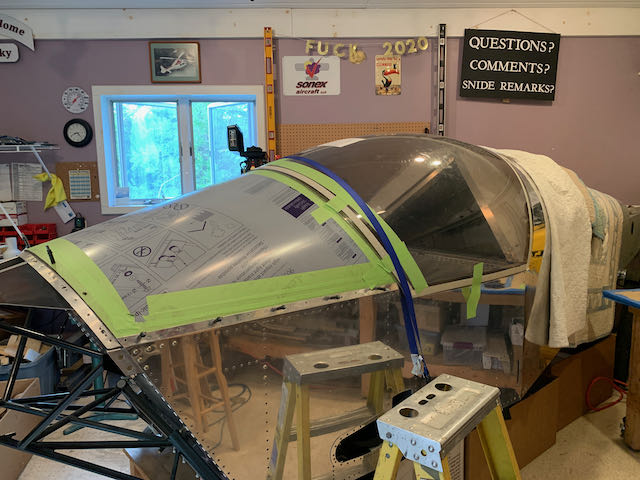
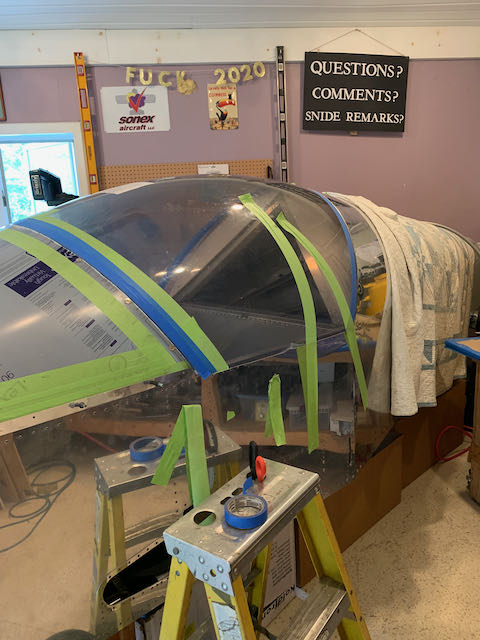
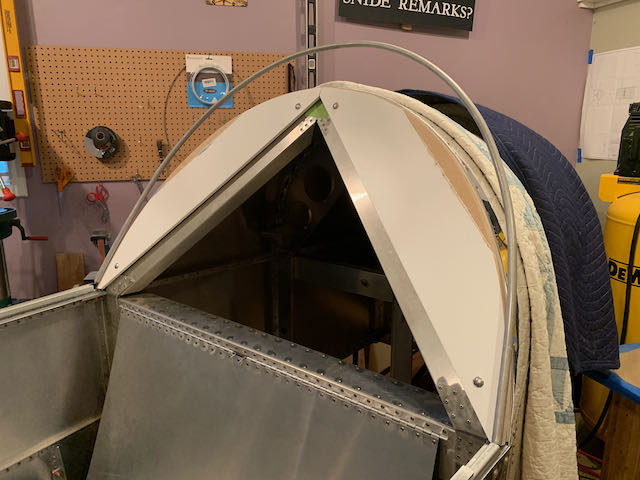
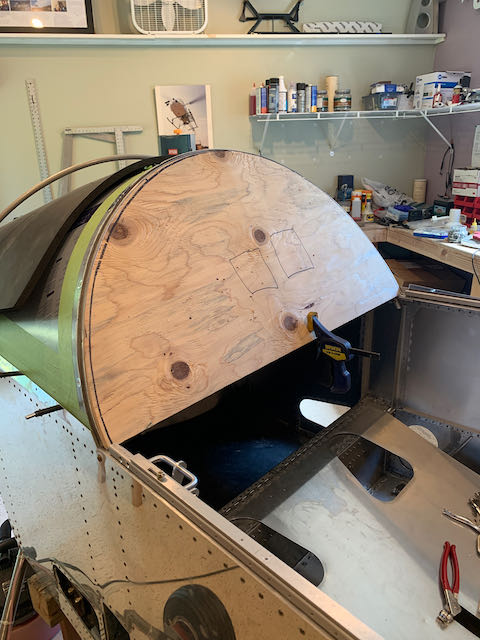
There is no real guidance from Sonex as to the build sequence other than the fact that the Windshield has to be the first component completed. They have a video about cutting and fitting the Canopy in which they use a wooden form to support the rear edge of the plastic while lining up and marking for the cuts; I decided to go that way rather than build up the whole frame first. The second photo shows the Canopy blank laid in place, the white tape marks the initial cut recommended by the factory.
-
- Formers in place…
-
- …first fitting.
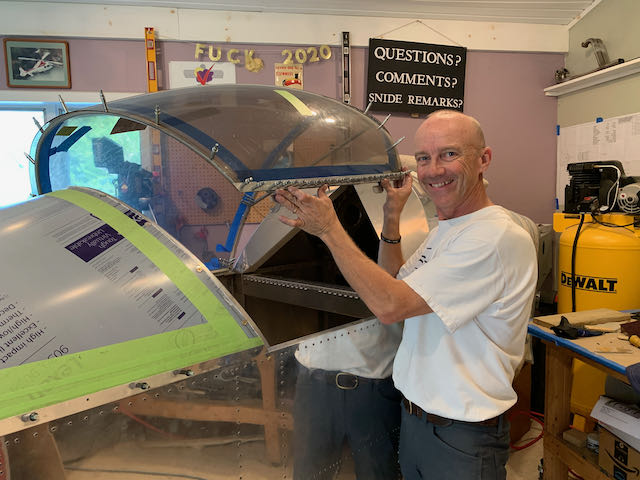
The Windshield is smaller and made from flat sheet so I could cut it on the band saw on my own. The Canopy is a larger sheet and is formed to a bubble shape, this makes it virtually impossible to handle alone so Kat came to the shop to help me out.
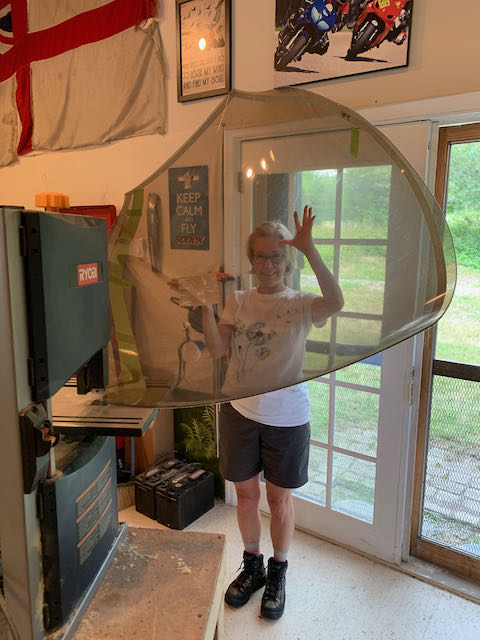
Trusty assistant!
With her to help, we cut to the factory lines then put the Canopy back on, made another mark with masking tape and did another set of cuts. After that, it was all file and sandpaper work; fiddly, but stuff I could manage on my own. Thanks for the help Kat!
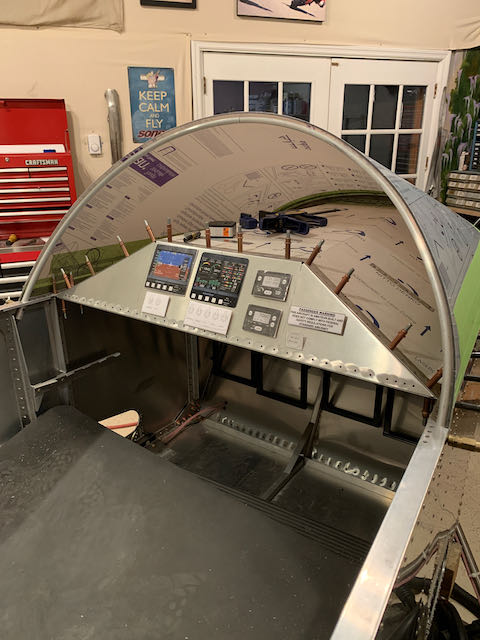
I lost count of the amount of times I put the blank on and off, but it was numerous. The adjustments got smaller and smaller and eventually I had a good enough fit for this stage. The photos all look much the same but there is progress.

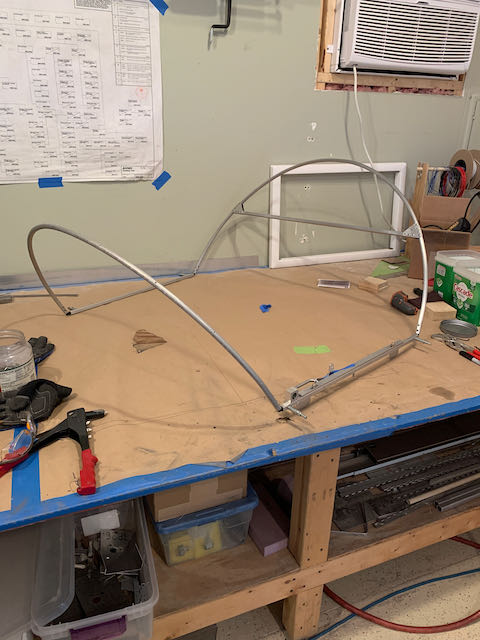
With the rough fit done, it was time to start building up the Canopy Frame which consists of two bows linked by side rails. The right side rail is hinged and the left has the latch mechanism incorporated.
-

- Front Bow…
-
- …Rear Bow…
-
- …hinge…
-
- …and latch.
The latch is a sliding mechanism with cutouts that engage in slots in the upper longeron. A bolt is cut off, rounded, and screwed into the bottom of the slide to hold it in place. A pilot hole is drilled through the fitting and then drilled out for the bolt to fit into. Simple enough, but another opportunity for a goof up; I thought I had drilled square to the longeron, but when I tried it for fit, it became apparent that I hadn’t done a very good job.
-
- Not square…
-
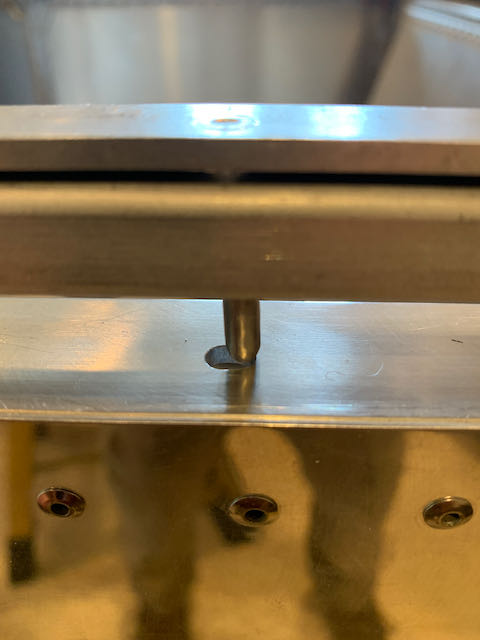
- …that isn’t gonna work…
I tried opening up the hole into more of a slot but it defeated the object of the exercise; the pin would go in but it didn’t hold the slide firmly in place so I drilled the hole out, countersunk it and filled it with a machine screw. Then I got out the square blocks and drilled a replacement pin location slightly forward of the original.
-
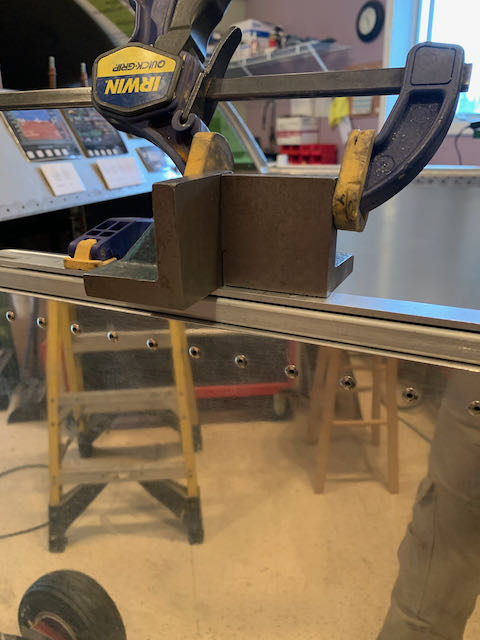
- Drilled…
-
- …tapped…
-
- …better.
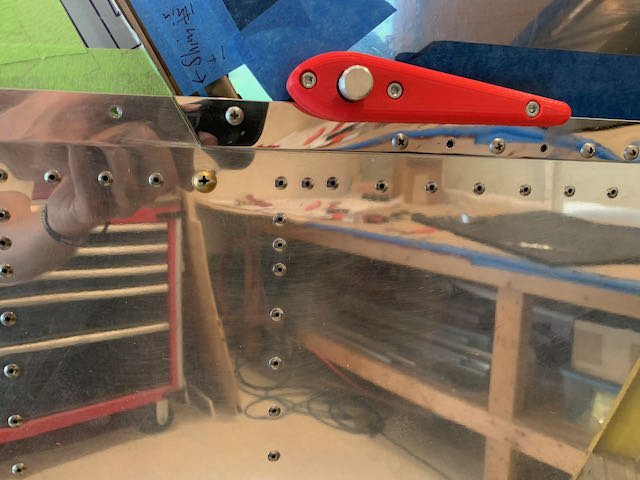
The Sonex design calls for a simple hardware store drawer pull to operate the slide but I am fitting an upgrade. There are some very clever folks around who have built Sonex’ and come up with some clever ideas. One of these people is a gent by the name of Peter Anson, an Australian, who produces a few bits and pieces that will show up in my build. The first is a locking handle for the canopy slide; it fastens to the rail and uses a lever to move the Sonex recommended handle. It also incorporates a latch to hold the Canopy closed and has provision for a padlock to secure the aircraft on the ground. Very clever.
-
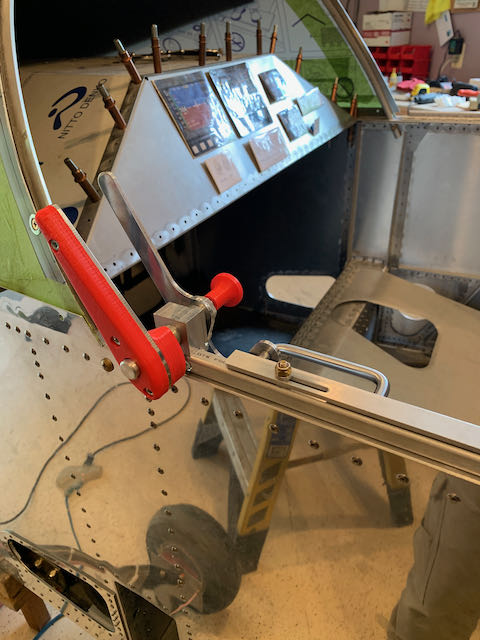
- Open…
-
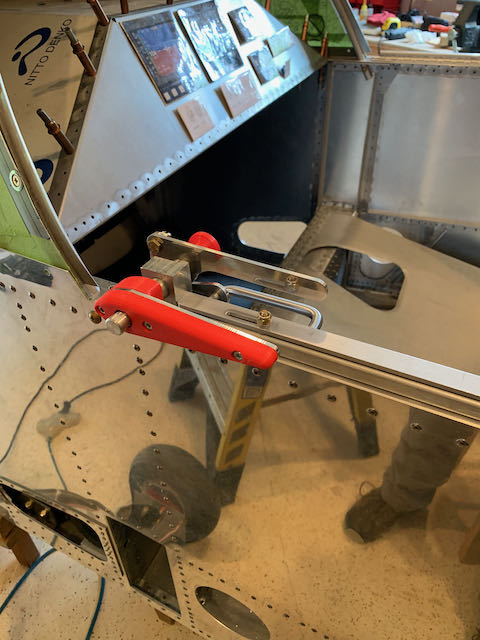
- …closed and latched.
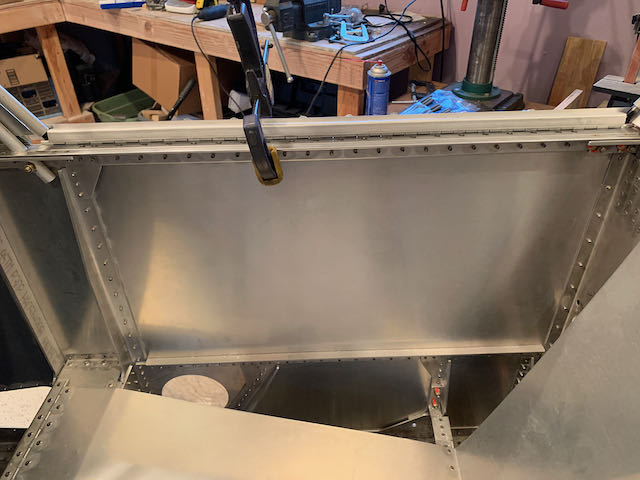
The blank that I set up on the rear bulkhead holds the Rear Bow in the correct location and now I cut up some plywood to provide a jig for the Front Bow. When it was all clamped in place, I drilled some holes and riveted it together.
-
- Front Bow jig…
-
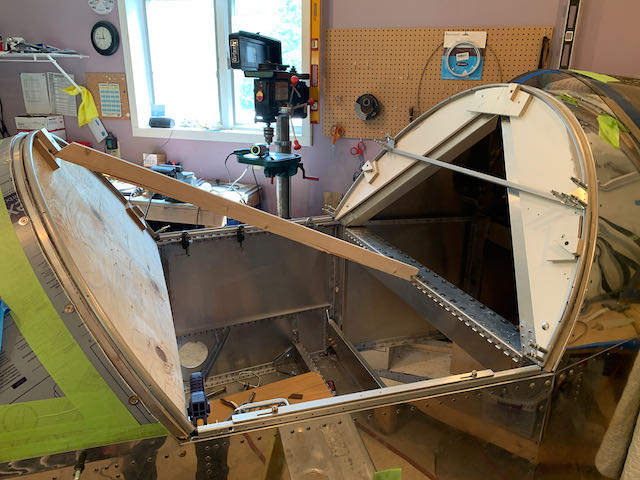
- …frame ready for drilling…
-
- …and riveting.
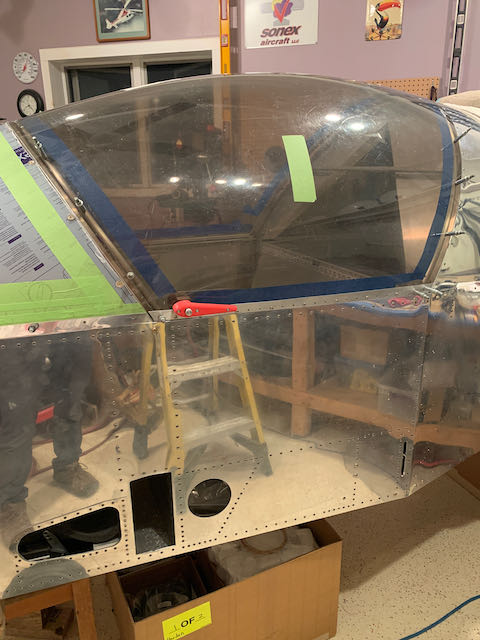
Next job was to match the Canopy with the frame; when everything was lined up, it was time to bite the bullet and drill some holes.
-

- Lined up and taped…
-
- …strapped and blocked…
-
- …hinge side…
-

- …latch side.
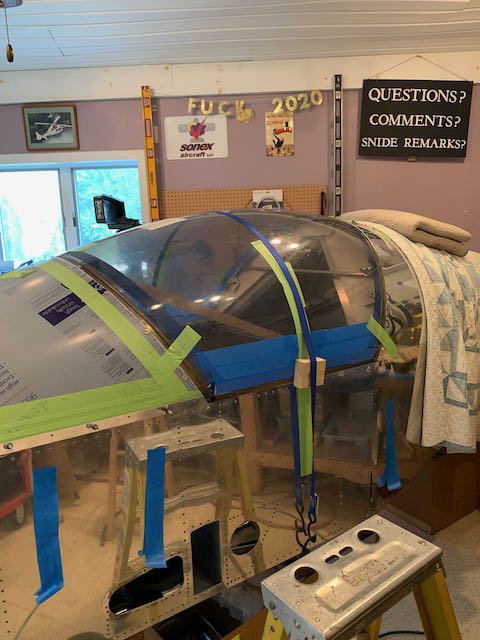
And just like that, we have a functioning Canopy!
Very happy.
Using various different size Acrylic drills, I got all the holes drilled up and countersunk where necessary. There was one last hurdle, the hole for the handle to fit through. This is a 5/8″ hole, the handle kit provides a jig to drill a 3/16″ pilot hole and then I used a step drill to open it up to final size.
Having all the holes successfully drilled was a large weight off my shoulders but there was still plenty left to do. All the pilot holes in the frame needed to be drilled up a size and then tapped to receive the machine screws that hold everything in place. When the screws are installed, the material gets pulled in a little tighter so there was a little work needed to get everything to fit nicely.
-
- Screws going in…
-

- …and finished.
Both the hinge and handle side were not quite to my liking so I re-made both of them; I actually disassembled the whole thing to smooth down all the cut edges and clean up the frame. When it went back together, the end result came out pretty good; I even polished the handle side.
-

- Poor fit…
-
- …better, and shiny!
And that’s about it for the Canopy, I’ll take it and the Windshield off to provide easier access to the interior. With them both stored safely away, it’s time to move on to the next part of the build.