
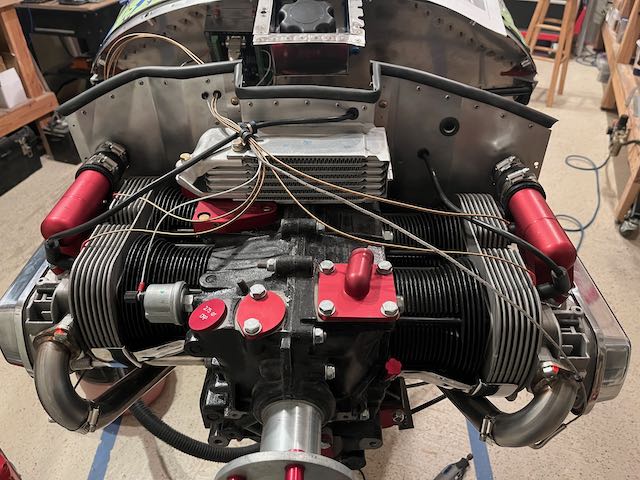
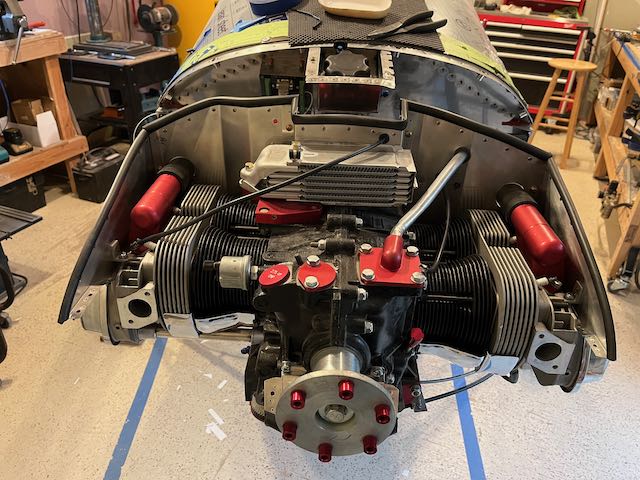
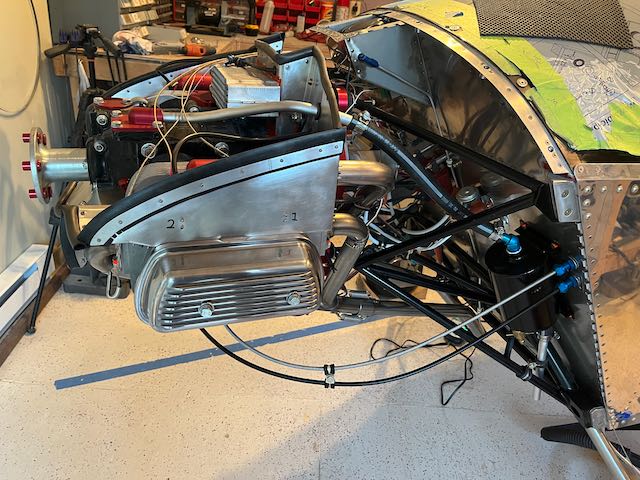
October 21 – The Engine baffles were the last major component of the build, and having finished them, I then had to drill all manner of holes in them. I had already cut the large holes for the Intake Manifolds, but now it was time to locate Spark Plug Leads, CHT/EHT and Oil Pressure wires. This was pretty simple with the aid of a few grommets and Adele clamps.
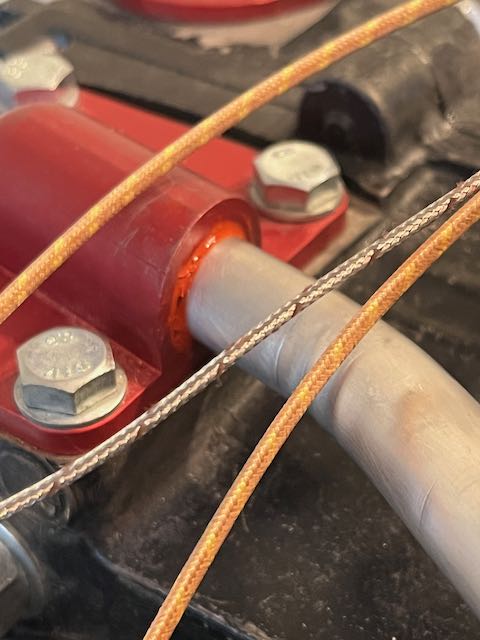
The CHT leads are trimmable and were plenty long but the EHT are not trimmable and the #2 cylinder lead was only just long enough, so I had to run it over the top of the engine.
-
- #2 EGT lead.
-
- All tidied up
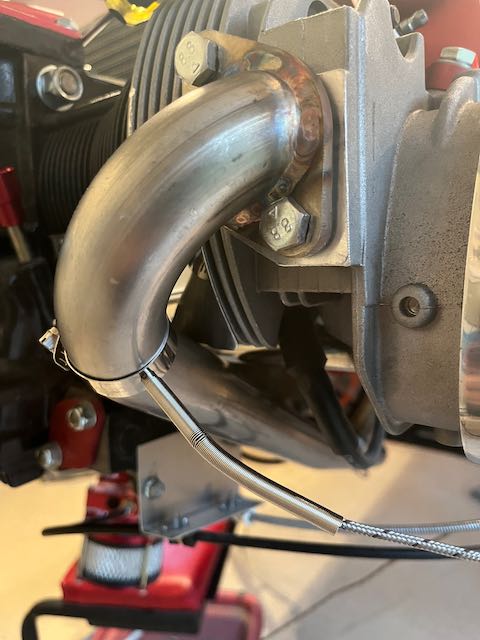
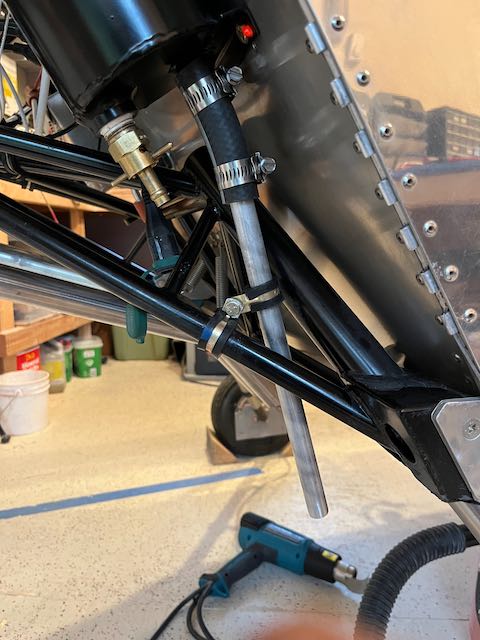
I bent up a length of 5/8″ aluminum tube for the oil breather line and glued it in place with some high temperature RTV.
-
- Oil breather line…
-
- …RTV’d in place
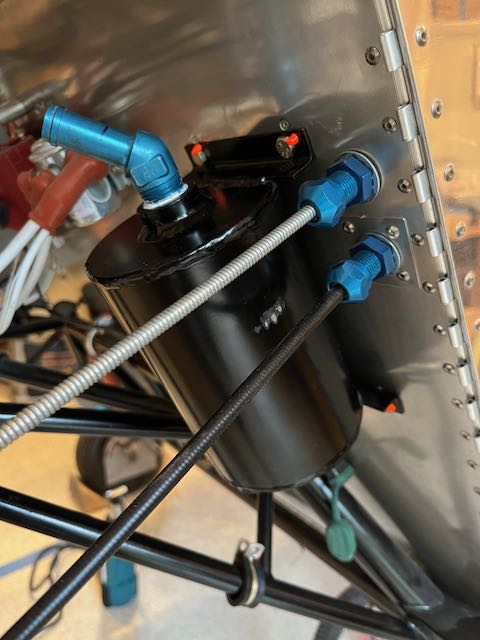
The other end of the breather line runs into the Oil Separator and here I took the opportunity to change the way the Separator was mounted. I had bolted it on previously, but upon reflection, decide to take it off and install nut plates. In retrospect, I realize that I should have done this with all the components that are mounted to the Firewall. The Separator was fairly simple to achieve, some of the other components will be fiendishly difficult; I am going to leave them until it becomes necessary, hopefully a long time in the future (if ever).
The Separator has a vent that passes vapor out of the bottom of the Cowling, that got fixed in place and a hole was made for it to pass through.
-
- Remounted Separator…
-
- …vent line…
-
- …complete installation.
I then hooked up the CHT and EGT leads to the RDAC and tidied up the spare wire with spiral wrap and zip ties.
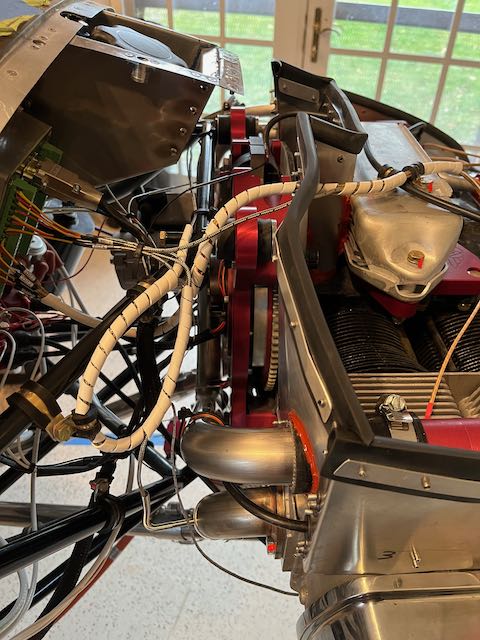
Firewall forward wiring done.
Next was to remount the AeroCarb and add the supplemental wire locking.
-
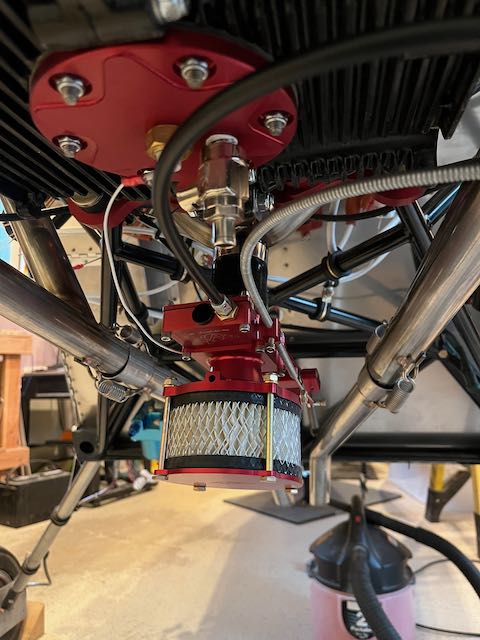
- Mounted…
-
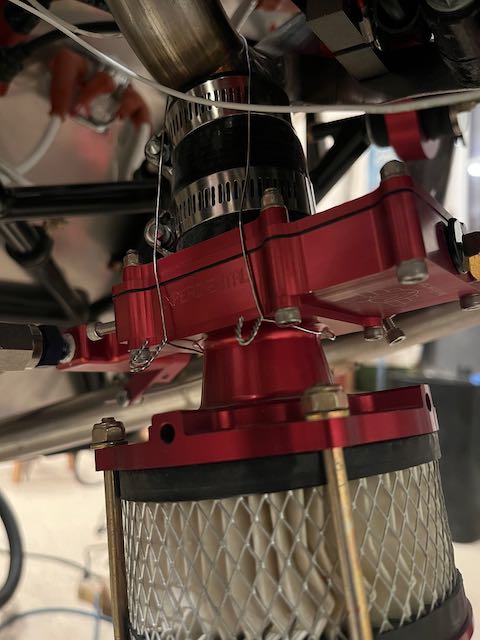
- …wire locked.
I remounted the Fuel Fill Overflow line and then attached the fuel line. I had these made up and covered in fireproof sleeving; three times in fact, as I goofed up the measurements! It is now mounted and checked for clearance with the Cowling. This will get torqued up later, after I have done the fuel flow check.
-

- Fuel fill overflow…
-
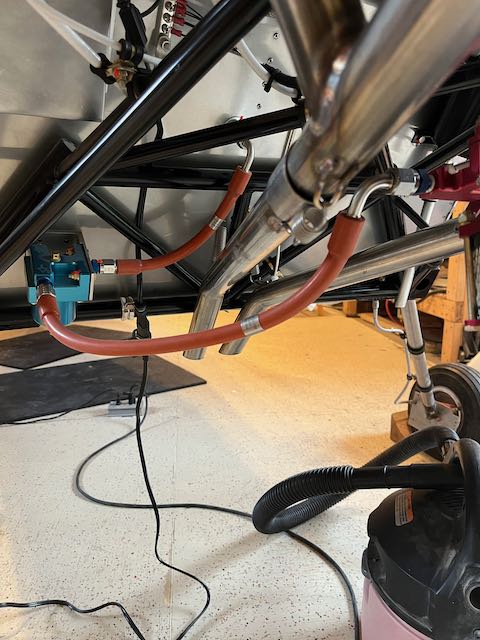
- …Fireproofed Fuel Lines…
-
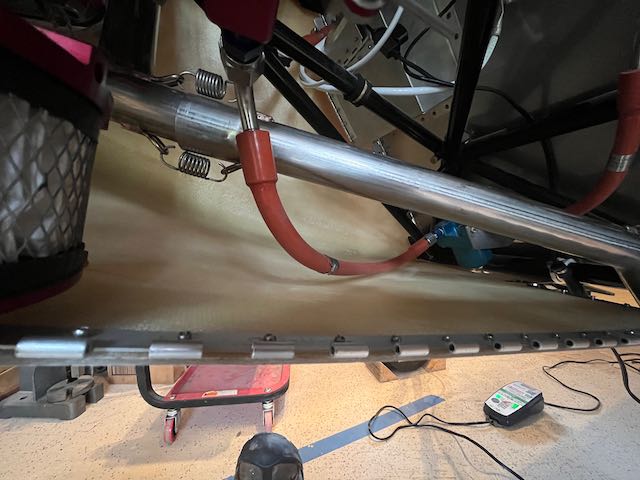
- …clear of Cowling.
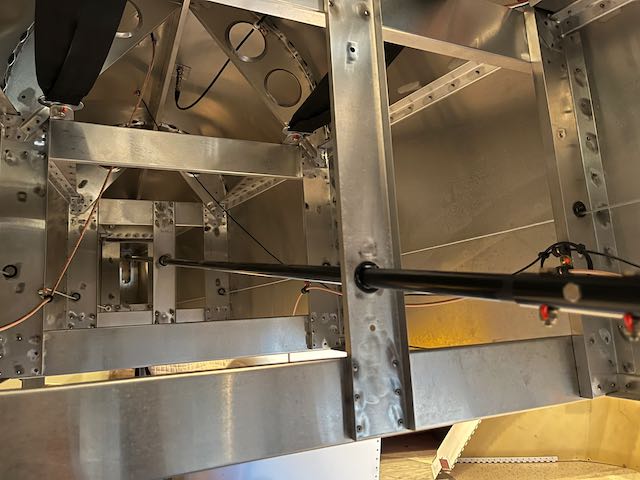
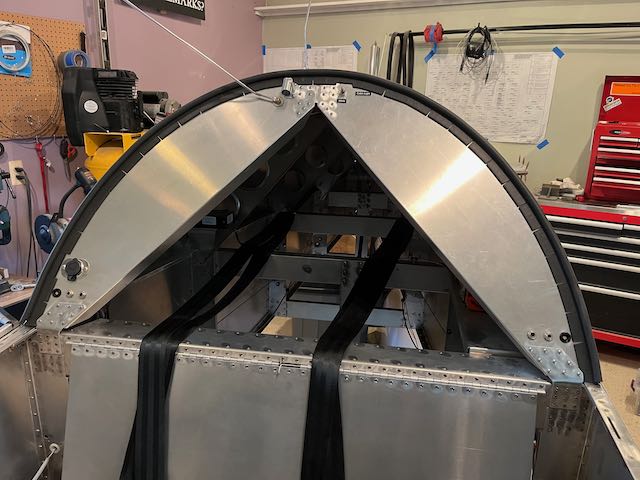
With the Engine Bay completed, I moved on to the Elevator Trim. The Aero Conversions system uses springs to hold the stick in position, rather than having a moveable trim tab on the elevator. I installed the spring and hooked everything up. It seems to work just fine.
-
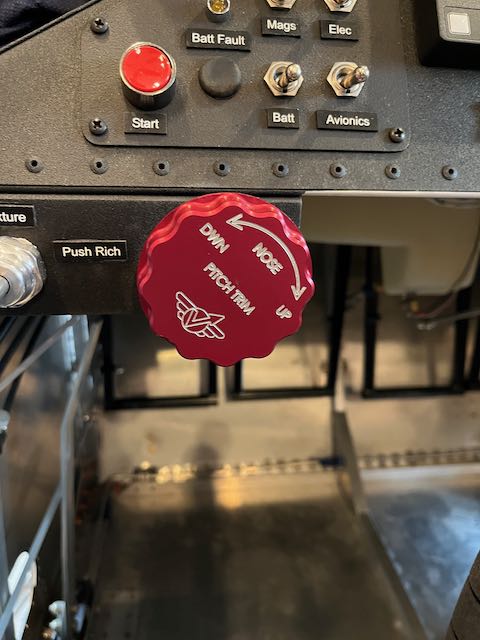
- Trim wheel…
-
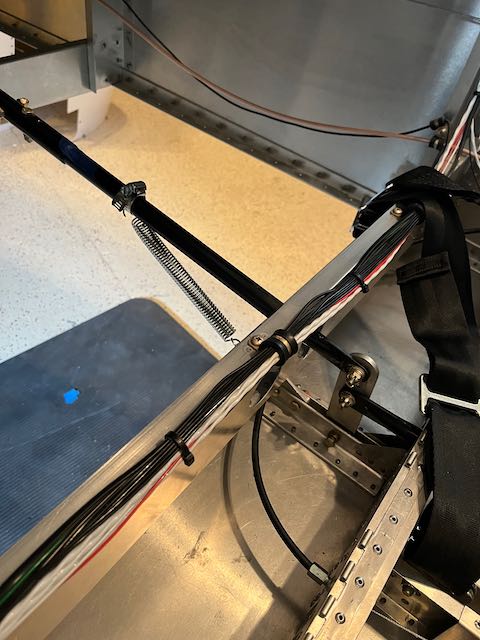
- …spring one…
-
- …and two.
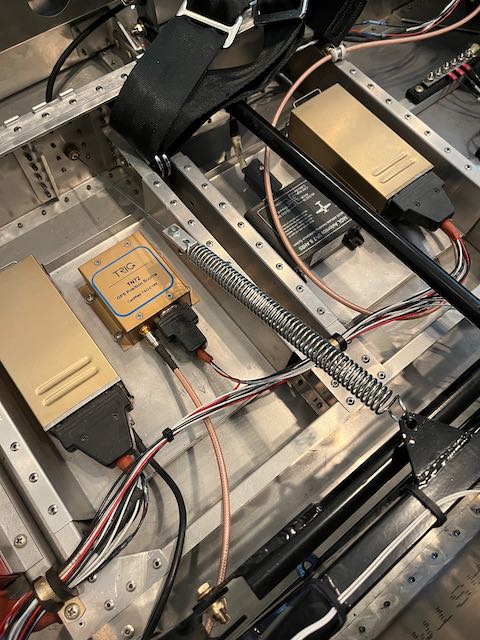
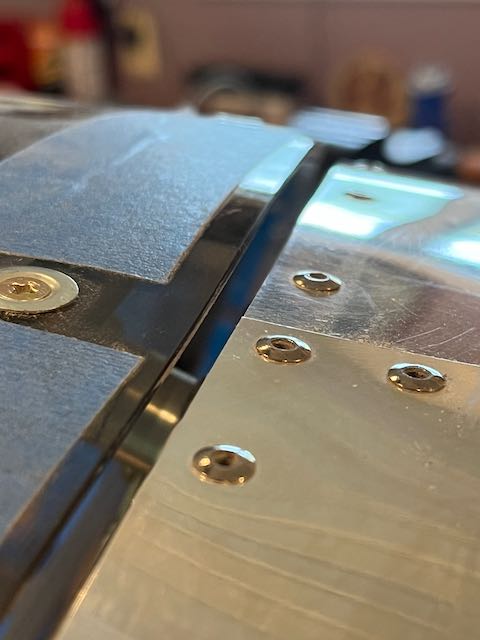
While I was rooting around inside the rear of the fuselage, I tightened all the antennae and cable clamps; there’s something oddly satisfying about putting on the torque stripe…
All tidied up.
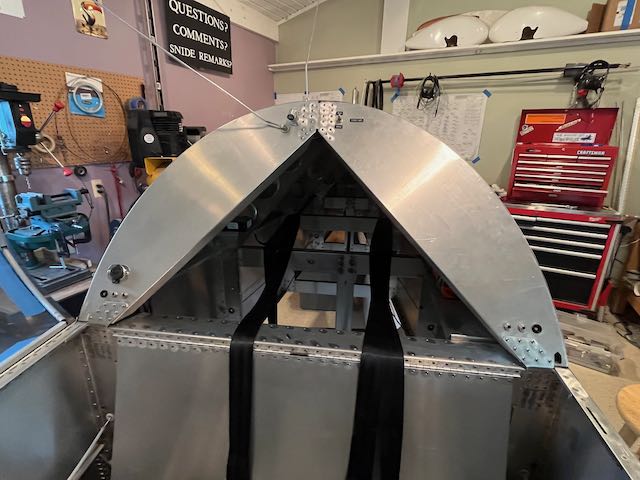
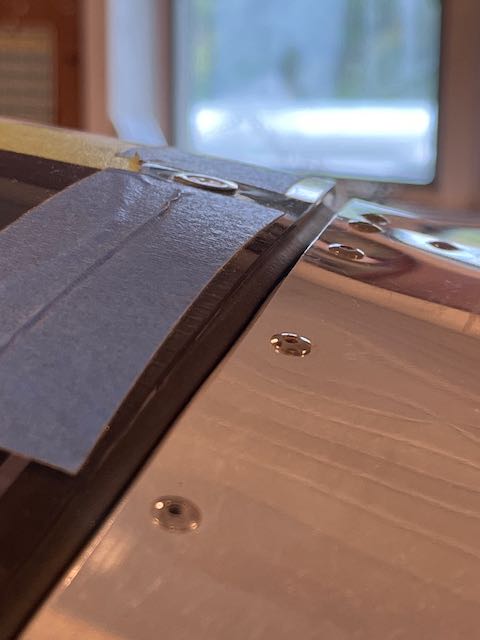
Despite spending an ungodly amount of time on the Canopy, when I reinstalled it, there was a larger gap at the rear than I was happy with.
Canopy gap.
I am not prepared to completely rebuild a new one, so I got some self adhesive weather strip to fill the gap. It is designed for straight lines, and, of course, the canopy seal is curved.
-
- Curved…
-
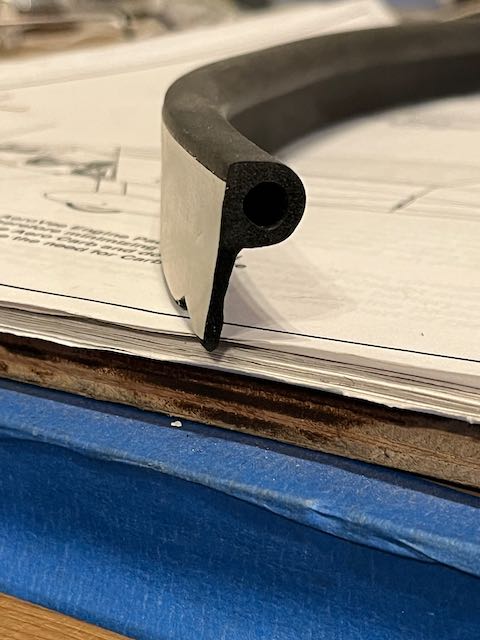
- …straight.
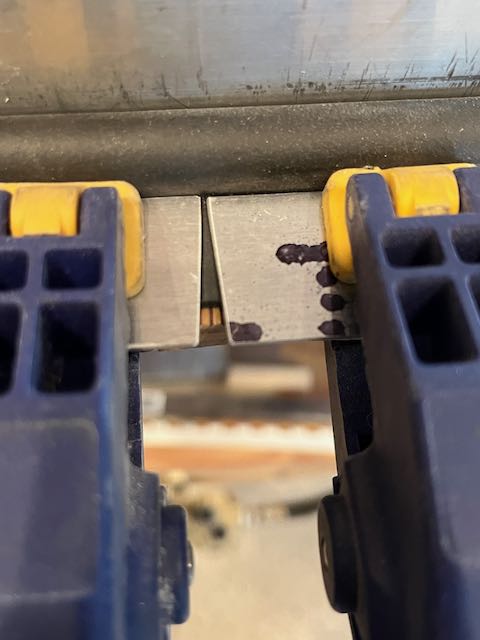
The required piece of weatherstripping was 66″ long and I wanted to cut skinny triangles out of it every two inches, so I made up a jig.
-
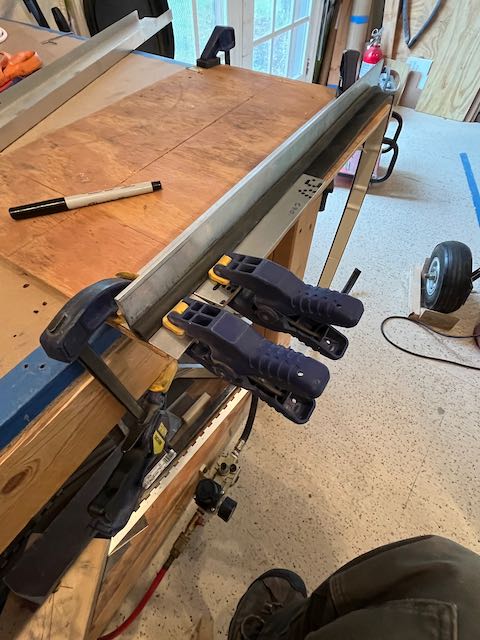
- Clamped in the jig…
-
- …skinny triangle…
-
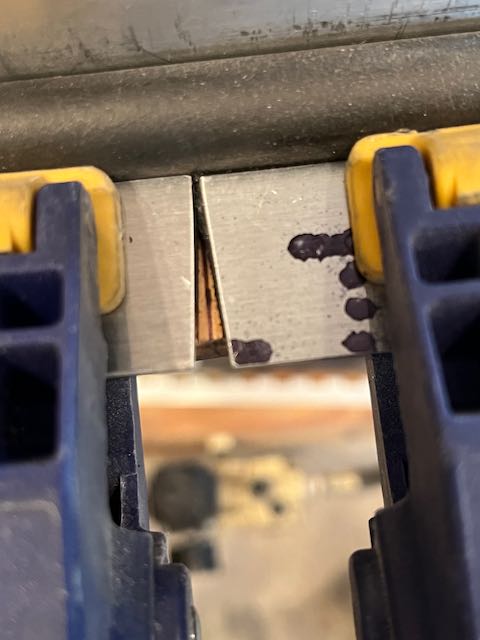
- …cut out.
This worked pretty well.
And sealed the gap nicely.
I’ll have to see how well it holds up, if the adhesive doesn’t do the trick, I will rivet some aluminum strips on like I did with the baffles.
Next job, finish off the Tail that I started 13 years ago by attaching the tips.
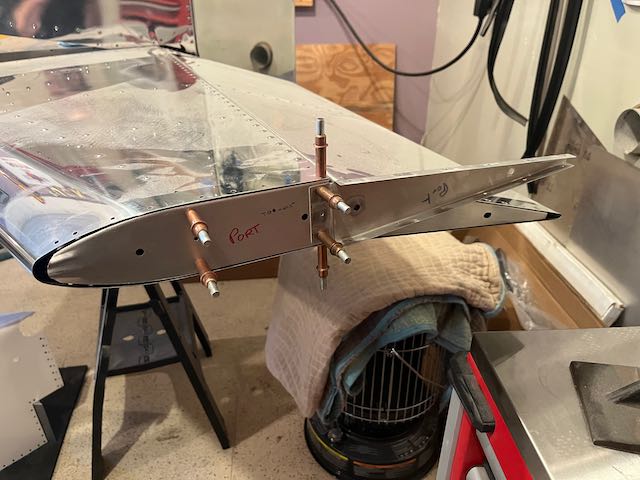
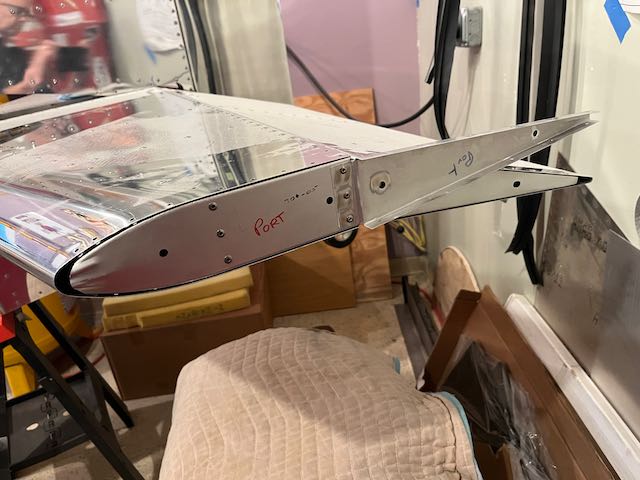
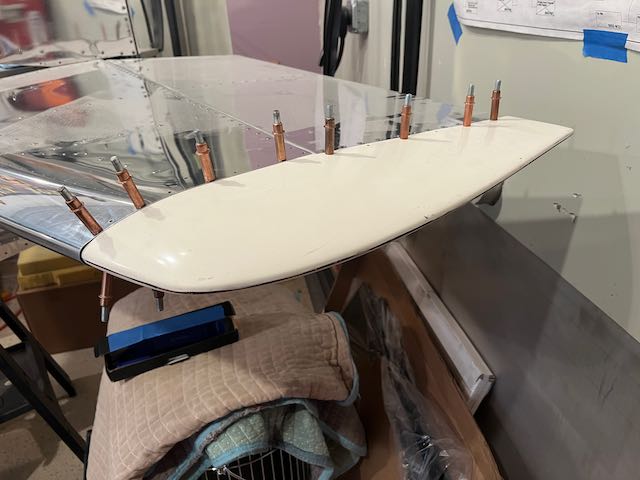
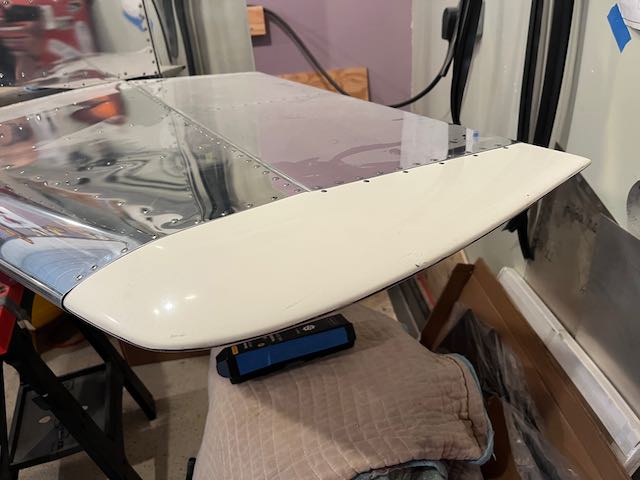
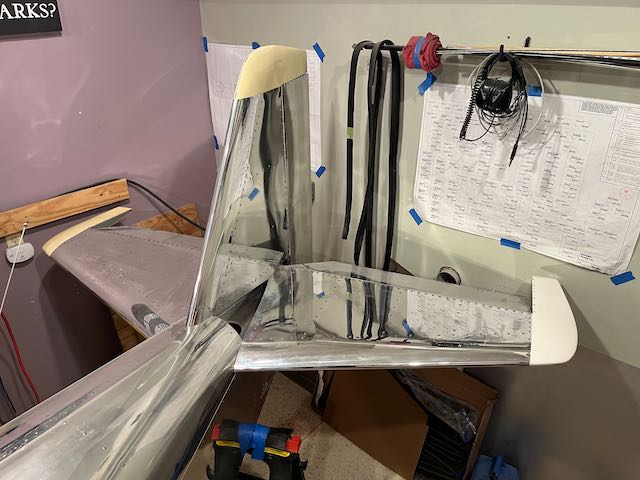
Getting there…