
August 1st – The page title says May and I have indeed been working on the wing since then, much of the process is identical to the right wing but I thought it was time to post a progress report. I have applied the things I learned from that wing, sometimes I wish I could build a third one but that would be a bit silly!
The first thing I found when laying the parts out was a couple of poorly driven rivets in the main spar; I drilled them out and replaced them.
-
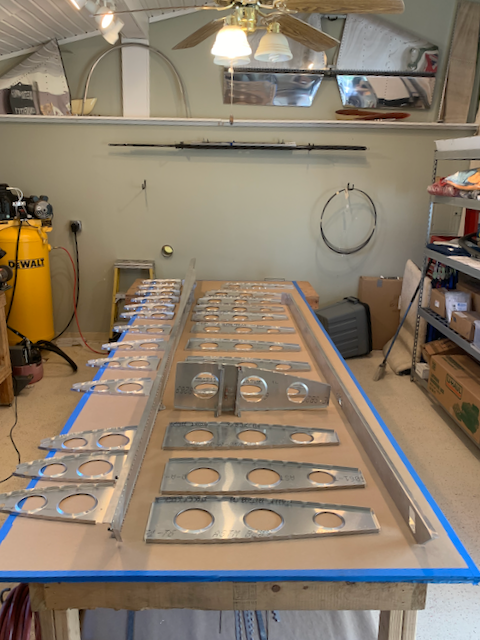
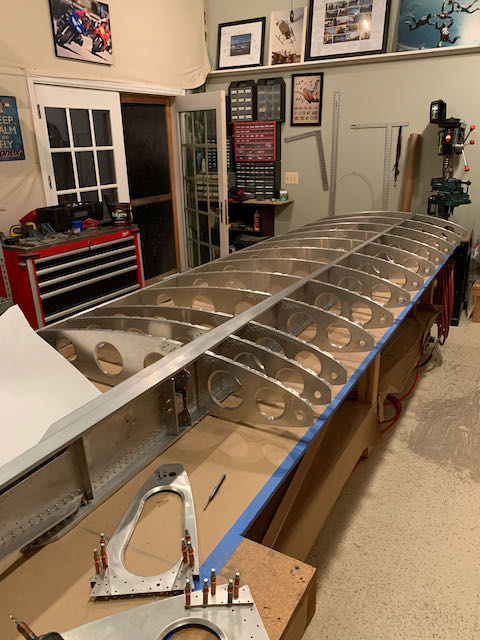
- Ribs and spars laid out.
-
- Bad rivet…
-
- …fixed.
-
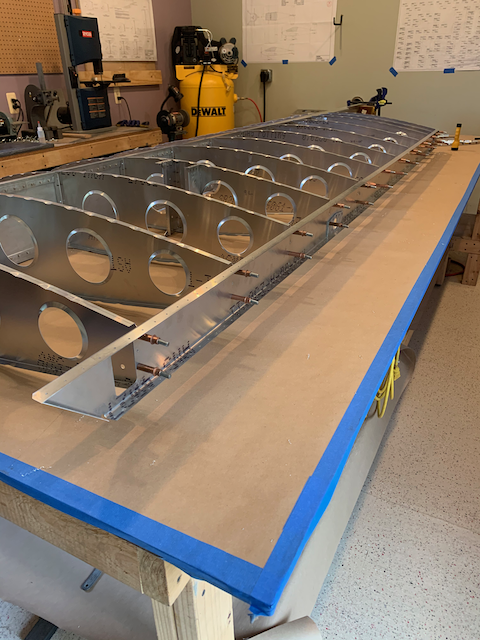
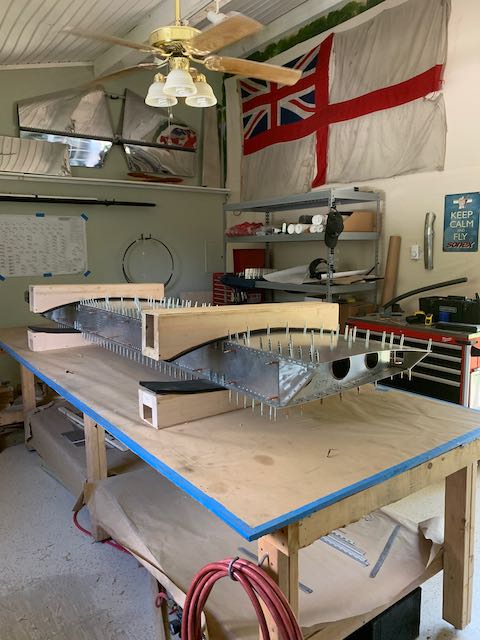
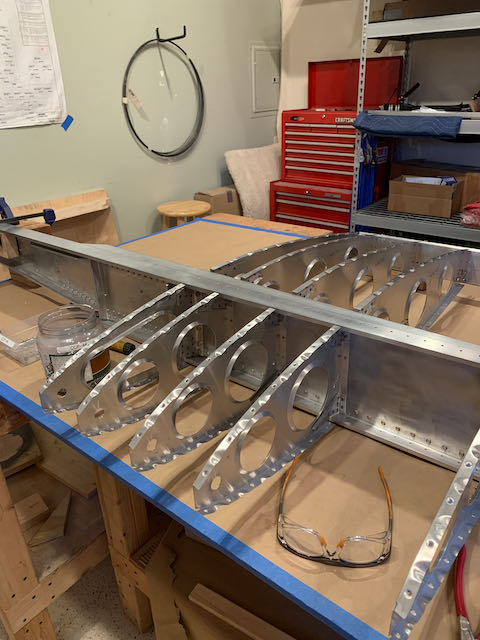
- Wing frame assembled.
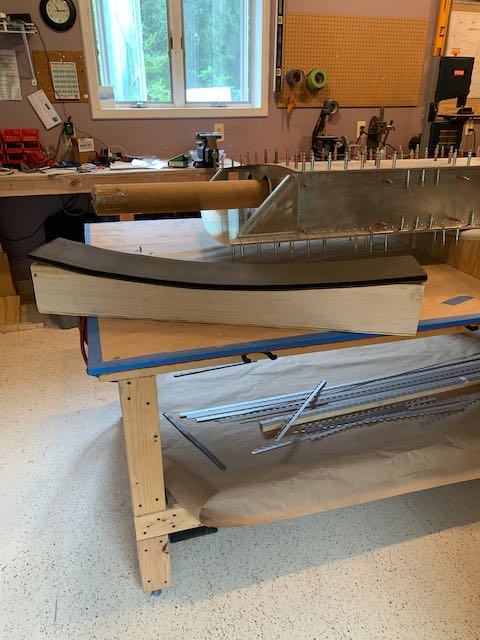
When I had the frame assembled, I realized that I don’t have room in this shop to work on anything else when the wing is covering the bench so I disassembled it and built up the flap and aileron. After my previous experience with poorly drilled holes in the lead balance weight, I used a different technique and got a much cleaner result using the drill press.
-

- Flap complete.
-
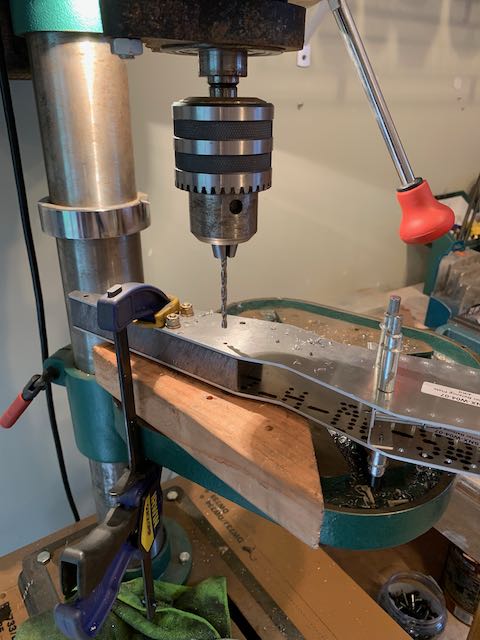
- Drilling the counterweight…
-

- …better result.
-
- All polished.
-
- Done and…
-
- done.
With the control surfaces completed, the build up of the wing panel could continue.
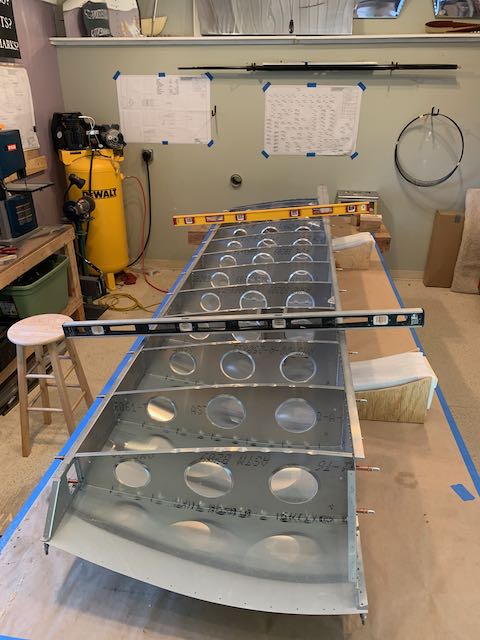
I used some jigs on the first wing to hold everything in place but I wanted to have an even more secure way this time so I made up some wooden blocks, screwed them in place and made some clips to hold everything firmly.
-
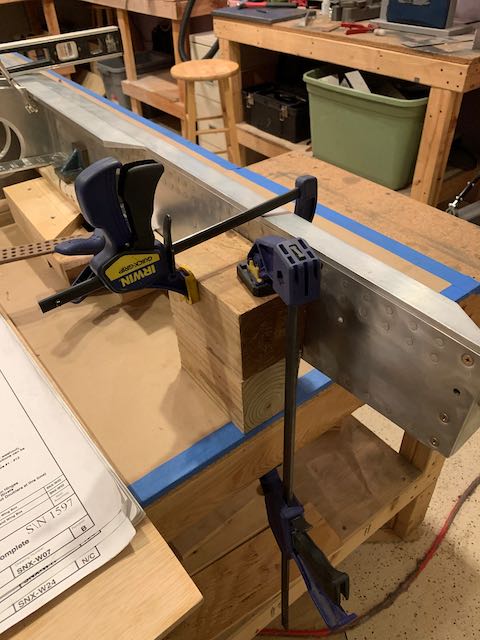
- Main spar secure…
-

- …rear spar clip 1…
-
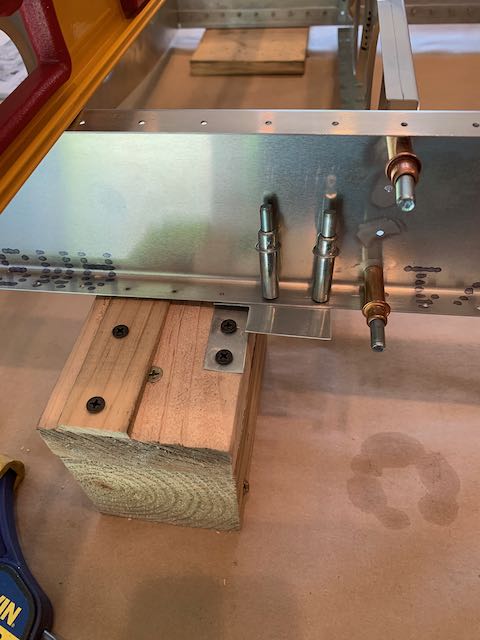
- …and 2.
-

- Levels used to confirm no twist.
-

- That will do…
-
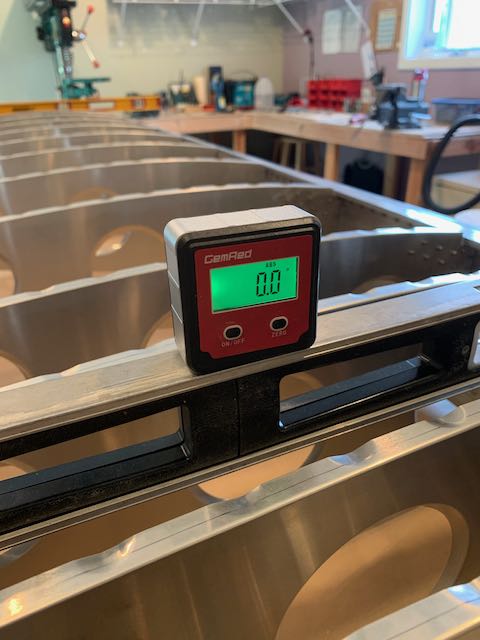
- …likewise.
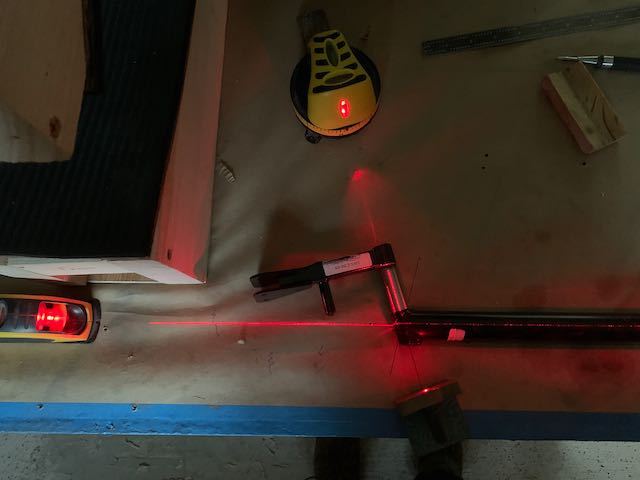
With the wing held firmly without any twist, I used a slightly different set up to make sure the frame was square.
-
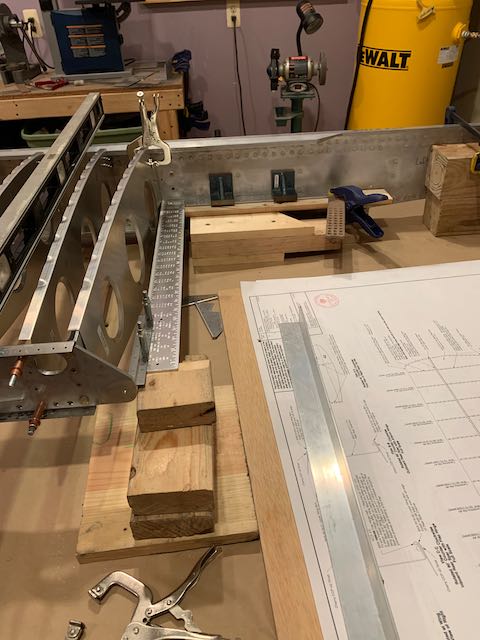
- Framing square…
-
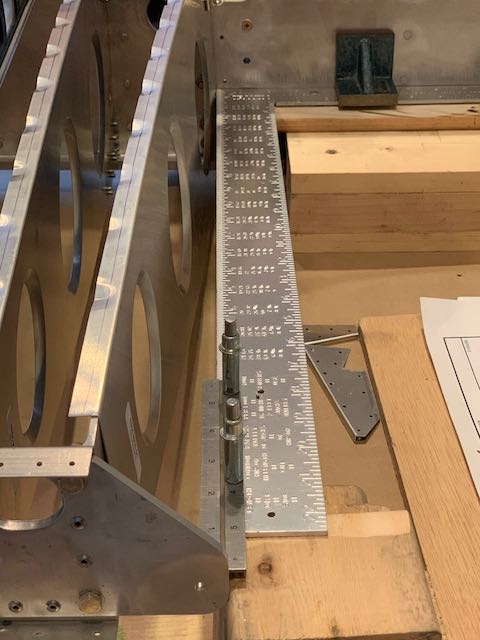
- …with short ruler attached…
-
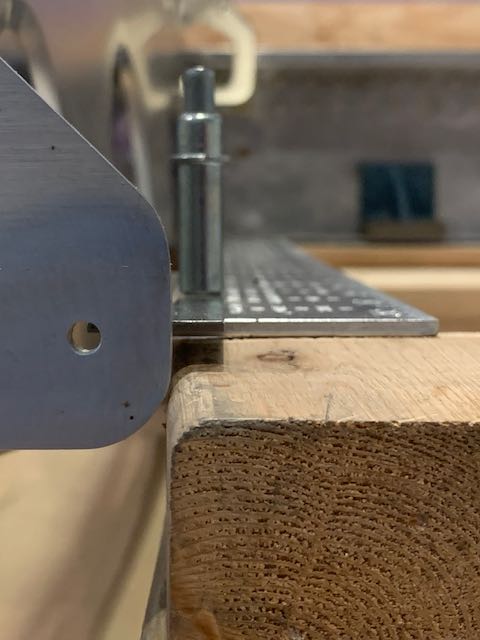
- …lined up with hole in rear spar…
-
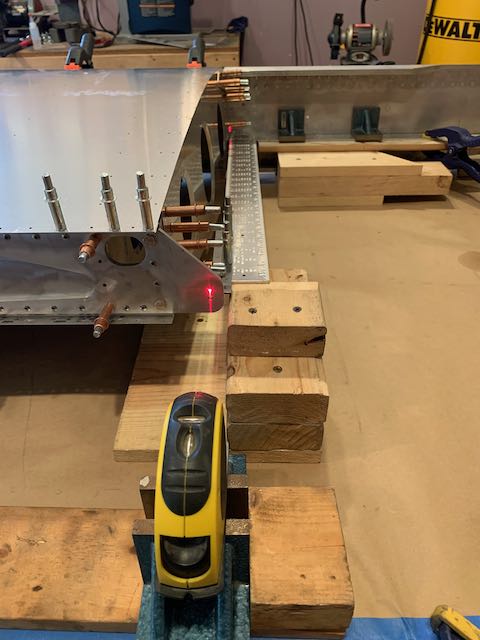
- …confirmed by laser level.
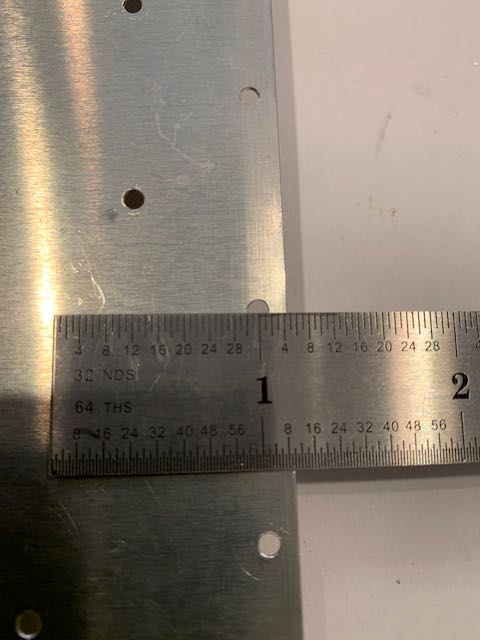
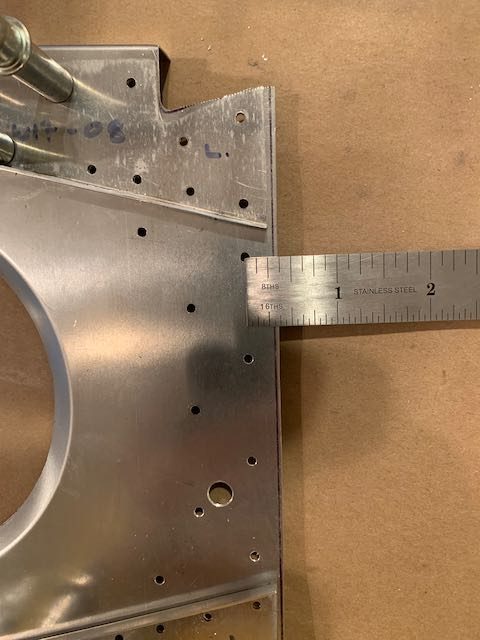
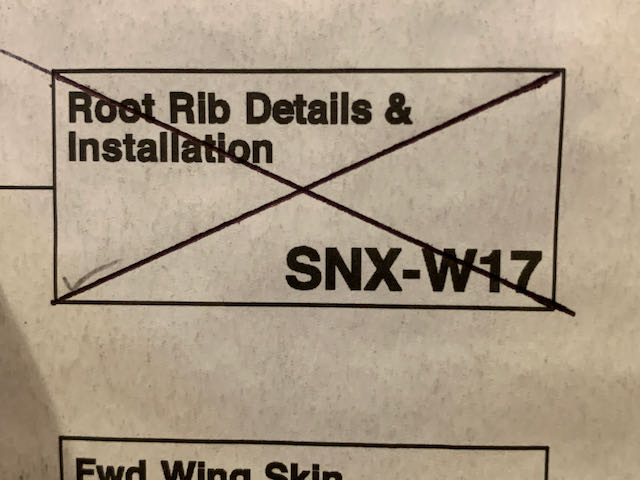
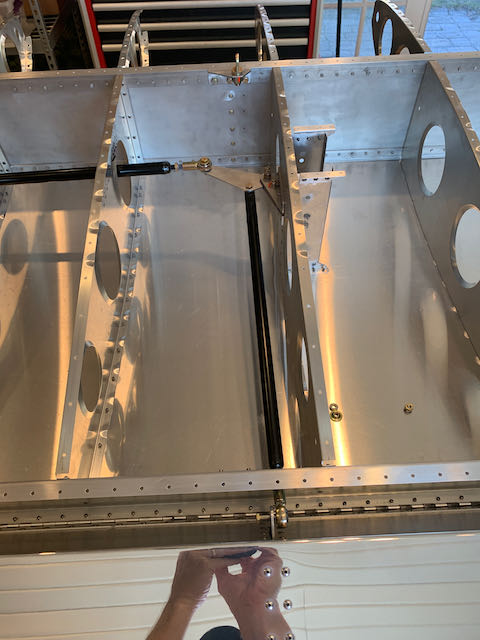
With the frame level and square, it’s time to start locking things in place and the start of that process is to mount the root rib. I got it in place and drilled up but when I took the rib off, it became apparent that the holes were too close to the edge. I’m not quite sure why, I checked the dimensions of the part against the drawing and it is pretty well spot on. I think it may be a result of sometimes trying to be too precise; the drawings are done on CAD and I’ve been trying to build to 1/64″ tolerance. Sometimes it would seem it’s better to have a little extra material to play with. Anyway, an order went in to Sonex and when I got the replacement rib, I left plenty of extra to play with.
-
- Not enough…
-
- …that’s better.
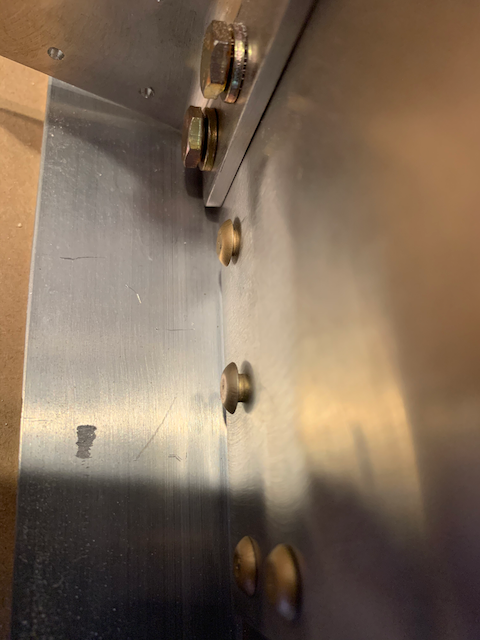
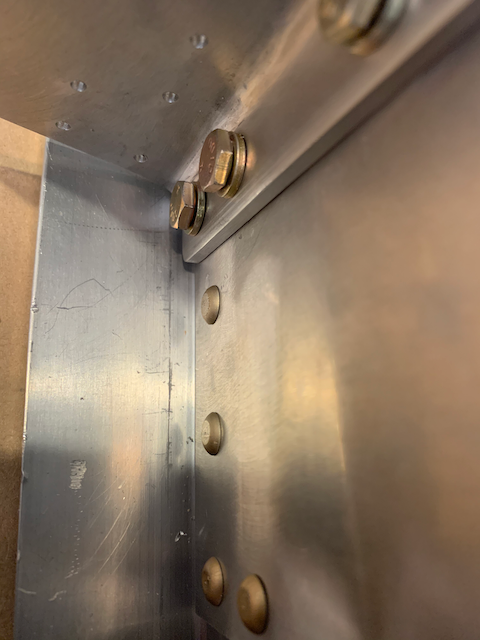
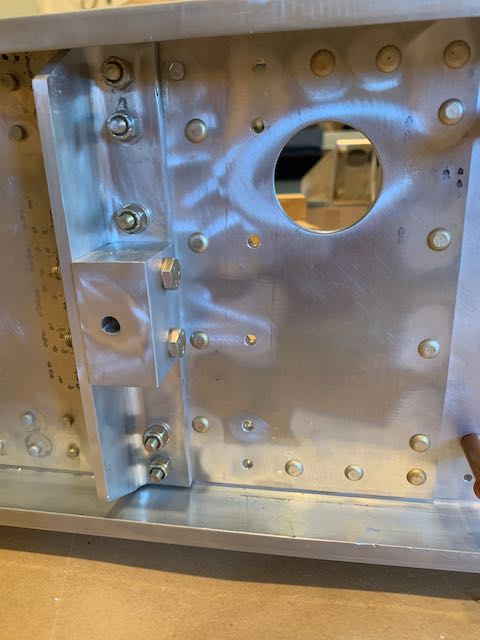
Much earlier in the build, when I was making up the main spars, I drilled some holes in the wrong place. I decided to fill these holes with rivets, I reckon a few more is better than leaving the holes open. I took the root rib attachment brackets off to get to the rivets and once the rivets were set, I re-attached and torque striped them.
-
- Holes filled with rivets…
-
- …torque stripe applied.
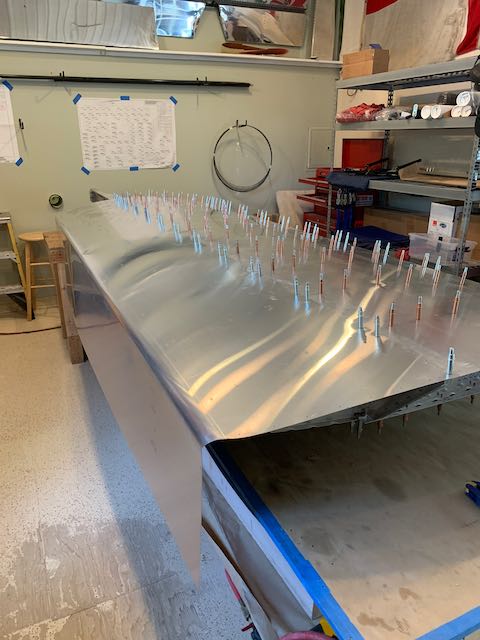
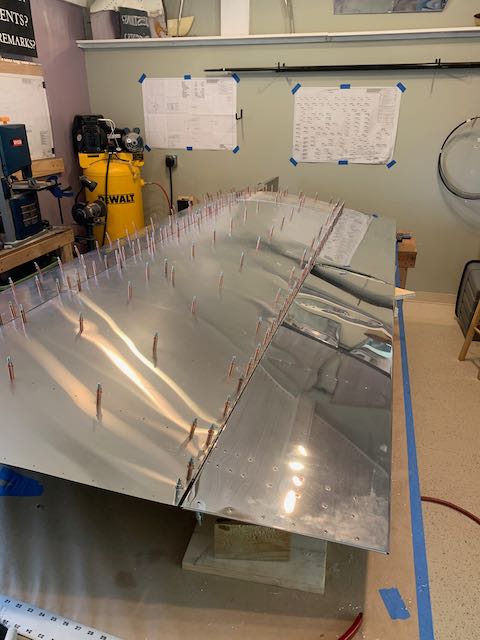
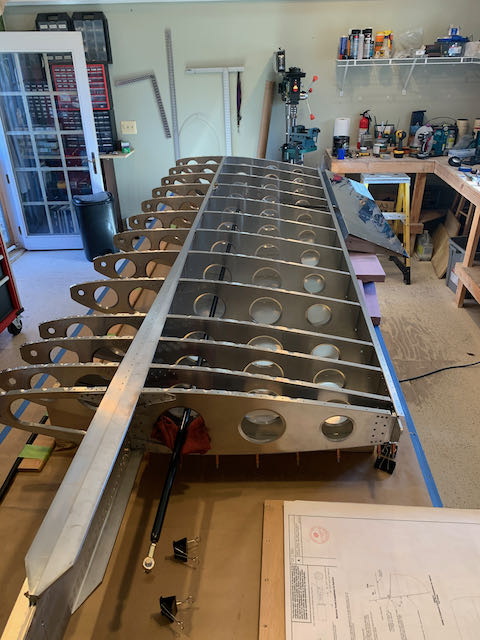
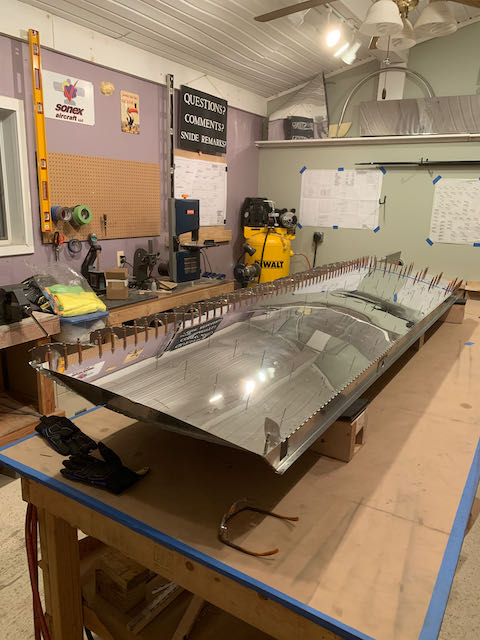
With the root rib situation dealt with, I could now get the wing skin on and start the march of the clecos to turn this wing into a silver hedgehog.
-
- Root rib in place…
-

- …skin attached to rear spar…
-
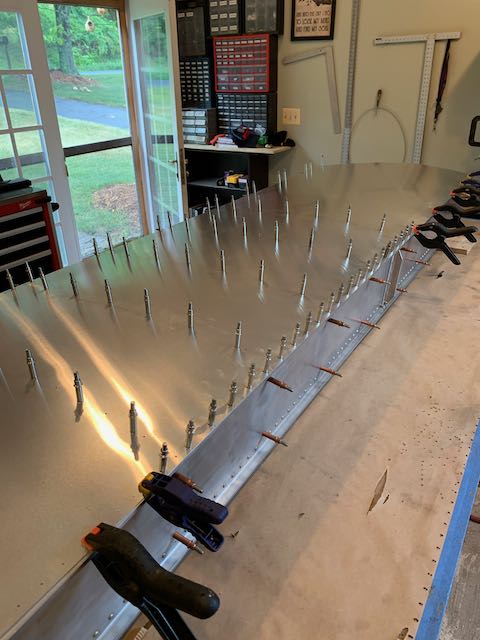
- …march of the clecos begins…
-
- …done.
Now I get to flip the wing over and attach the lower skin, but that will have to wait for next time.
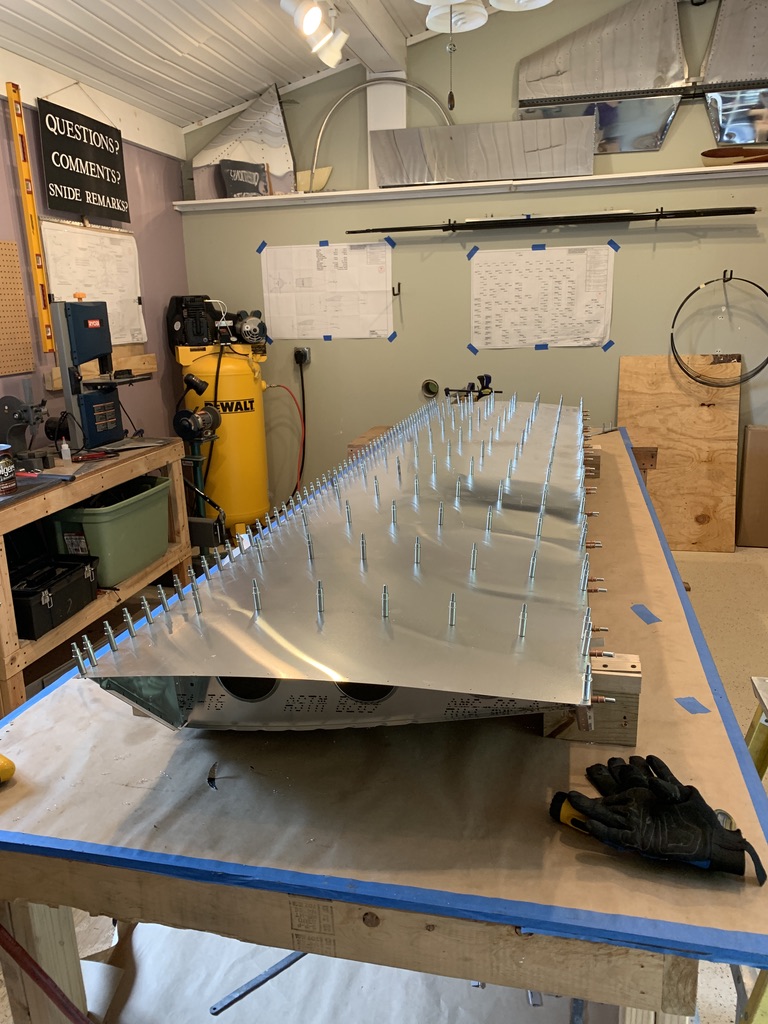
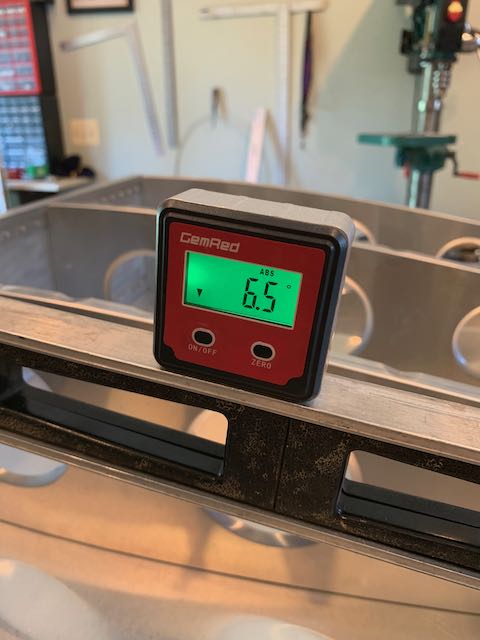
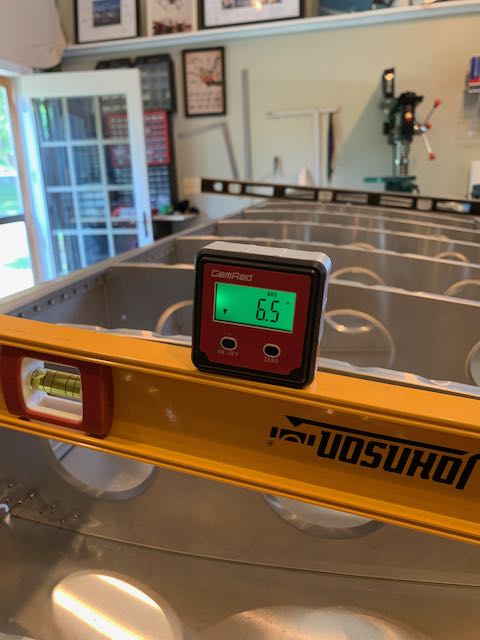
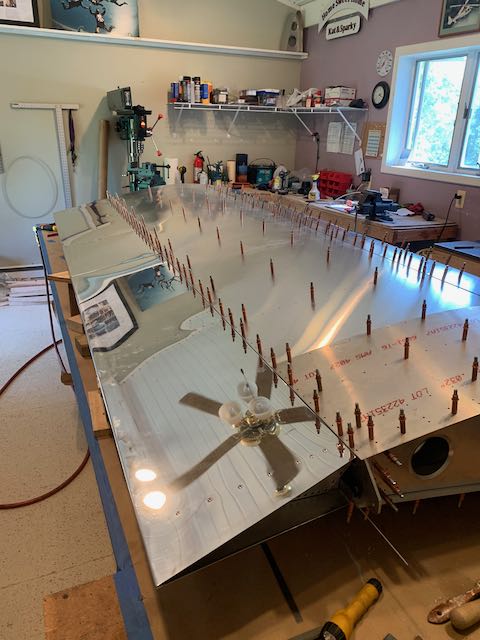
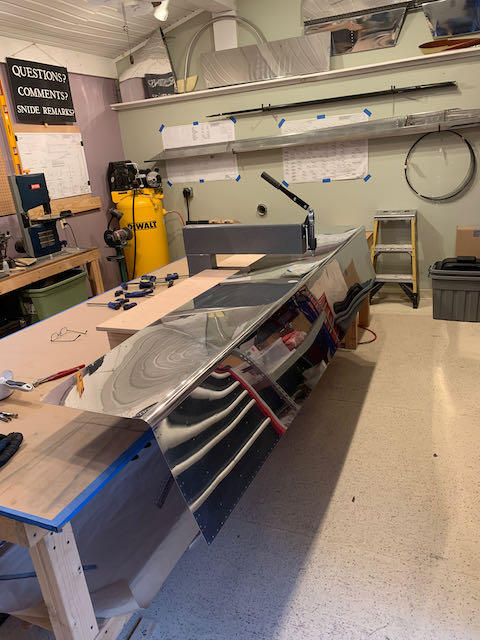
September 12th – Work on the wing continues. With Kat’s help, I flipped the still flimsy structure over and, learning from the success of my jigs, made up a new set to hold the wing straight and square to get the lower skin on. When I did this on the right wing, the weight was supported primarily by some odd pieces of styrofoam which allowed the clecos on the bottom surface to contact the bench. They often got pushed around as I was working on thing, this left marks on the skin which were impossible to polish out. To help prevent that on this wing, I took a page from other builders experiences and built some cradles to provide support. With the wing secure, I leveled it and started attaching the top skin. The angle on the protractor is not important so long as it’s the same at both ends of the wing.
-
- Drawing…
-

- …cradle…
-
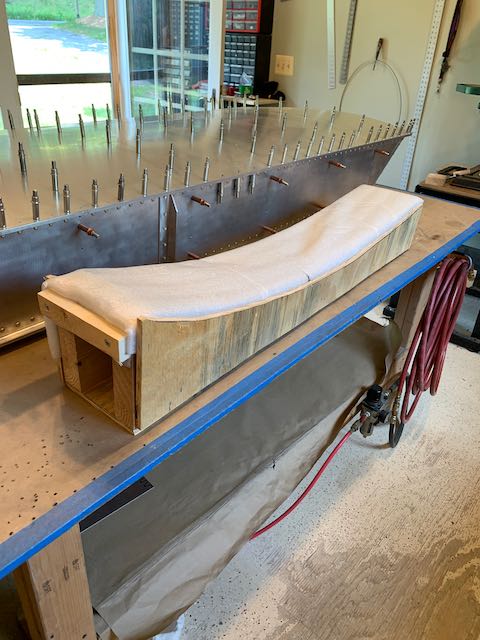
- …version 1.
-

- New jigs…
-

- …wings secure.
-
- Lining up…
-
- …that’ll…
-
- …do.
-
- Top skin in place.
The first version used some packing material I had lying around to cover the surface which allowed me to get started but I ordered a cheap yoga mat, cut it to size and glued it in place. Should have done it for the first wing.
-
- Version 2.0…
-

- …bottom…
-
- …and top.
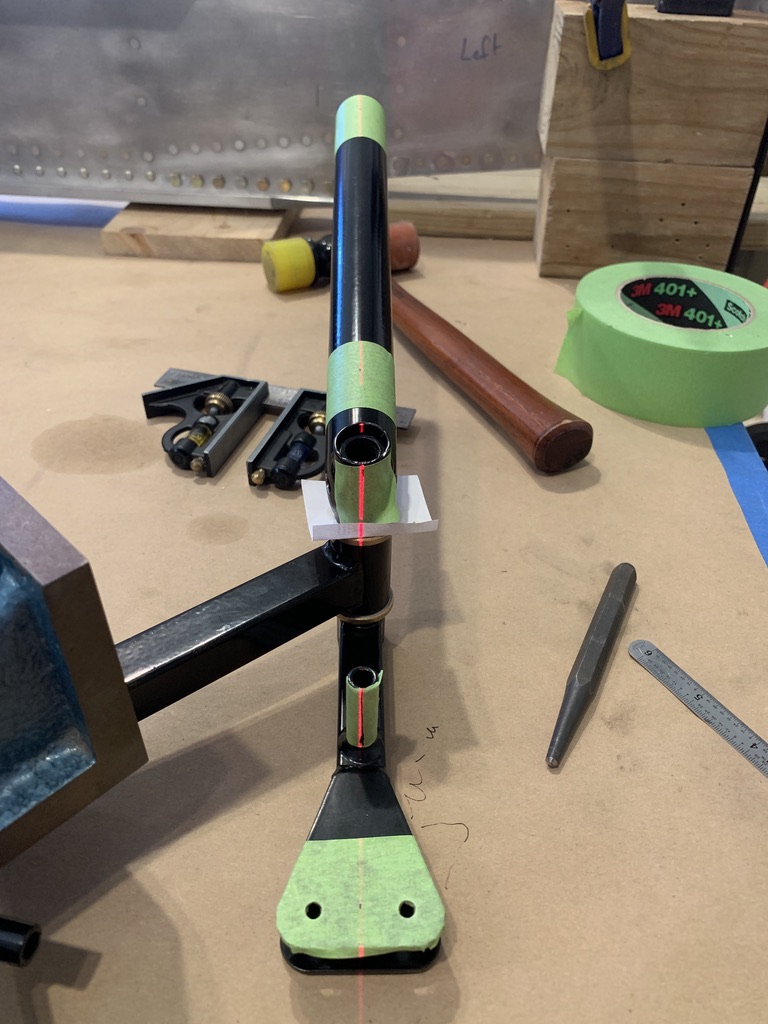
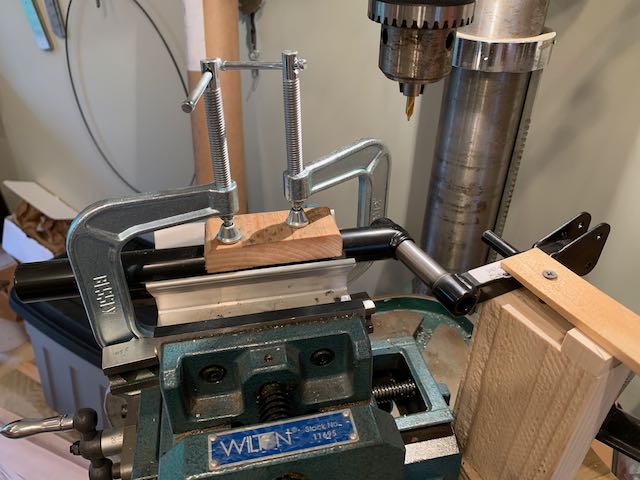
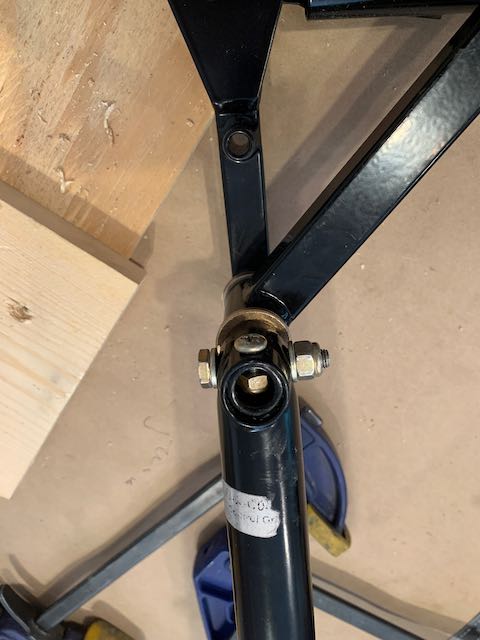
A little side project that I completed earlier on while waiting for a replacement root rib was to get the control stick assembly put together. The challenge here is to get everything lined up and secured for drilling through the two concentric tubes.
-
- Marked up…
-
- …clamped and drilled…
-
- …in place.
My first attempt went pretty well, there was minimal movement between the upper and lower parts of the stick. I want this to be a solid connection to prevent any play in the control runs.
The set up I used worked but seemed a bit precarious so I tried an ‘improved’ set up for the second one. Unfortunately I got a worse result this time, I tried updrilling to the next size bolt but there was more play between the upper and lower parts than I wanted so I decided to order replacements and try again.
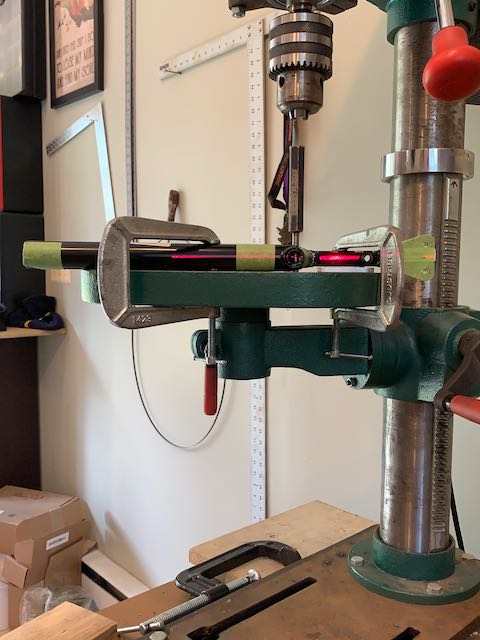
I used my laser levels to mark the new parts, clamped everything securely and used brand new drill bits.
-
- Located…
-
- …drilled…
-
- …complete.
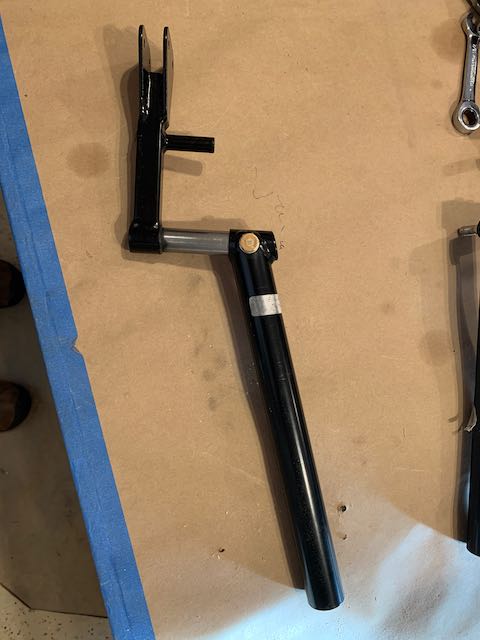
The result was better, but when I mounted everything in place, there was still more movement than I wanted. After scratching my head for a while, I decided to drill another hole, tap a thread in it and secure the two tubes with a machine screw. This worked nicely so I built another jig, rigged the two sticks to be parallel and installed the connecting arm.
-
- Set screw…
-
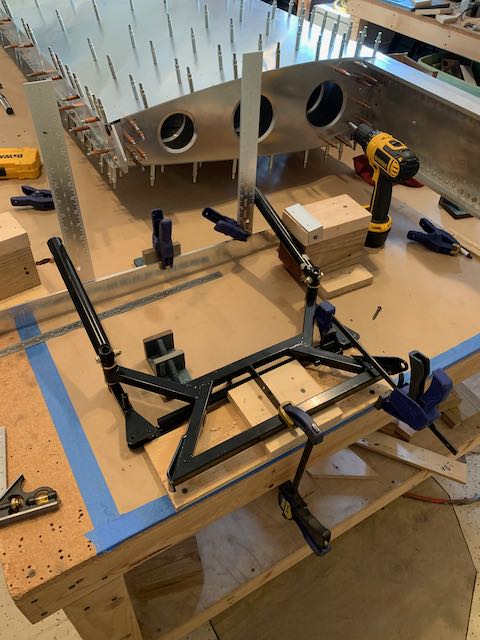
- …parallel jig…
-

- …completed control assembly.
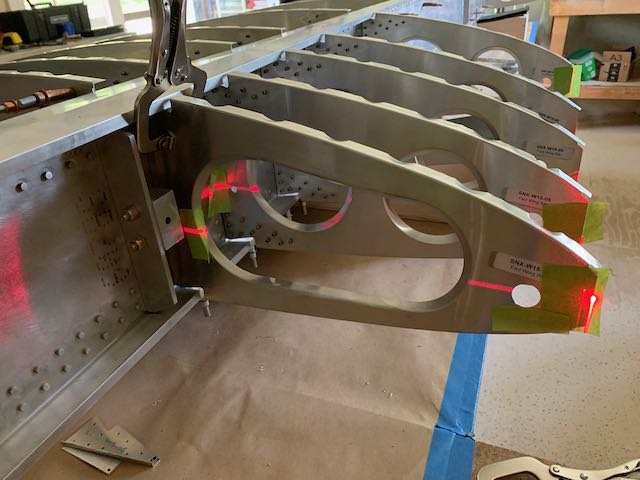
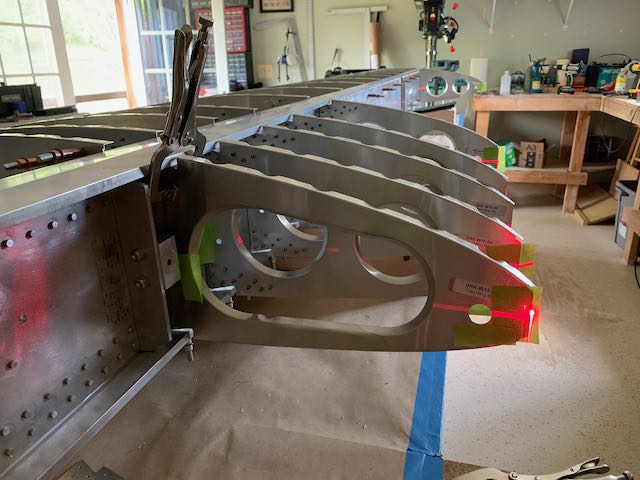
Next step is to install the forward ribs, which cleco into pre-drilled holes, and locate and attach the forward root rib. Much fun with lasers got that task completed and I could then continue with the forward wing skin.

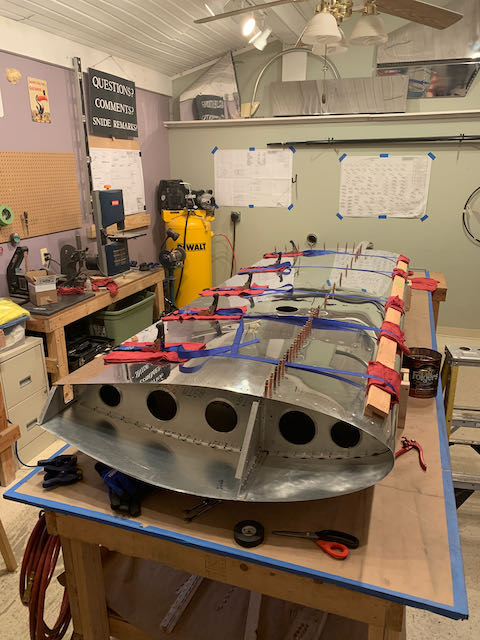
Using the same technique with multiple ratchet straps got this achieved with no great drama. This was the first time the wing skin had been out of the box since I picked it up many years ago, I did find a small dent in the leading edge and unfortunately it’s on the upper surface, I’m hoping to be able to dress it out some when I remove the skins for deburring and polishing.
-
- Upper side attached…
-
- …leading edge dent…
-
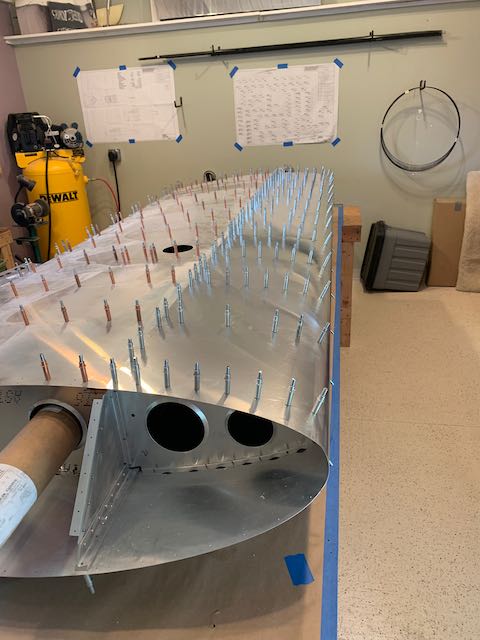
- lower side attached.
One error I made before flipping the wing was updrilling all the holes too soon. I had not taken into account the Wing Doubler skin; it is much larger on the left wing as it forms the walkway to get into the aircraft and as such attaches to more of the ribs. With some colorful language and contortionist activity, I managed to cleco it in place from the underside and got it mounted.
Doh!
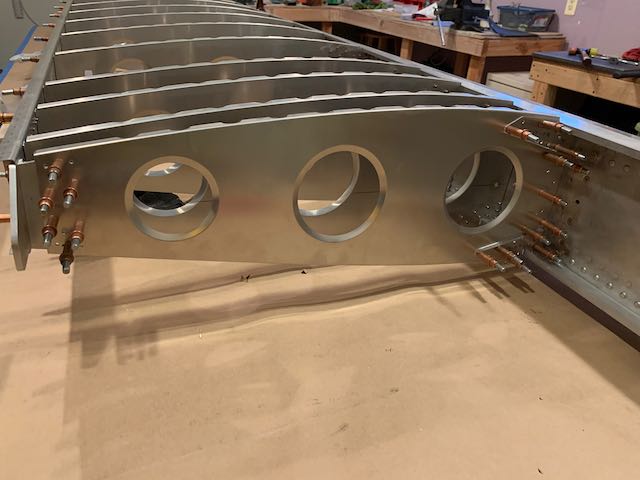
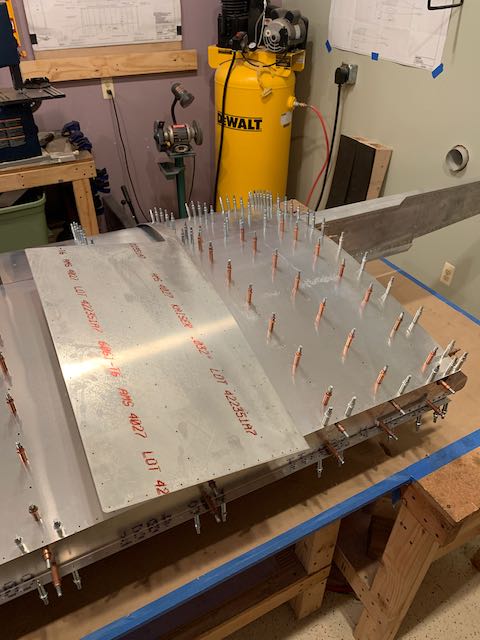
With the wing now basically skinned, I mounted the Flap and Aileron and started on the Tip Rib.
-
- Aileron…
-
- …Flap…
-
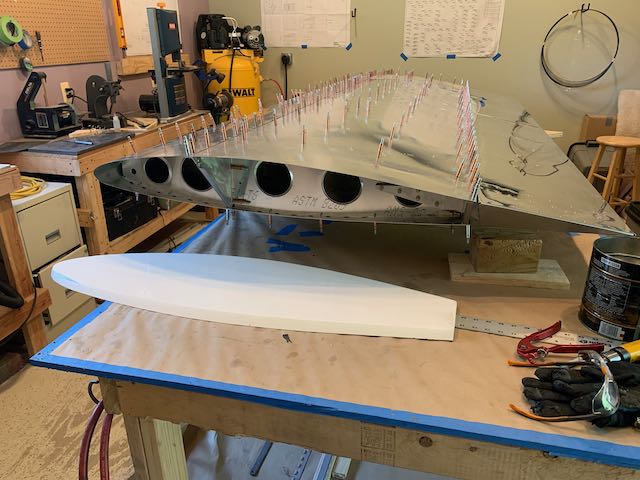
- …Tip Rib.
When I’m done with that, I will be taking it all apart for deburring and polishing. I will post pictures when I get that completed and then it will be time to mount the wings to the fuselage.
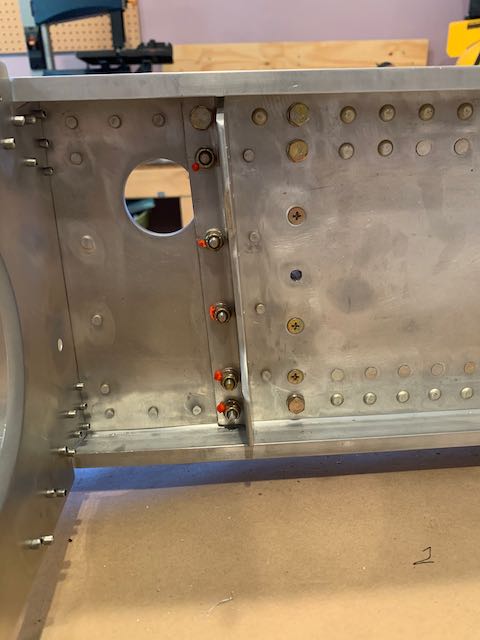
November 27th – The left wing is essentially complete, here’s how I got there. First everything was dissembled, deburred, and polished where called for. When I started putting things back together, it became apparent that there were some clearance issues between some of the main spar fittings and the skin rivets. After consultation with Sonex, I dressed out some clearance to allow the rivets to be properly set.
-
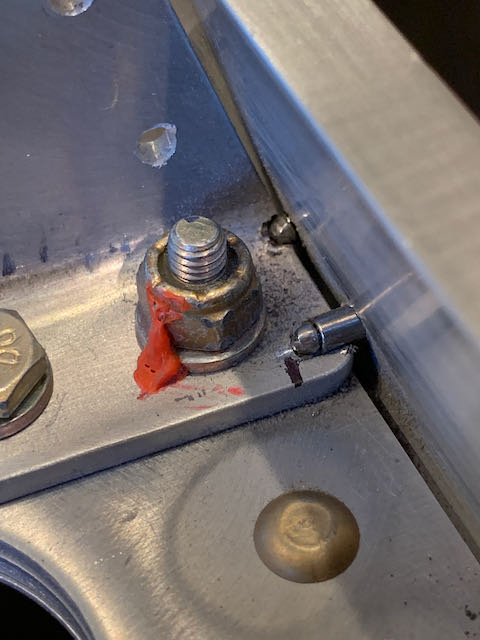
- Interference…
-

- …resolved.
This allowed the completion of the wing rib attachment.

The upper and lower aft wing skins were next. I roughly laid out the aileron control runs before closing it all up.
Another lesson learned from the first wing was to better support the forward wing skins while dimpling them so I made up a couple of tables to help.
-

- Tables to assist…
-
- …the dimpling process.
The forward skin was then attached, I cut out the hole for the left side landing /taxi light and the light brackets were riveted in place.
-

- Forward skin started…
-
- …ratchet straps to finish.
-
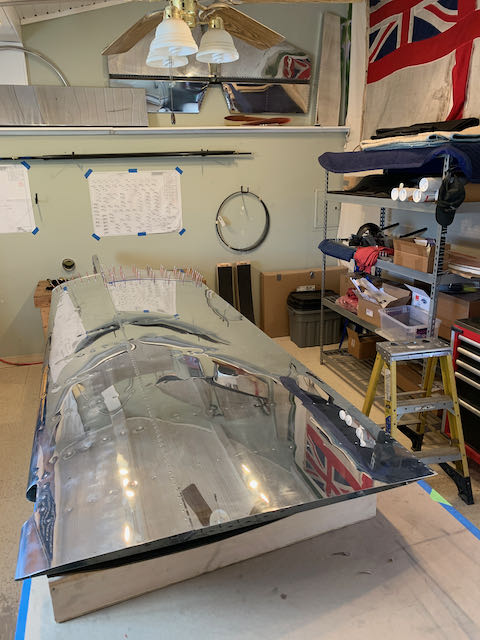
- Left wing…
-

- …mainly complete.
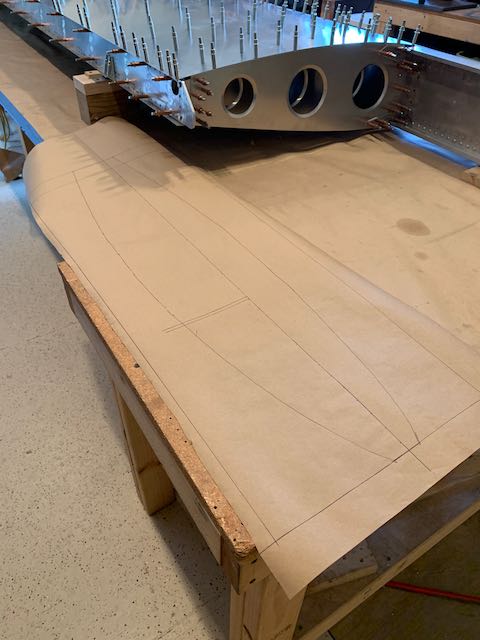
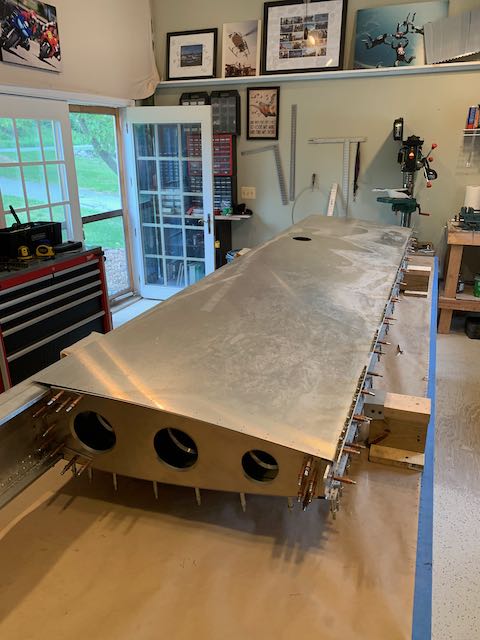
This pretty well completes the left wing; as on the right wing, the doubler does not get riveted in place until the wings are mated to the fuselage. I did try to dress out the dent in the leading edge but with limited success, there are also some dimples in the skins where the rivets have pulled everything tight. Rather than chase a perfectly unblemished surface, I will accept the ‘honorable scars’ and move ahead under the philosophy of perfection being the enemy of completion. I still have to final fit the tips but that will wait until I make the decision as to which position lights I am going to use and how I’m going to mount them.
My next step is to rearrange the shop to clear some room to make further progress on the fuselage. I am going to build a lean-to and move the compressor outside. It will free up some space and make it a lot quieter inside. On to the next chapter of the build..