
September 5th – Before getting started on the baffles, I took care of a couple of things that would be more tricky to achieve after they were installed. First task was to drill holes to attached the Cylinder Head Temperature leads into; these are held in place, as close to the spark plugs as feasible, with sheet metal screws. I drilled the recommended size hole, but when I tried installing the screw, it snapped off and proved impossible to remove. Plan B was to drill another hole, but this time I tapped it and used a machine screw.
-
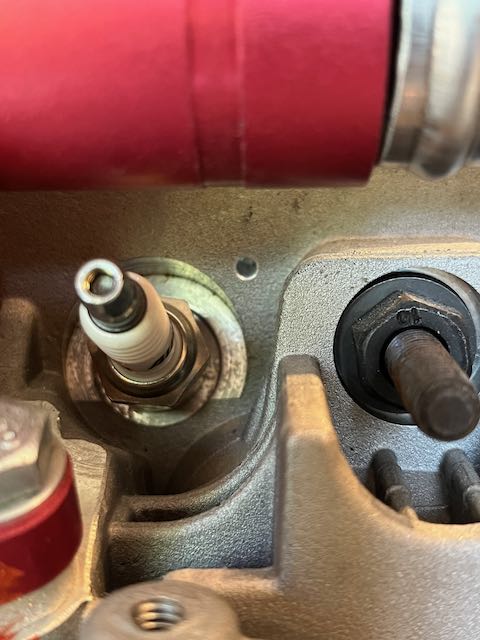
- First hole (not tapped)…
-
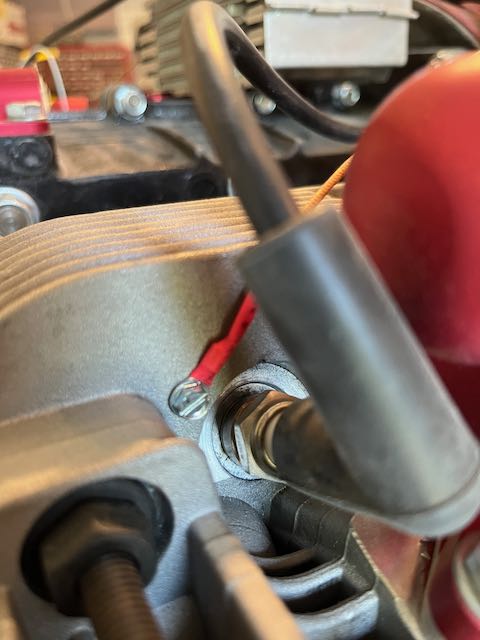
- …Version 2. Better.
Drilling holes into the cylinder head was a touch stressful, but I took my time and ended up with a decent result.
CHT leads in place.
Next was fitting the exhaust pipes. They need to be trimmed to length to ensure they exit the bottom of the cowling in the correct location. They are held in place by springs, similar to many motorbike installations, and the springs have to be trimmed to the correct length too. Bending and cutting spring steel was another learning experience, but in the end, I got it done.
-
- Roughly located…
-
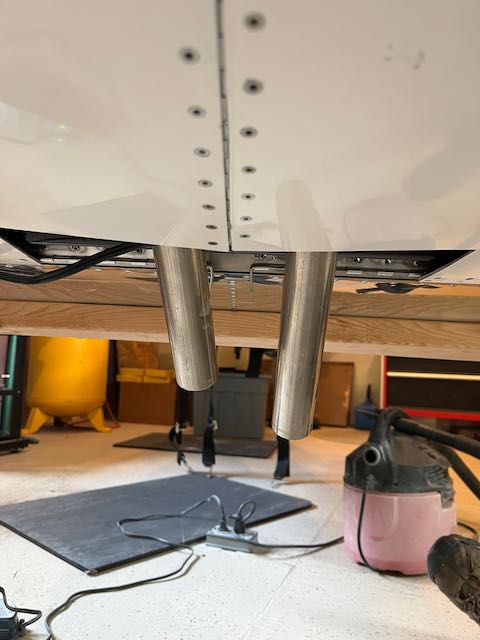
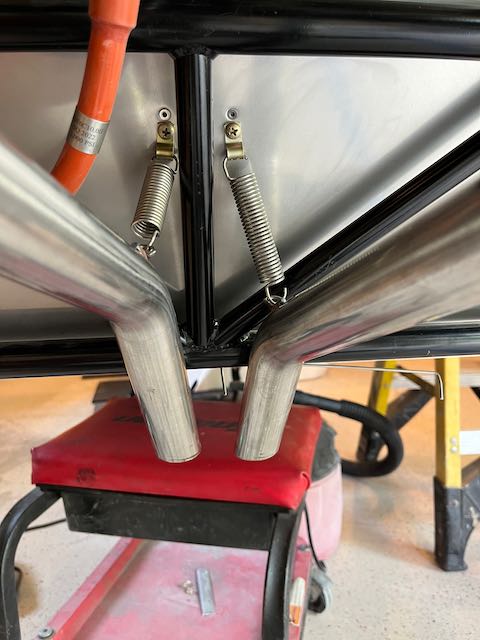
- …exiting cowl in the right place.
-
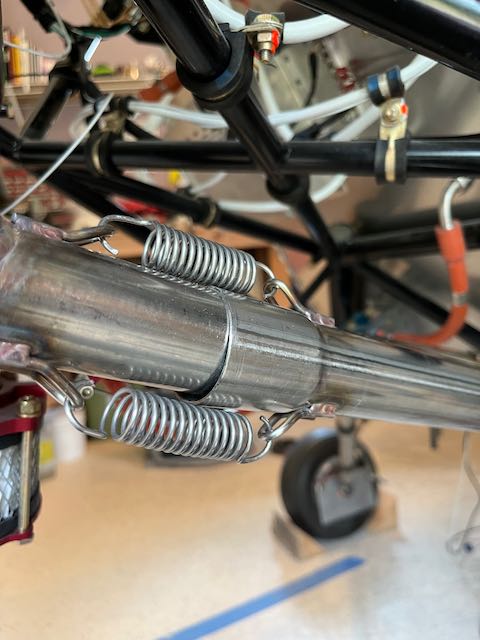
- Springs…
-
- …adjusted…
-
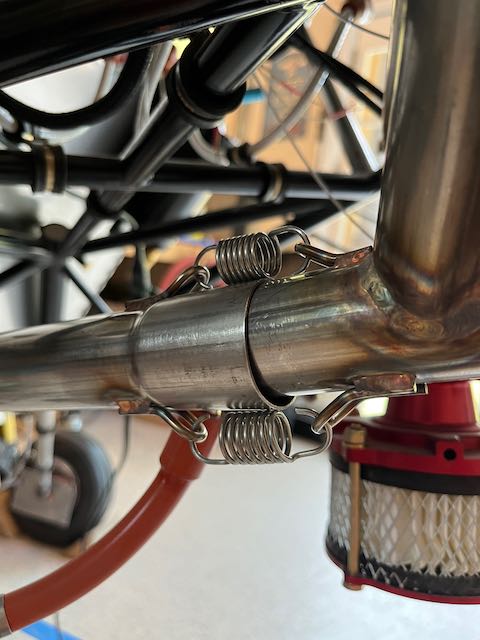
- …in place and pipes trimmed.
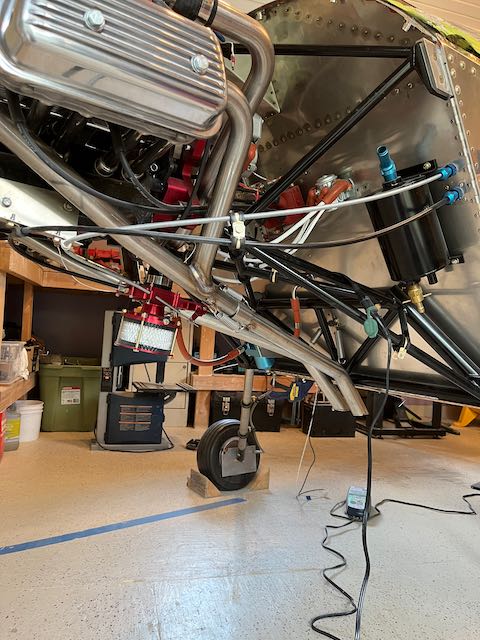
Exhaust complete.
I had already cut a hole to rough size in the cowling for the exhaust to exit, and now that their position had been finalized, I trimmed the hole to it’s final dimension. It is an important dimension to get right as the area of the hole has to be in the right relationship to the air intake to provide a sufficient flow of cooling air to the engine. To aid with the extraction of hot air. there is an aluminum deflector lip attached to the front of the opening. I drew up a template from cardboard (actually using Pythagorus’ Theorem for the first time since High School!) and cut out a couple of blanks. It just so happened that I had a couple of willing helpers with me, my sister Holly and her daughter Hebe were staying for a while, so they made one each, and are now linked to the project for ever!
-
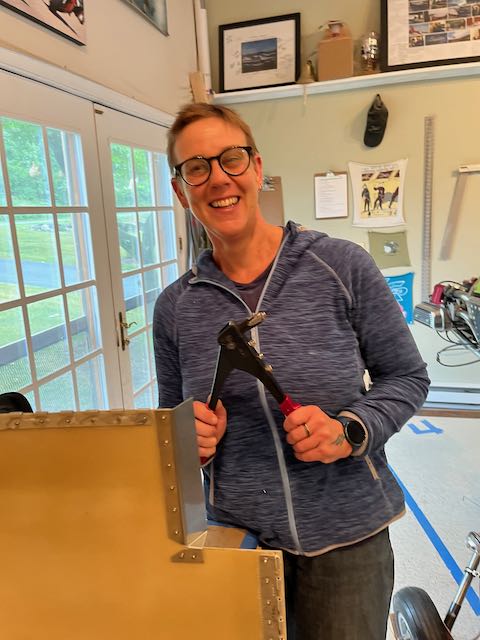
- Holly…
-
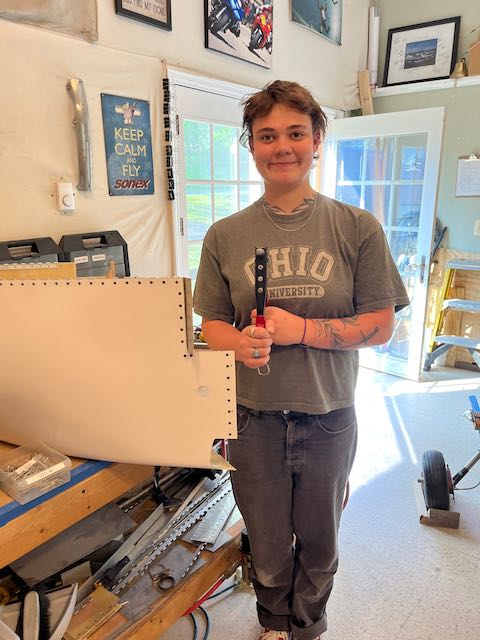
- …and Hebe. Homebuilders, both of them!
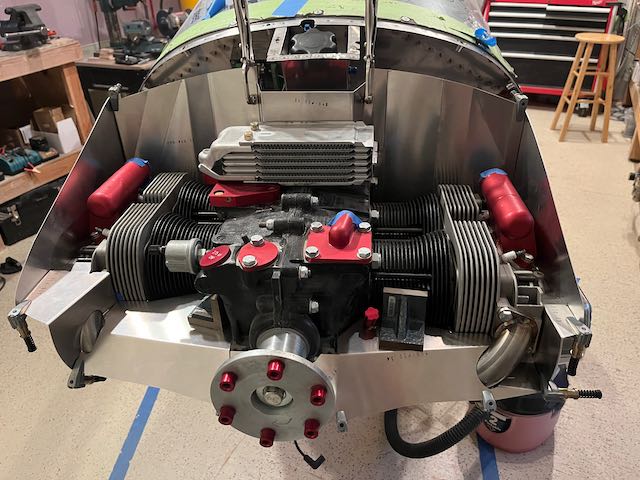
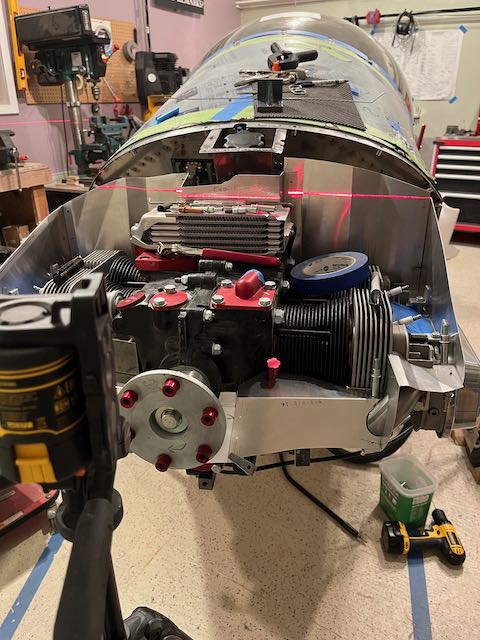
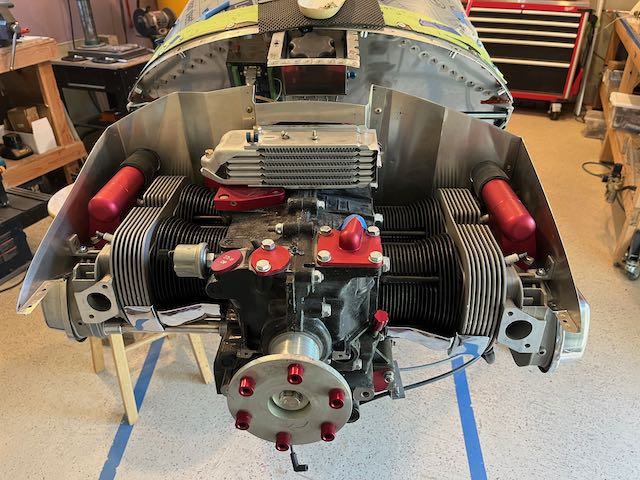
This completed the construction of the cowling, so it was time to move on to the baffling. The purpose of the baffling is to direct air coming in through the front of the cowling around and through the cooling fins of the cylinders before exiting out the bottom. Sonex have a kit of aluminum blanks and weatherstripping to make the baffles with, but like the cowling, this is really just a rough start, with a lot of individual fitting required for each builder’s installation. I drew on my experience from the cowling, and approached the whole project with no expectation of a quick completion. This turned out to be a good approach for me, I was reminded of doing a jigsaw puzzle where you have to trim the pieces to fit as you go along!
I bent pieces, cut pieces, trashed pieces and used first versions to make second, and sometimes third versions, but in the end, it started to come together…
-
- Laid out…
-
- …first bends…
-
- …fitting…
-
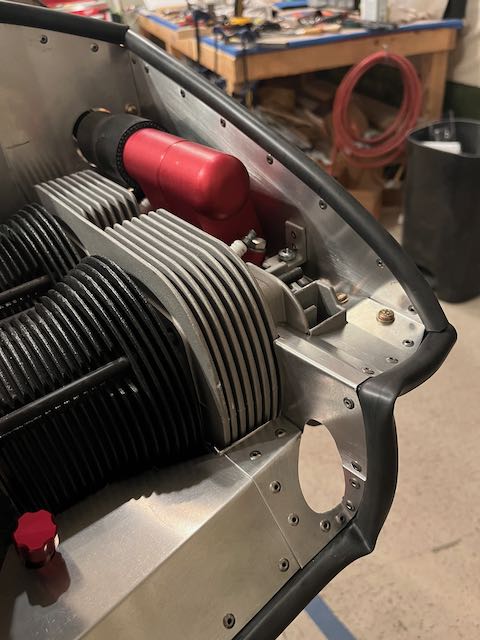
- …around cylinders.
-
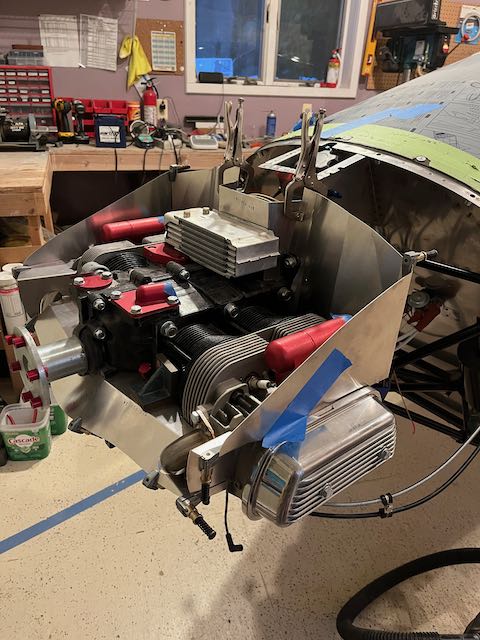
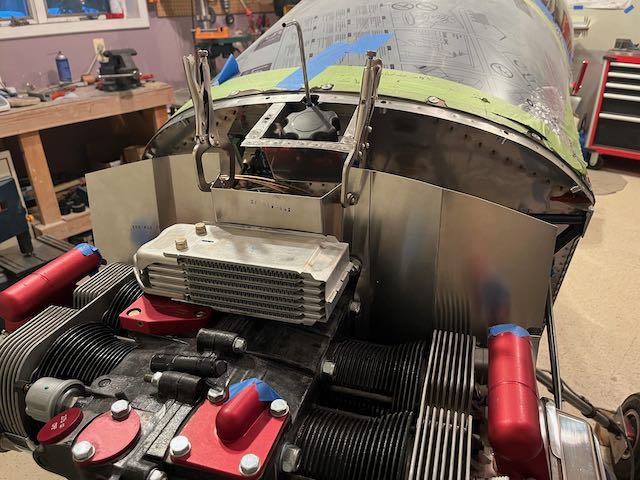
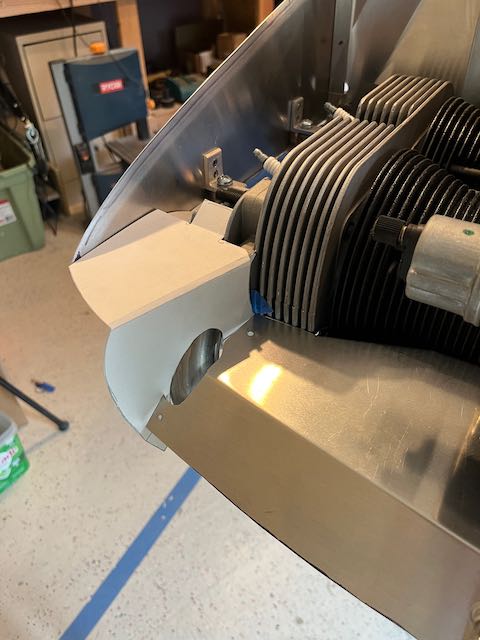
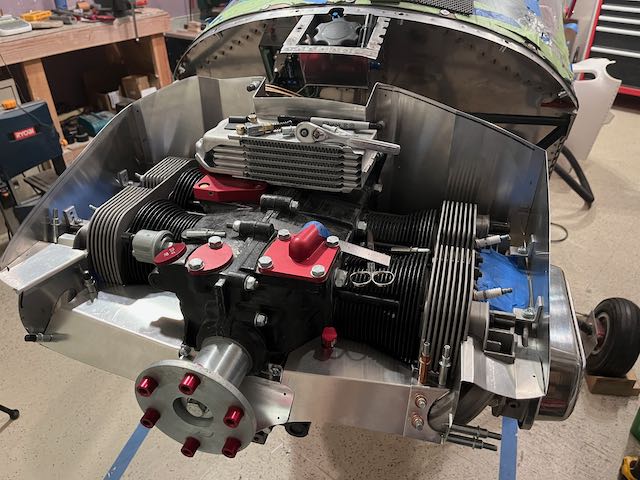
- Basic structure…
-
- …in place.
-
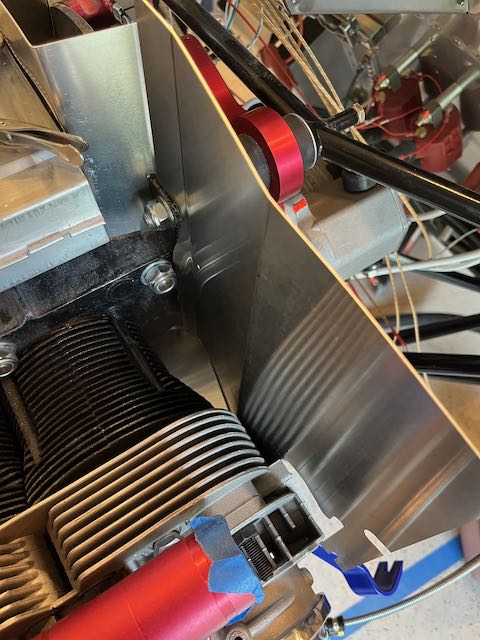
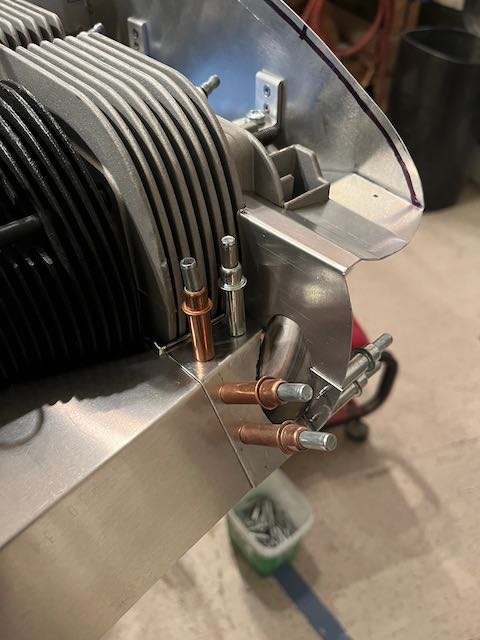
- Working…
-
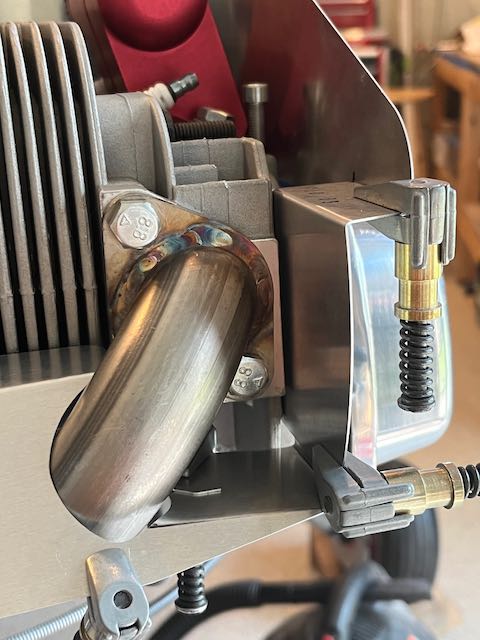
- …around exhausts.
When working around the left side exhaust, the pattern seemed overly complicated and left some big gaps. I contacted Kerry at Sonex and he said that it’s a universal type kit, the directions are a bit loosey, goosey, but do what you need to do to block off as many places as you can.
As an aside, this was the last official help that I got from Kerry as he is retiring from Sonex and will no longer be providing Technical Support. I want to publicly acknowledge the huge amount of assistance he has provided to me over the years of this build. Thank you Sir, you are very much a part of this machine.
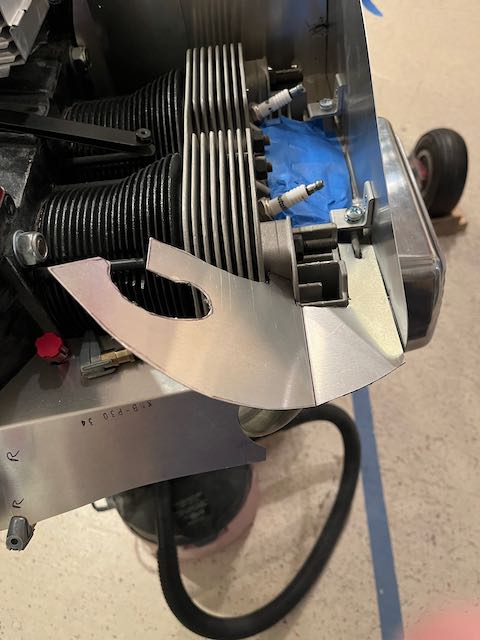
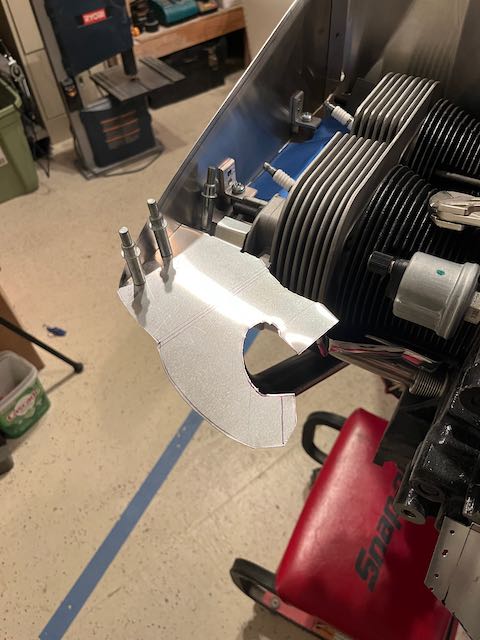
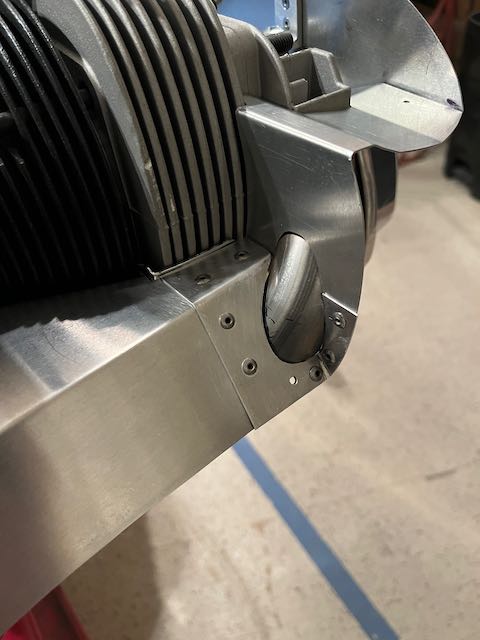
With Kerry’s last words of wisdom echoing in my head, I broke out the cardboard and started making templates for a different way of dealing with the left side. In fact, I liked what I came up with so much, I redid the other side too.
-
- Left side…
-
- …
-
- …
-
- …and right side.
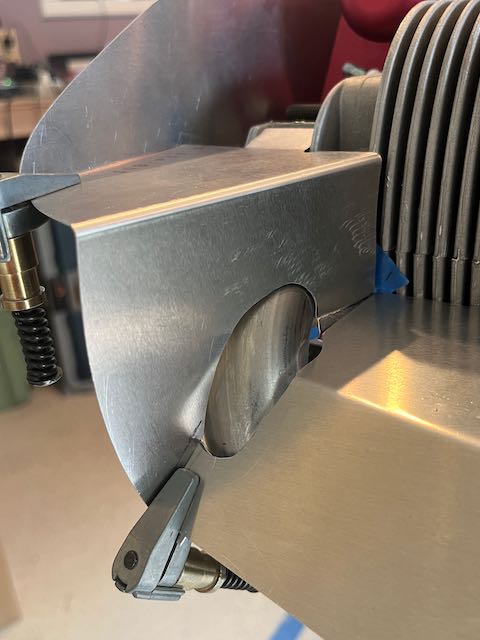
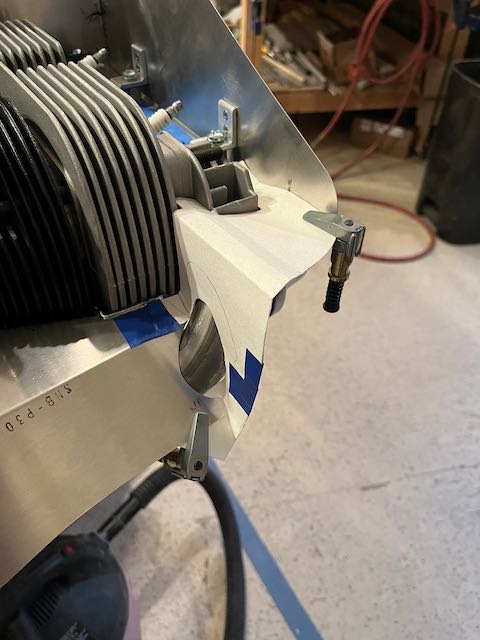
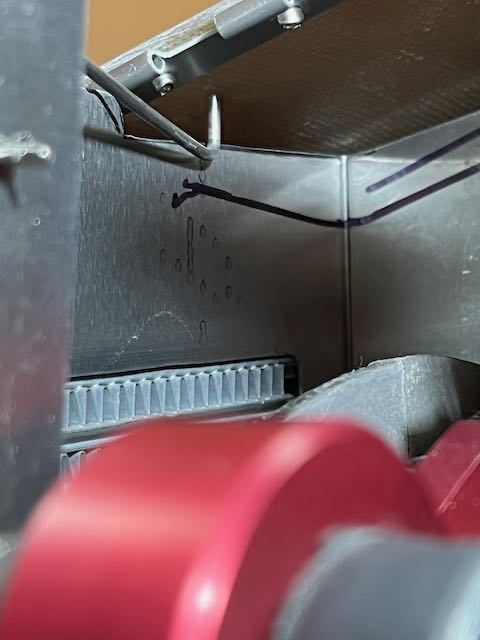
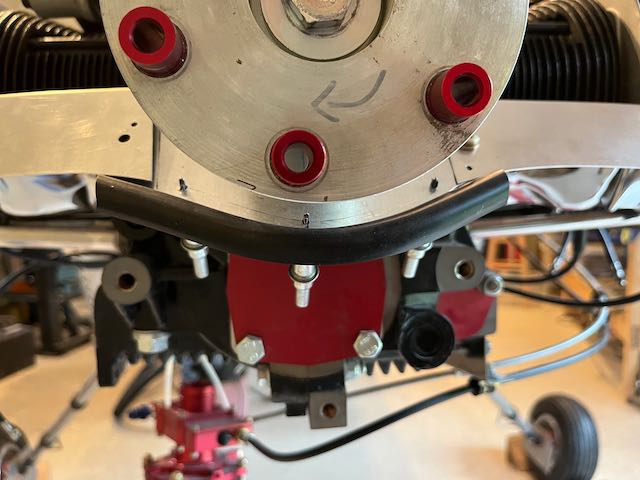
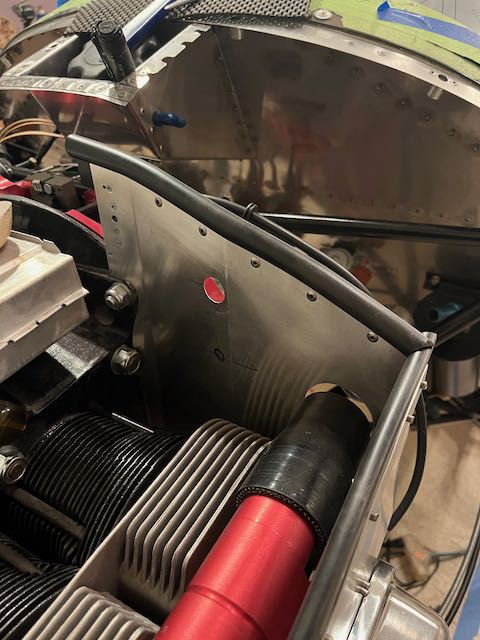
As the structure started to take shape, I then had to take into account that the baffling needs to clear the cowling too. To be exact, it needs to have a half inch clearance from the cowling so that the rubber weatherstripping will fit snugly to provide a seal. This required some interesting marking techniques as it is impossible to get under the cowling with a pen. I made a few rough cuts to get started and then taped a Sharpie to a stick to get a line to trim to.
-
- No access…
-
- …Sharpie on a stick…
-

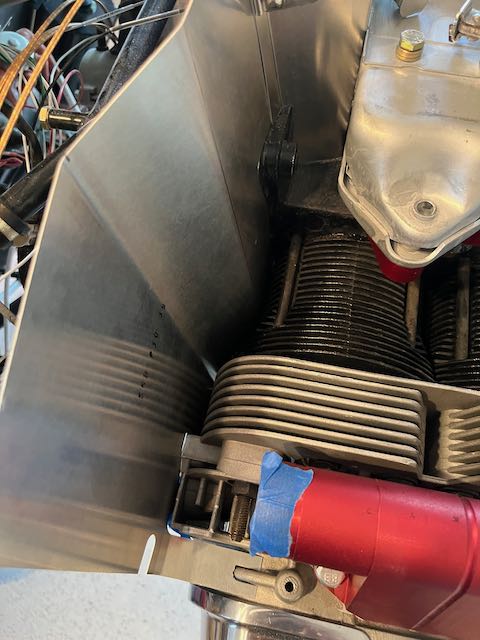
- …at 3/4″…
-
- …gets a line (fuzzy shot, sorry).
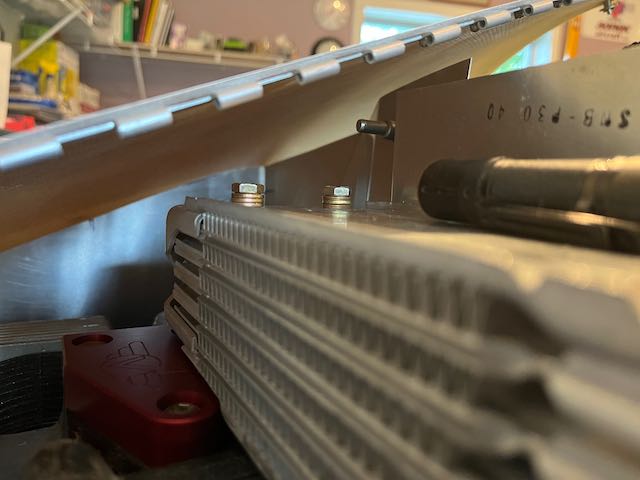
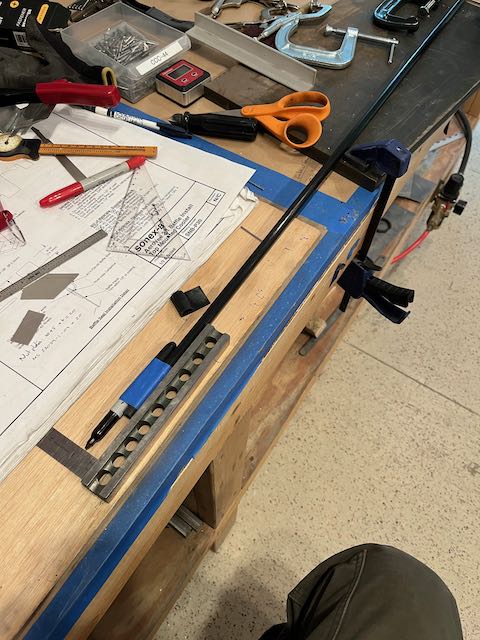
The line at 3/4″ gave me a datum to start getting close to the required 1/2″ final dimension but as I got closer, I wanted a way to have a direct measurement so I bent a piece of hinge pin wire to make a gigantic feeler gauge.
-
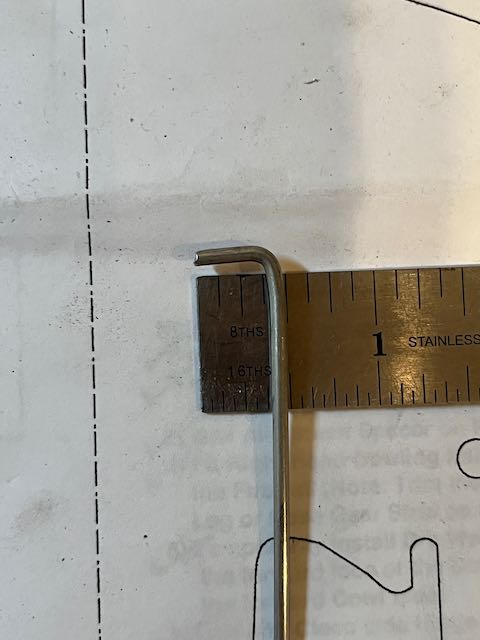
- 1/2″ feeler gauge…
-
- …in action.
This worked pretty well, and, after many trial and error fittings, I got to where I wanted to be.
-
- Lasers,
-
- markers,
-
- and patches,
-
- oh my.
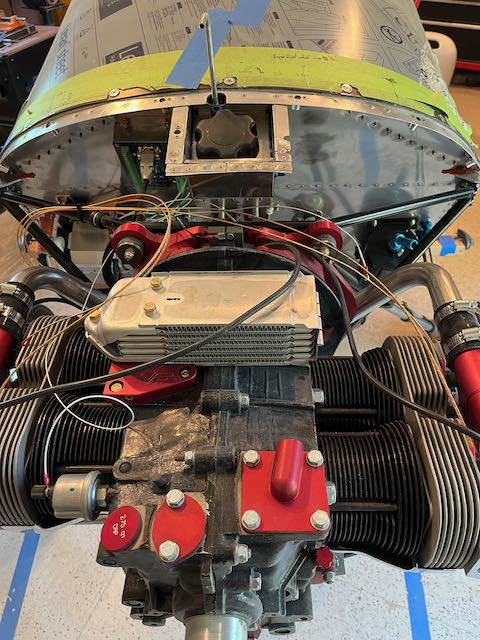
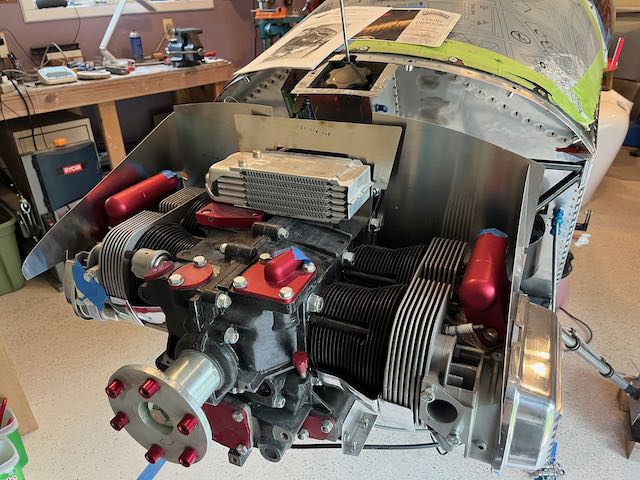
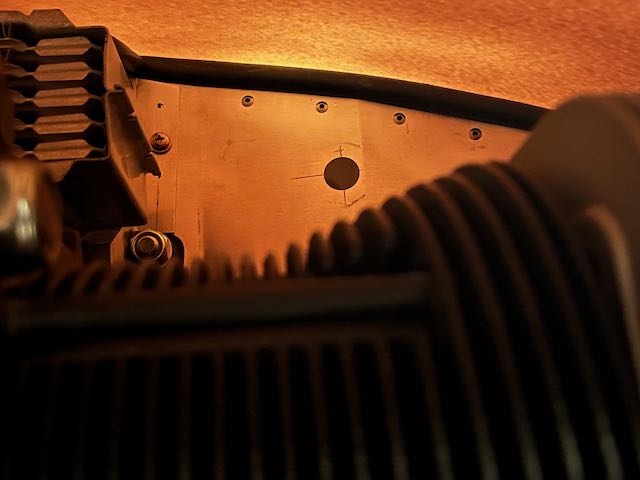
When everything was looking good, I reinstalled the intake manifolds and cut holes through the baffling.
Intake manifolds re-installed
I couldn’t think of any way to ensure that the dimension was correct, other than to install the weather stripping and try to fit the cowling. The weather stripping is held in place by backing strips of aluminum, riveted through the rubber. I started with the shortest piece, thinking it would be a good learning opportunity, but, as it has the biggest radius, it required the most finagling! Ah well, I worked my way around the pieces, learning as I went…
-
- Working…
-
- …my…
-
- …way…
-
- …round.
And then, after not too much cursing, it was done.
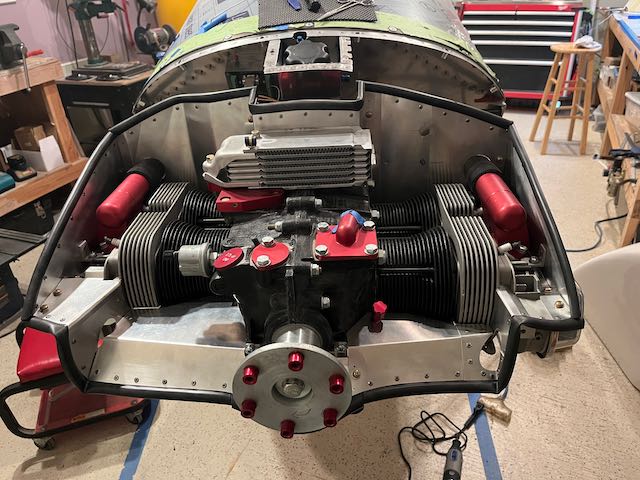
Baffling and seals done.
Now for the acid test, will the cowling fit…
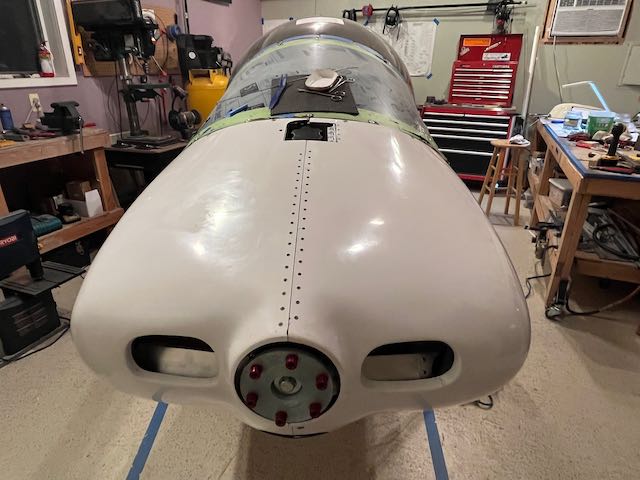
Success!!!
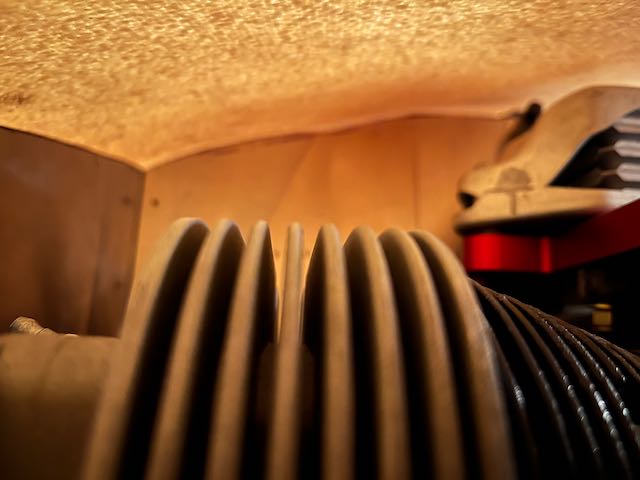
I poked the camera up through the air intakes…
-
- I’m happy…
-
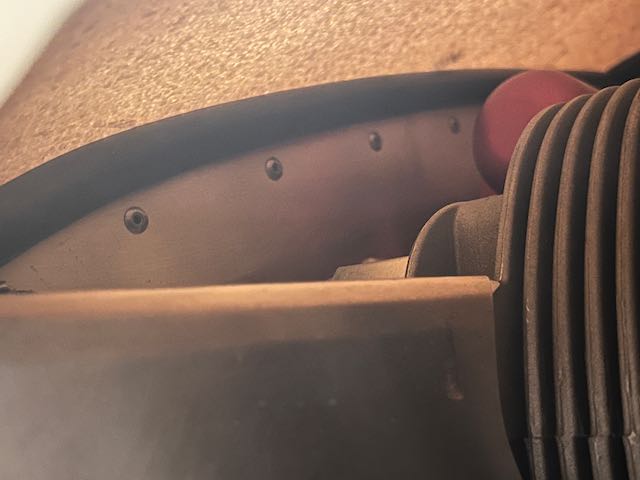
- …with that.
From what I can see, there’s a decent seal all the way round. I’ll call that a result.
And with that, there are no more pieces to be built.
There’s still plenty of work, re-assembly of engine components, finish work, installation of components, and of course, the proof of how effective the seal on the baffles is will be in engine cooling performance once I get this thing in the air.
Guess I’d better get cracking then, Stay tuned…