
June 27th – The final component for finishing up the wings is to fit and install the fiberglass tip ribs and part of that process is to locate and install the navigation lights.
The nav lights are the one piece of equipment on an experimental aircraft that are required to perform to certain standards for certification. I have not been able to find a definitive ruling on how the FAA interprets the regulations but I have read about some DAR’s having a problem with non TSO’d lights . To avoid any wrinkles in my eventual certification process, I decided to bite the bullet, and put TSO’d lights on, despite the fact they cost twice as much.
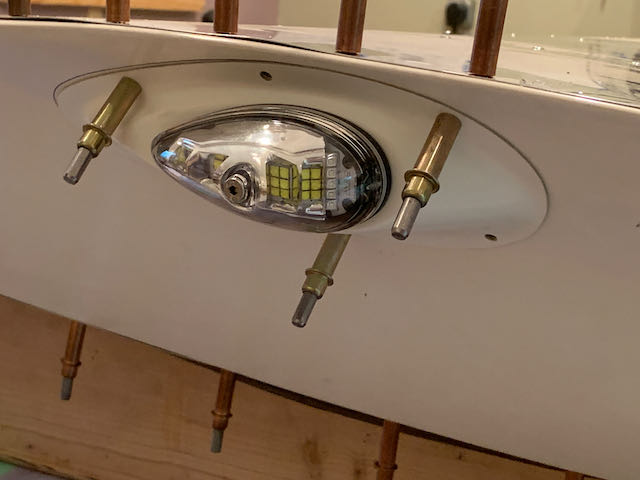
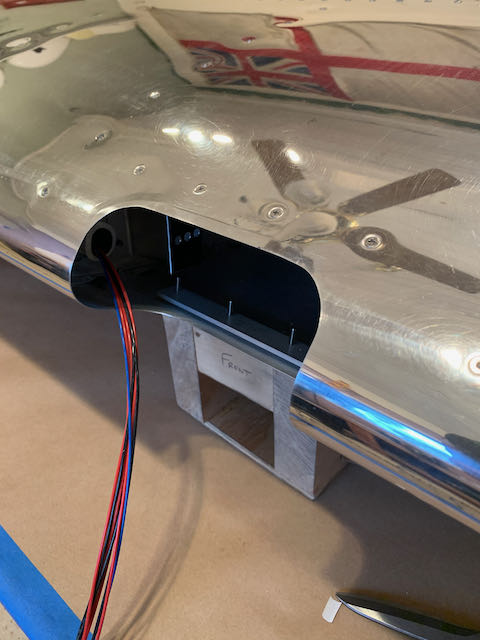
I went with a combined strobe/navigation LED light group from AveoEngineering called the Ultra Galactica that weighs ounces and draws very little current. To confirm that they worked, I built up a test jig that included the Landing/Taxi light fitting that I installed earlier.
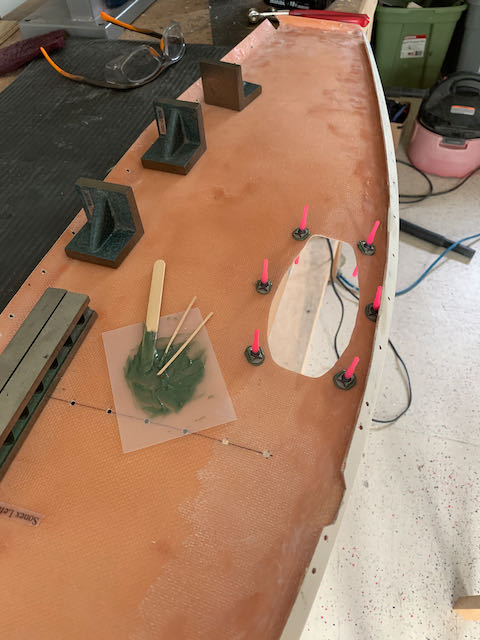
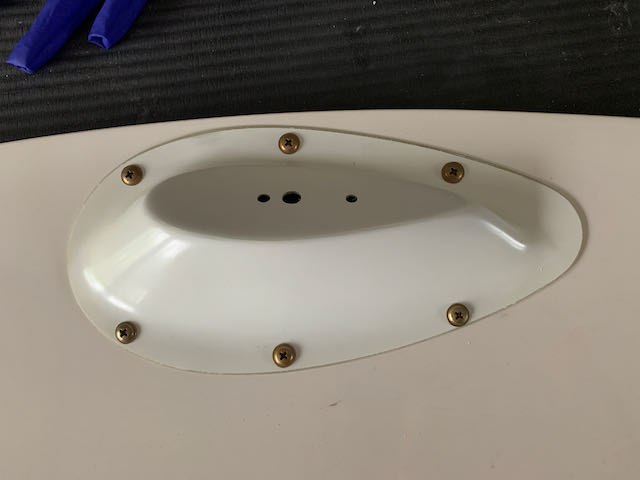
With their functionality confirmed, I broke out the laser level to position them accurately, the wing tips are angled and I got a couple of fairings to ensure they would conform with the visibility angle requirement which include from above and below.
-

- Positioned…
-

- …installed…
-
- …updrilled
The ribs will be riveted into place but I want access to the wiring so I used some more of the ClickBond nutplates to hold the fairing securely in place.
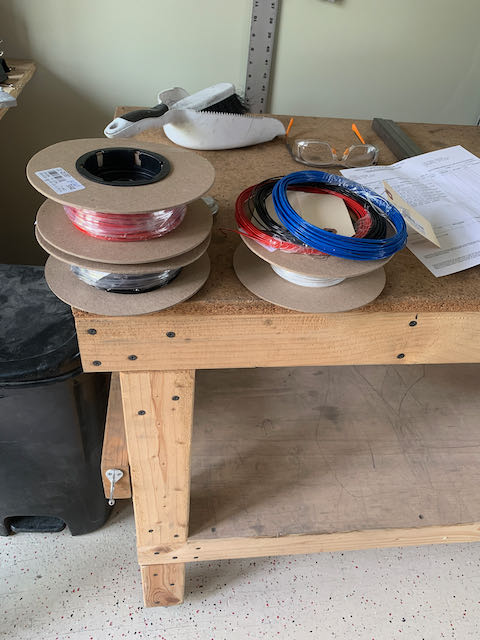
With that done, it was time to start running the first wires of the project. I am using colored wires but will also mark the individual wires to help with building up the loom and also for future maintenance access. I’m using narrow labeling tape and holding it securely with transparent heat shrink sleeving.
-
- Wiring supplies…
-
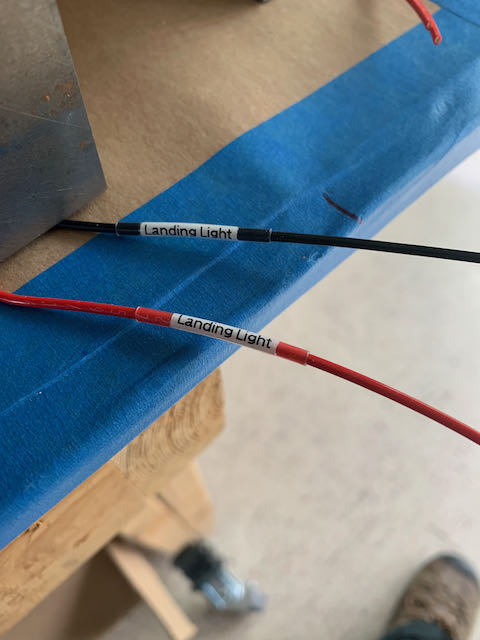
- …labeling.
I cut the wires to length leaving plenty for a service loop at either end and then ran them through the previously installed conduit. Conventional wisdom is to minimize the number of breaks in a circuit but, as a matter of practicality, I will be using connectors at the wing root end. Like so many other things though, the connectors are on back order, so the wires will just get tucked away for now.
-

- Cut…
-
- …and run.
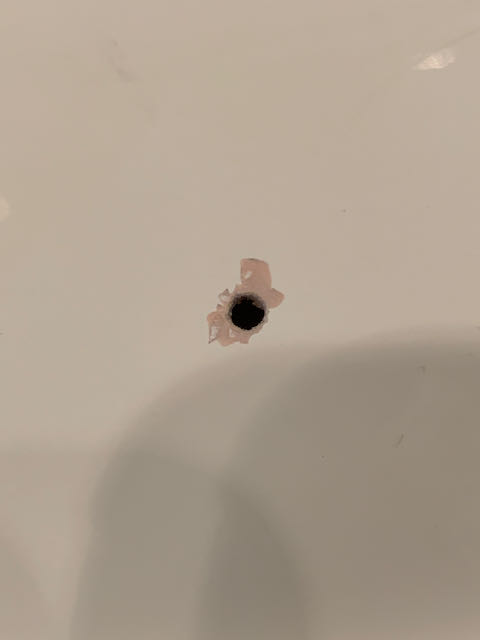
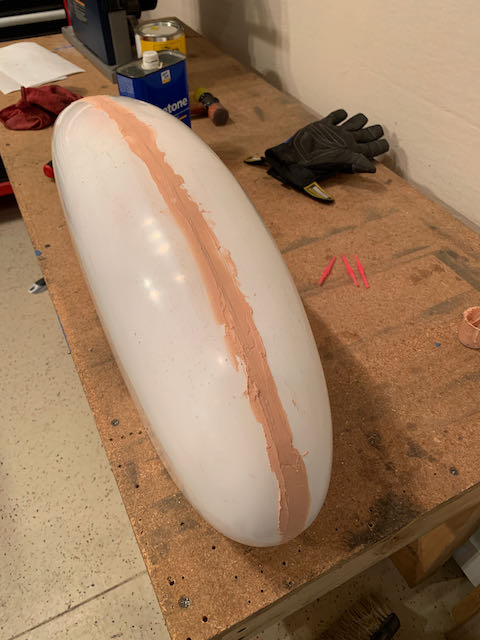
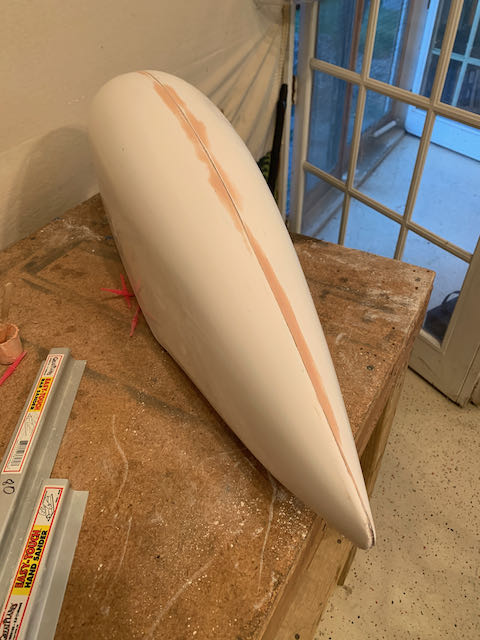
Working on the fiberglass, drilling holes in particular, is tough on the gelcoat; I got a lot of cracking. I ordered some lightweight two part, epoxy filler and started work on cleaning up some of the ragged holes and also filling the molding gap in the wheel pants to prep them for eventual paint.

During this stage, an exciting process was going on in the background; I have organized financing for the engine and avionics! I will be driving out to the EAA show at Oshkosh next month and will be picking up the engine kit while I am there. There will also be a major order going in to Aircraft Spruce. Stay tuned for when the parcels start arriving…