
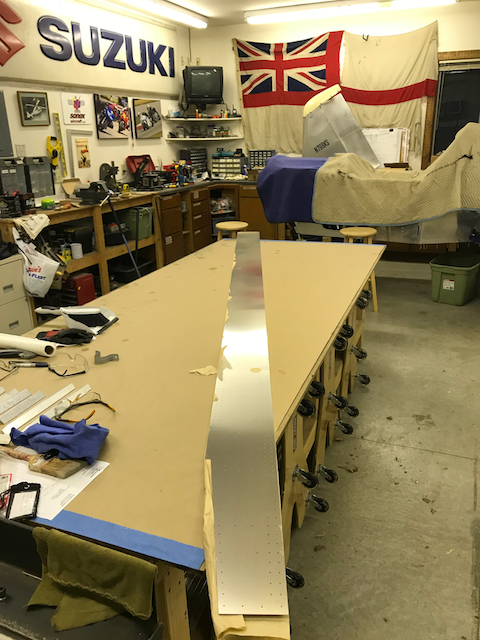
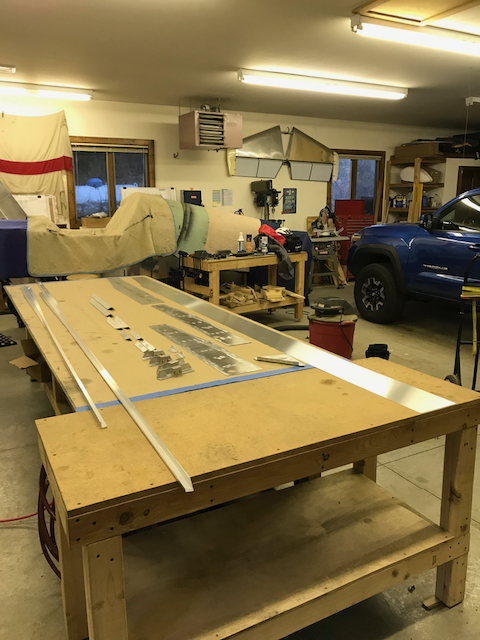
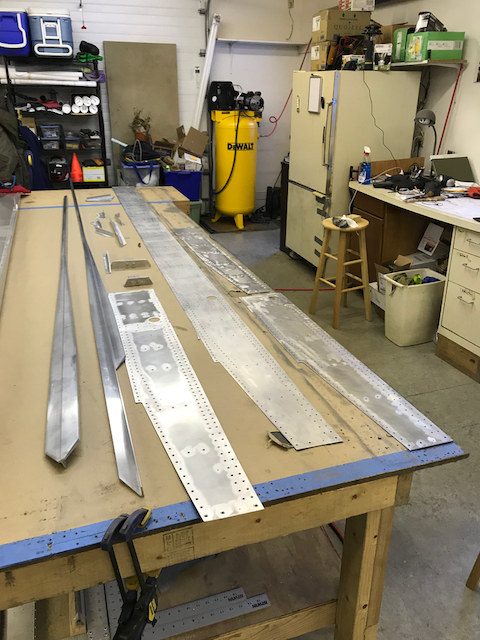
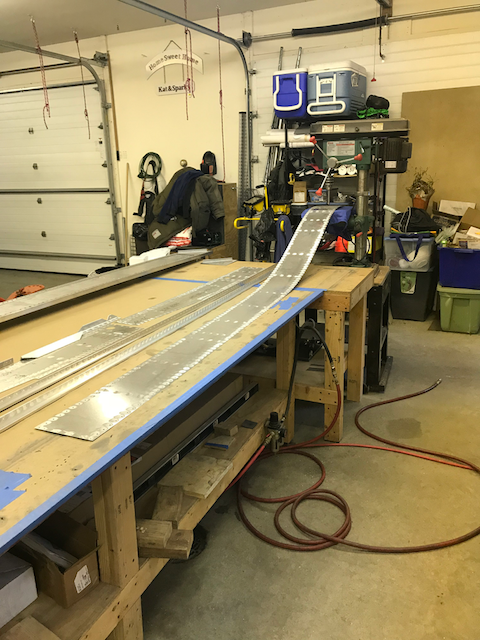
Nov 27th – Despite a lack of posting, I have actually made a start on the wings. The first order of business is the rear spars so I cleaned off the table, put down some clean paper and got the requisite parts out of their boxes.
-
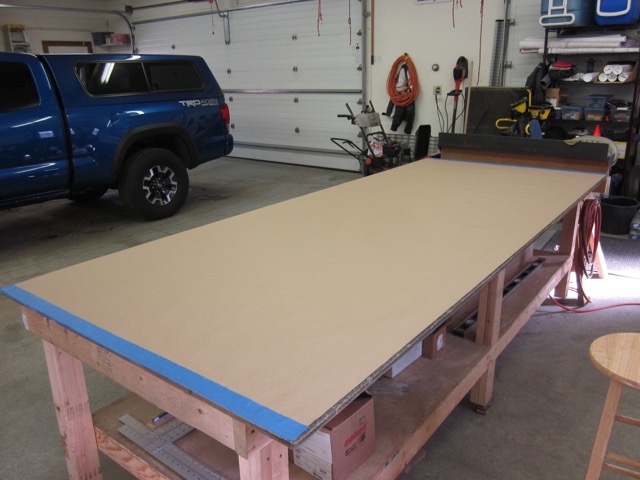
- Clean table…
-
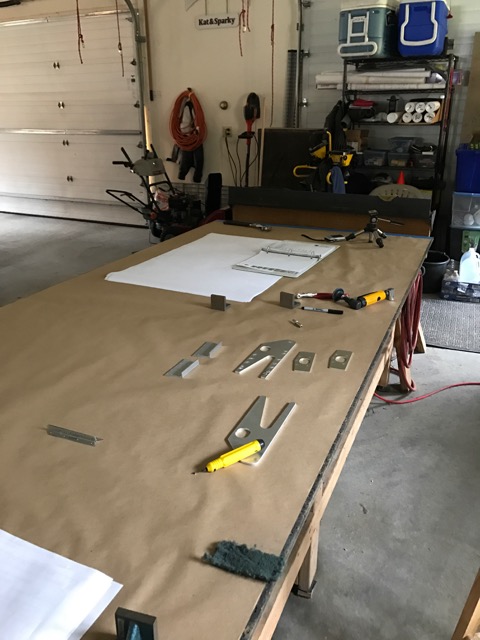
- …new set of parts.
The first one went together pretty quickly.
Then, just to get back up to speed, I goofed up. The angle fittings are not mirrored between the two sides, I put it on backwards. Unfortunately, the angle spar piece is 10′ long and shipping a new one was going to be over $200 so I drove up to Oshkosh and picked up new parts.
Throughout this process I had a couple of visitors to the shop. My old chum Johnny came over for a skydiving trip, stayed with us and sat in the beast.
My middle sister, Judith, and her husband John spent a couple of weeks with us, got to help out, and pulled a couple of rivets too.
-

- Johnny getting checked out!
-
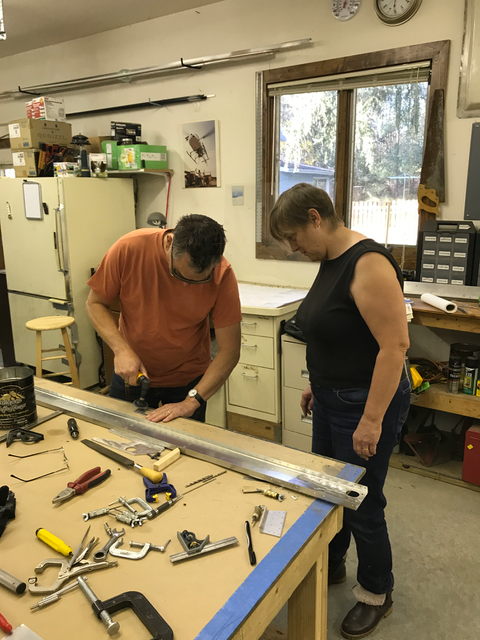
- Judith & John at work…
-
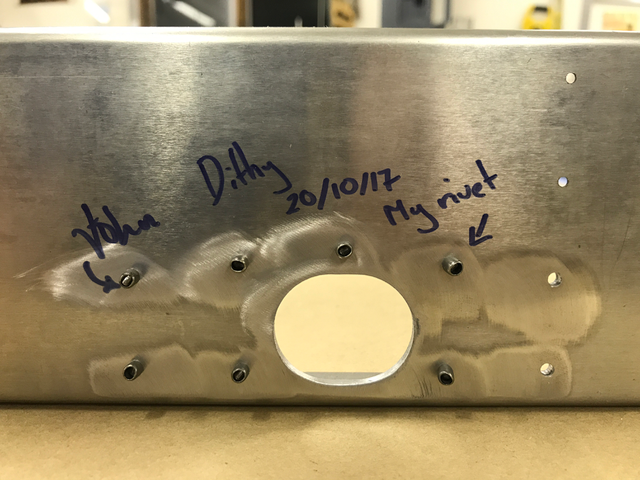
- …hidden message for future aviation historians maybe?
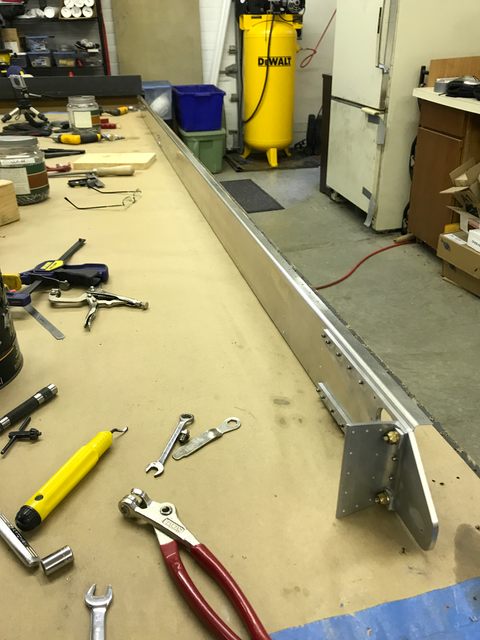
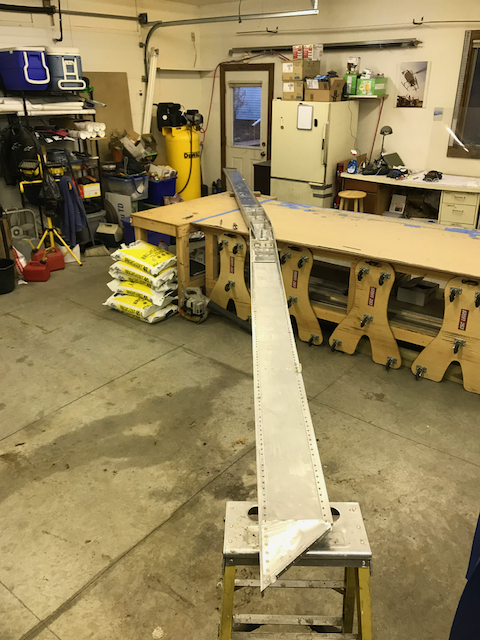
Both rear spars are now complete, time to move on to the main spars.
Dec 16th – Before the main spars can be built up, there are quite a few components to be made. In the kit form, most of this work has been done; looking at these parts has increased my admiration for the folks that build from scratch. The marking up, drilling and cutting must take many, many hours. I’m quite happy to take the easy way on this part of the build.
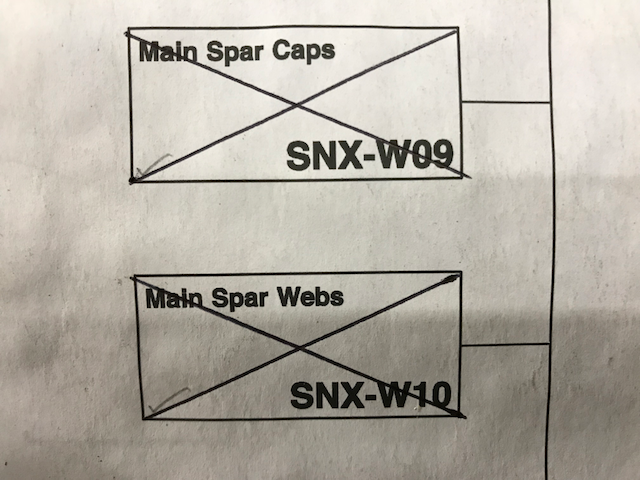
First the spar webs:
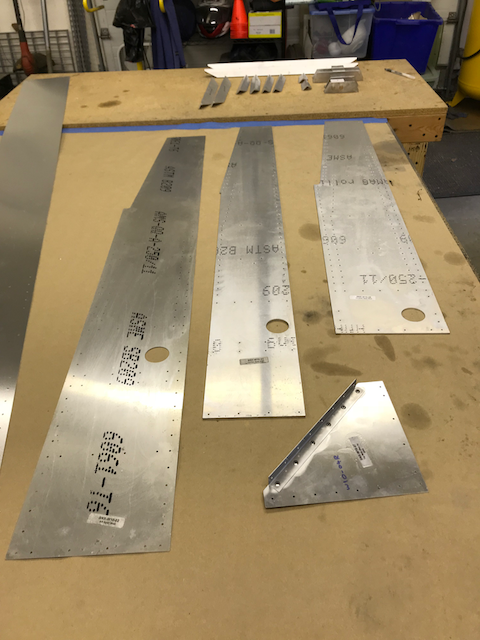

Followed by the spar caps:
With the components gathered, it’s time to assemble them all.
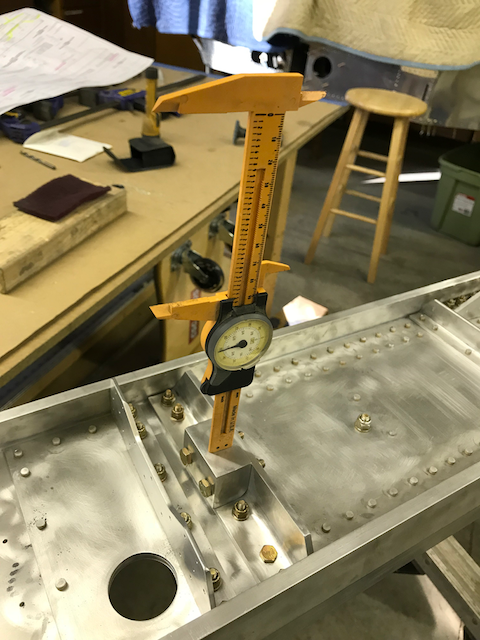
Some component’s locations have to be measured; the overall depth of the spar is set by the pre-drilling and spacers but I fastened two squares together to confirm dimensions.


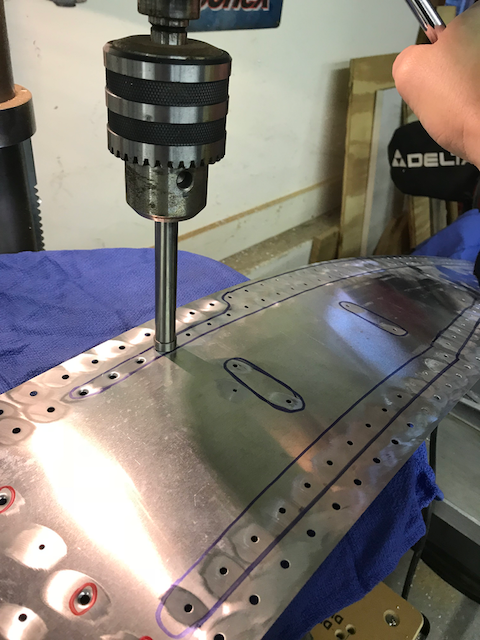
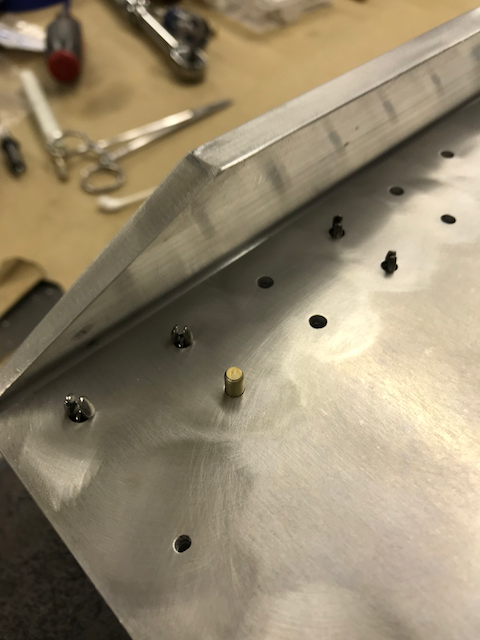
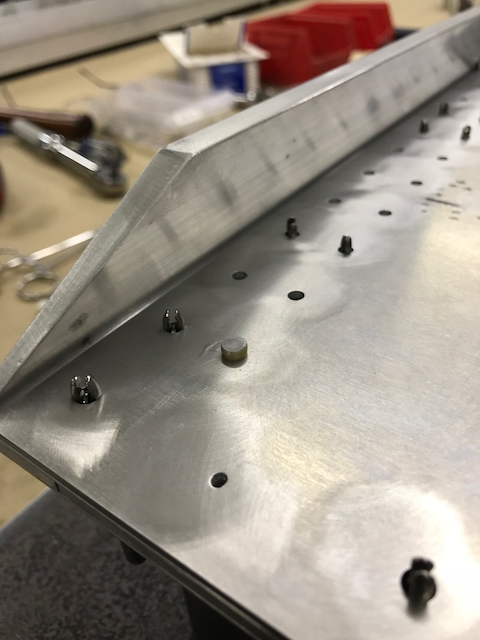
Then, with everything clamped in place, I started drilling out the pilot holes. In some places, these holes go through multiple layers of material requiring some longer drill bits; I used a machined square to try to ensure vertical holes.


With one spar at this stage, I decided to move on to get the second spar to the same point. They are not quite identical and I managed to goof up some of the locations but by the time I had read the blueprints correctly and got everything in the right place, the only bad thing is that I had drilled a few more holes than necessary. I may fill them with rivets or just leave them.

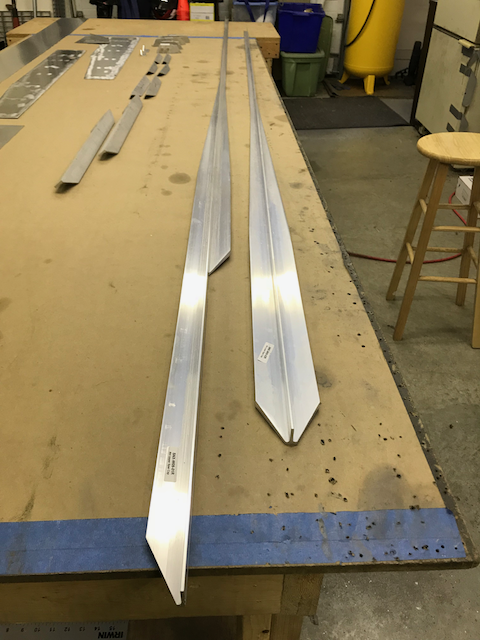
Second spar assembled.
The next step is to updrill the pilot holes ready for the fasteners. There are several different fasteners used on the spars; bolts, machine screw and solid rivets, which all require different hole preparation. As some are the rivets are flush, some of component holes will need to be countersunk and dimpled, others only require updrilling. The main spars are the only part of the aircraft that use solid rivets. Sonex suggests using a simple method for setting the rivets, hitting them with a large hammer. I will experiment with this method as it is the only way to set some of the rivets, however, using this as an excuse to buy a new tool, I have ordered a rivet gun and plan on using it where possible.
As this is a new technique for me, I am pausing a while to practice with the new toy.
While I wait, I am going to start updrilling and preparing the holes in both spars to get ready for the momentous riveting process.
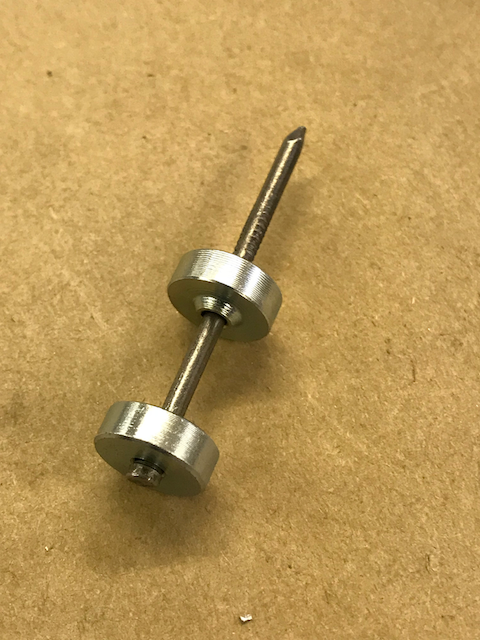
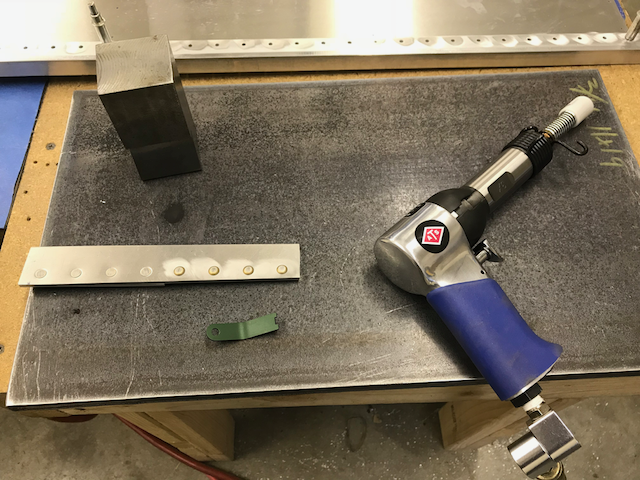
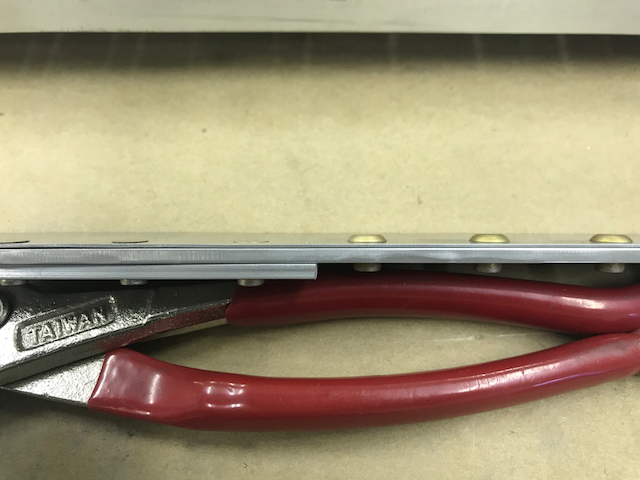
Dec 27th – Part of the preparation of the spars is countersinking and dimpling components so they can fit flush next to each other without interference. I have done a little of this technique before but with a lot more to take care of, I explored a few different techniques, dimpling first. Sonex sell a very simple little device they call the simple dimple die; the two parts are squeezed together by a nail pulled in either a hand or pneumatic rivet puller.
It is indeed simple but somewhat slow.
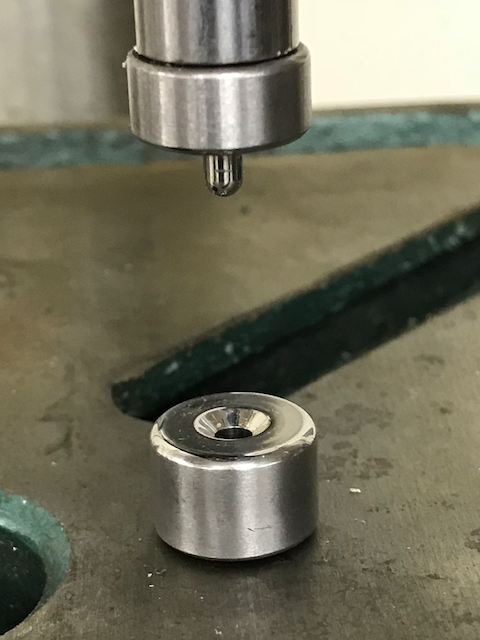
Somewhere along this journey, I picked up a die set that will fit in my drill press; it works nicely for multiple holes and comparing the results, there in no noticeable difference.
-
- Simple…
-
- …Die set…
-
- …similar result.
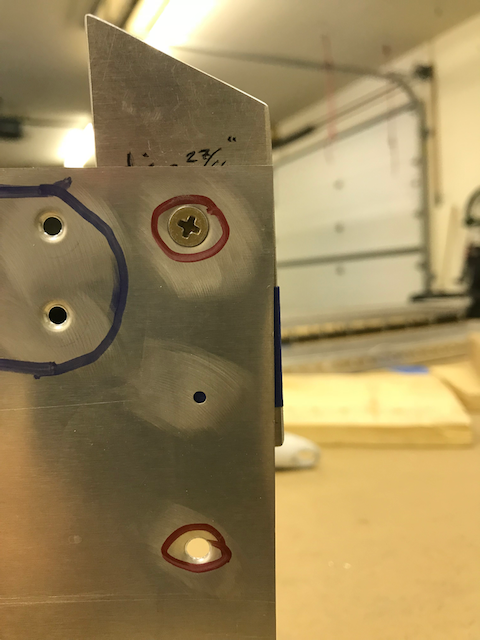
The root end of the spars is somewhat complicated with many different lengths of rivets, bolts and machine screws. Before I started with the dimpling, I marked up the various components.
The other issue with dimpling is that the process stretches the material. As such, the dimension of the hole is changed, so the process is done at a pilot hole size and then they are updrilled to final size.
The underlying material is thick enough to be countersunk to a depth to accept the relevant fastener. Unlike the dimpling, the countersinking can be done precisely with the microstop countersink tool. The holes that are countersunk for the machine screw have a diameter of 27/64″ and for the rivets, a diameter of 19/64″. The dimple for the rivets gets finished off by the process of being set but I wanted to get the dimples for the machine screws a little deeper so I made up a jig. It has the countersink set to the correct depth but with the hole smaller than final diameter. I used the next screw size down to pull the dimple a little more into the countersink before the updrilling to final size. It may be a little more fastidious than needed but it seemed more elegant to me.
-
- Countersinking.
-
- Machine screw…
-
- …jig…
-
- …increasing the dimple…
-
- …nicely flush.
My rivet gun arrived and I picked up a piece of 3/4″ steel to provide a solid base for the riveting process. I made up a test piece and set 4 standard and 4 flush rivets. There will be a learning curve to determine how long each rivet needs with the gun to be set properly but I’m happy enough with the trial run. I am glad that I got the gun, I think it would have been a long slog doing this with the bolt and hammer method.
-

- Bolt and hammer…
-
- …or rivet gun?
-

- The gun produced this…
-

- …this…
-
- …and this. Works for me.
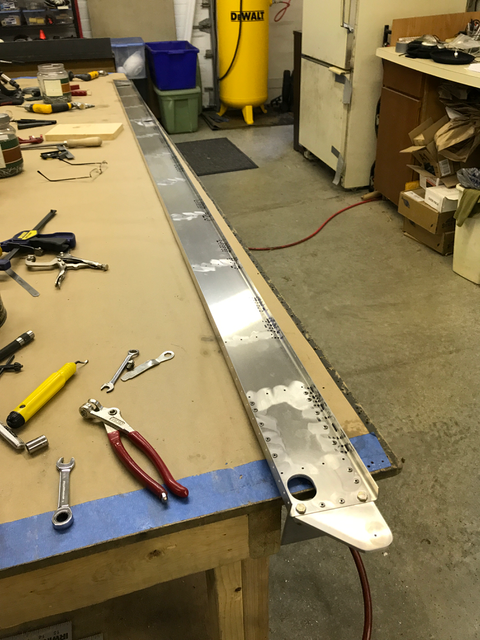
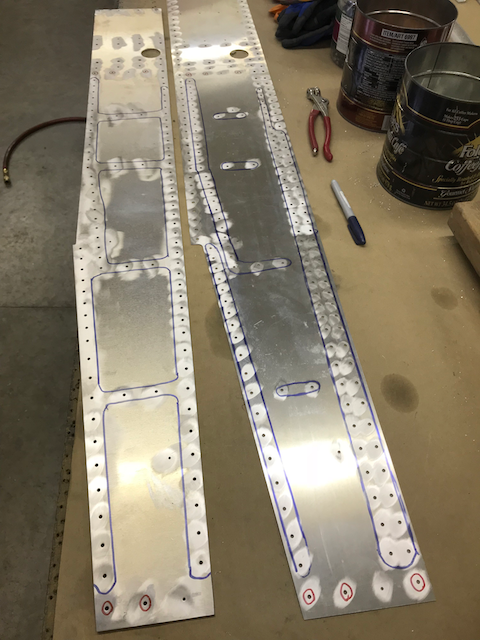
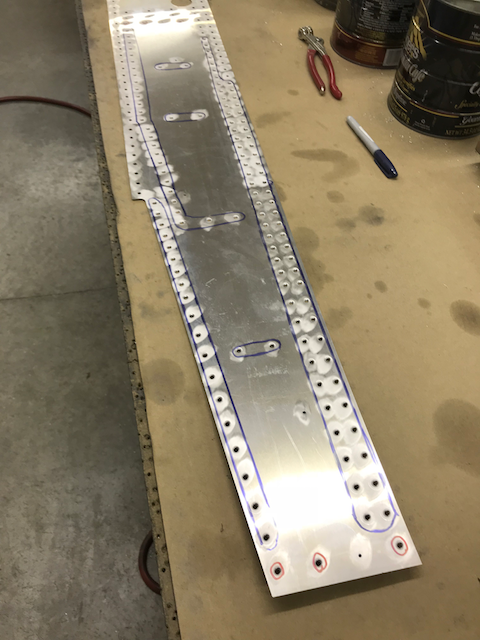
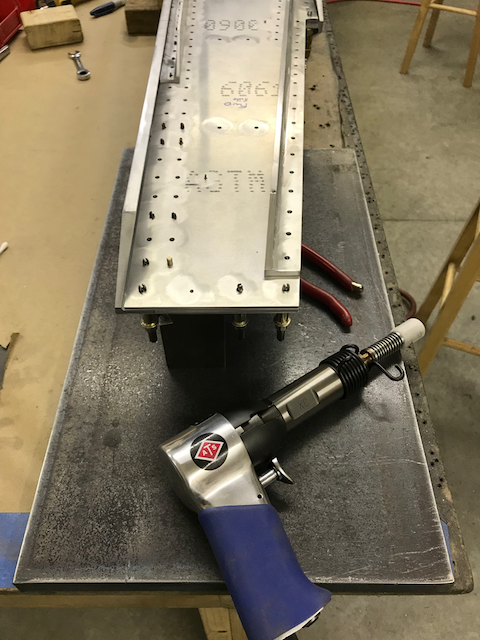
Before the riveting can begin though, all the holes must be updrilled, then everything taken apart, deburred and cleaned up.
-
- Updrilling complete.
-
- All cleaned up.
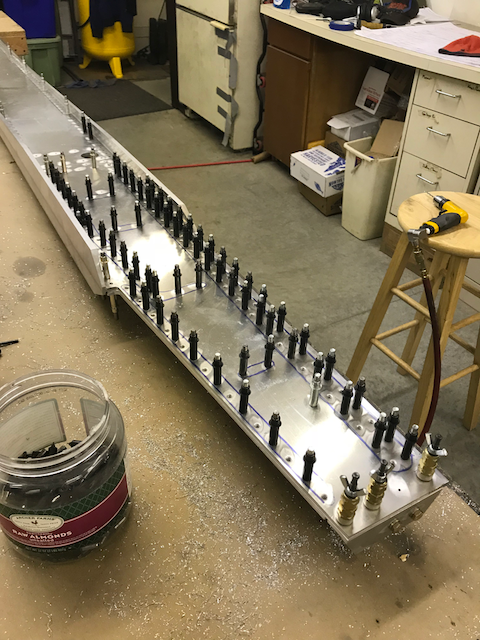
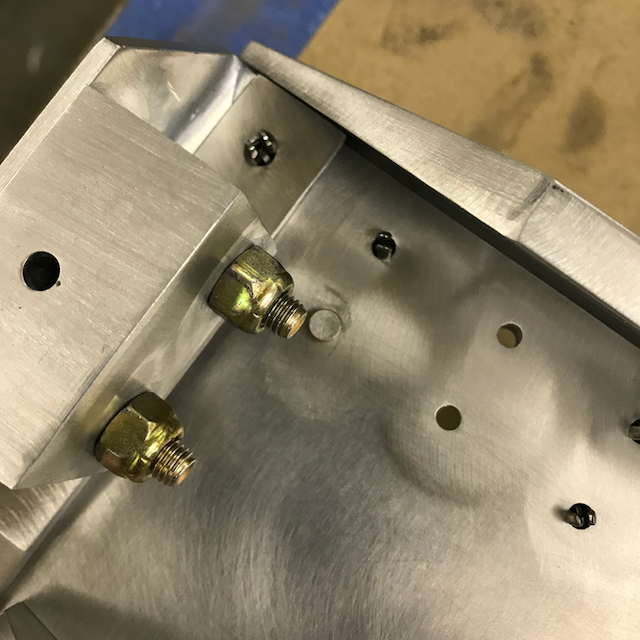
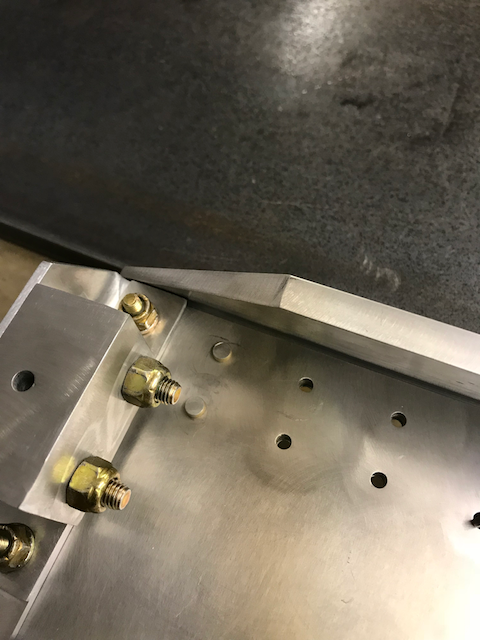
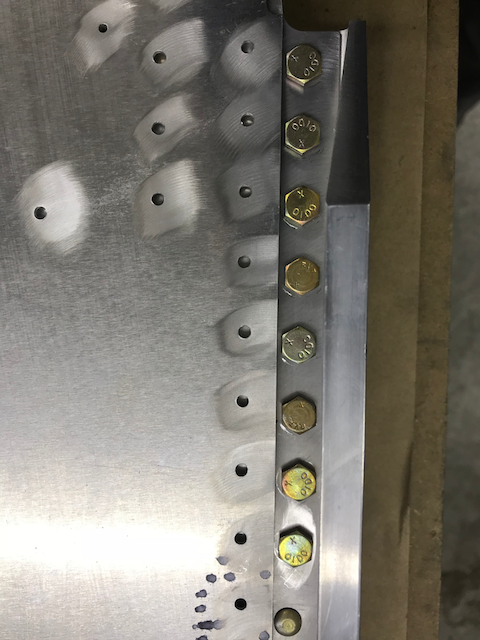
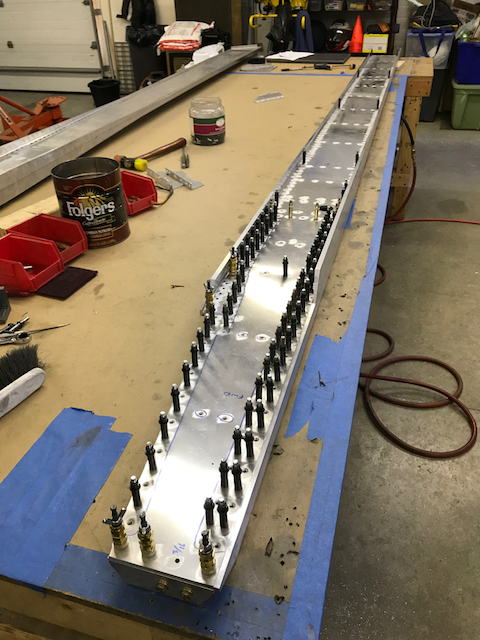
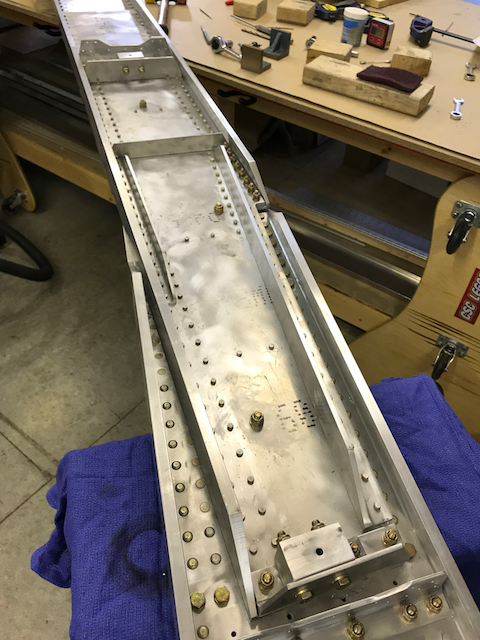
I then reassembled everything ready for the final push. There is a multitude of different types of hardware on the spars; I decided to start off by putting in all of the bolts and machine screws. They all go in “tight fit” holes so once I figured out which way they go, I reamed all the holes and bolted everything and torqued them all up. The two spars will end up joined at the root end in a pretty tight fit; some of the nuts have to be installed ‘indexed’ correctly to allow the necessary clearance.

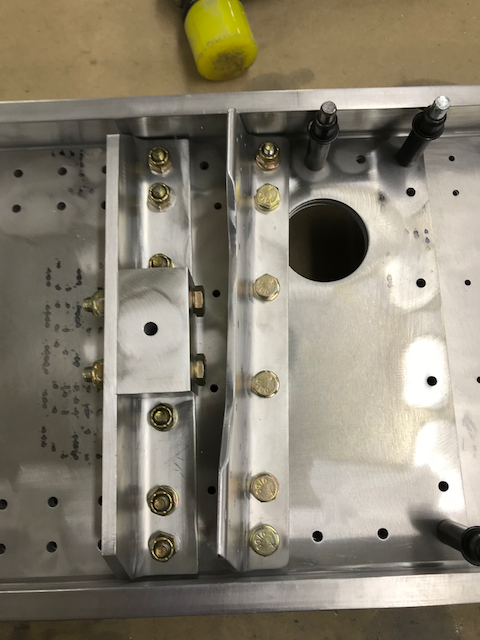
One rivet sits under one of the bolted components so it has to be set before bolting can occur. I set up my steel plate and bucking bar and had at it; I think it’ll do.

That’s all the hardware in, just around 300 rivets of differing types and lengths to go!
Jan 4th – I thought that I was being smart by installing the rivet under the bolt first but I would have been even smarter to install both of the rivets first. So, I undid the torqued up bolts, did the job properly, then put it back together.
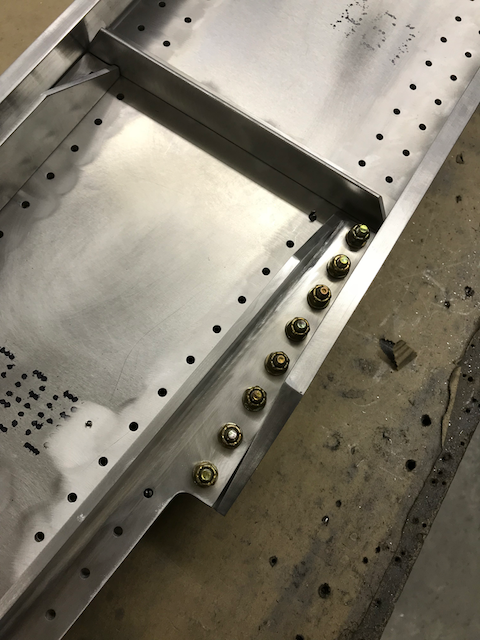
After sorting that little issue out, I installed the remaining rivets and drove them, mainly with the rivet gun. There is one line of rivets that hold an angle piece on, that are impossible to reach with the gun so they are set using the hammer and bolt method which, if a little slow, worked admirably.
-

- Too narrow for the gun.
-
- Bolt and hammer time…
-

- …works just fine.
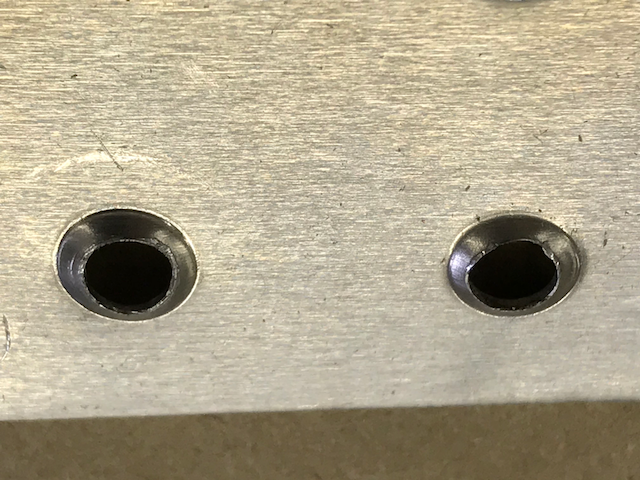
After getting all the rivets set, I inspected the entire spar and am not happy with how some of the flush rivets are sitting

Next job; drill out the offenders and redo them.
Jan 6th – Not much to say about the rivet replacement, I drilled them out then replaced them paying particular attention to where I placed the bucking bar and giving them an initial ‘set’ by giving the top of each rivet a good whack with the hammer to seat it in the hole.
That looks better.
With the left spar complete, it was time to start the right one, applying the lessons learned.
Before I got started I laid one of the right skin pieces in it’s final place on the finished left spar to make sure that the indexing of the bolts was going to provide clearance. The line of bolts looks good but I’ll have to put a small adjustment in to clear one of the washers.

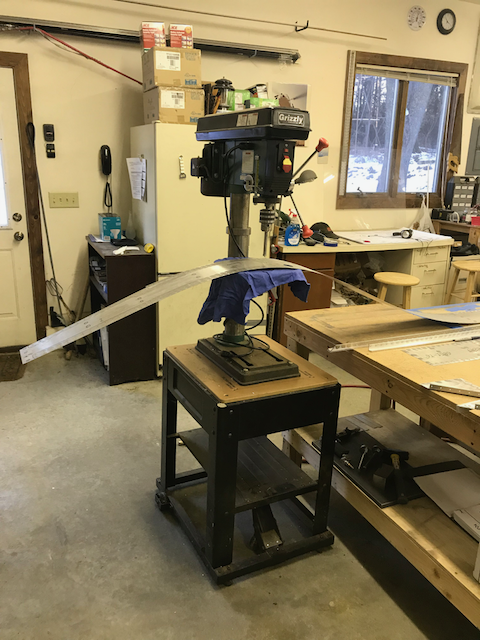
The process is identical to the first spar but as there is a slight difference in the way that the layers are stacked, I have to dimple the main spar web. This is a nearly 10′ long piece of material but as my drill press is mounted on a moveable stand, it didn’t present too much of a problem.
Everything went smoothly, now to take it apart for clean up, deburring, re-assembly and riveting.
All done, time for cleanup.
Jan 15th – Second spar is done; I took the lessons of the first one and applied them to this one and managed to get a pretty nice result with the flush rivets. The rest went in pretty quickly and now I have a pair of main spars.
-
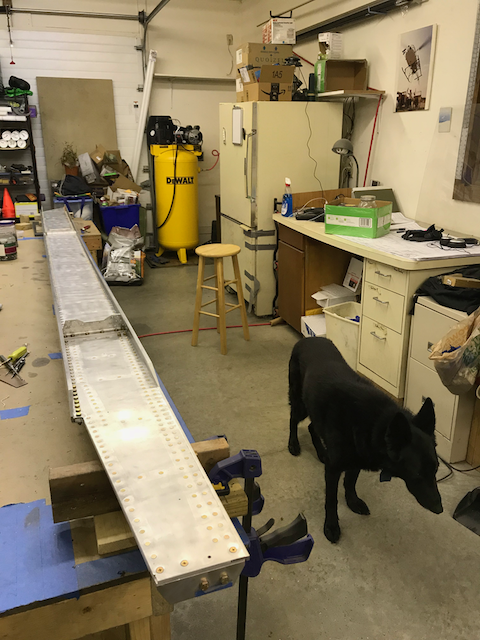
- Sadie approved.
-
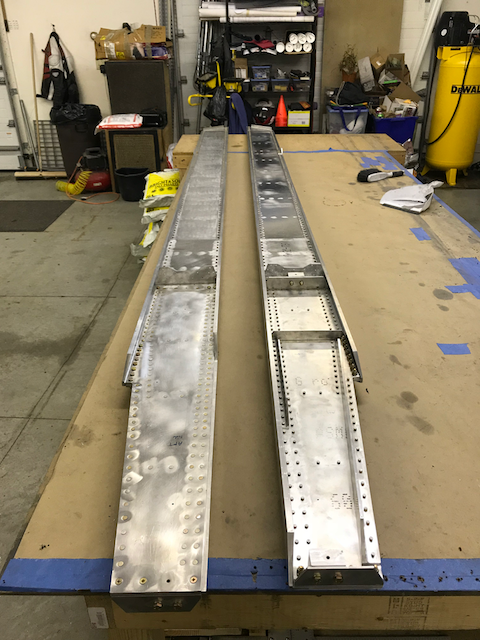
- Two finished main spars.
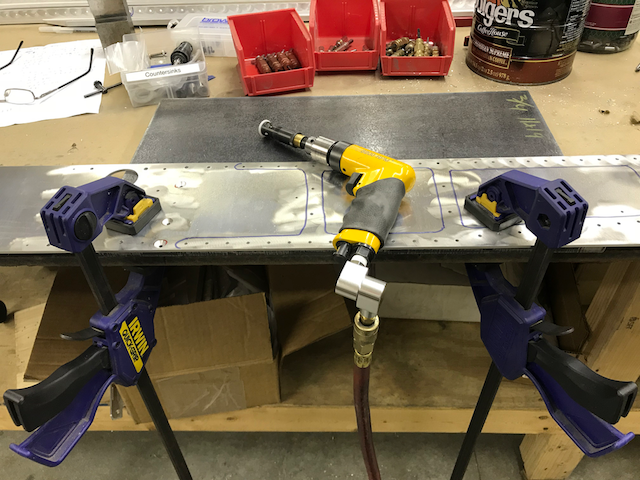
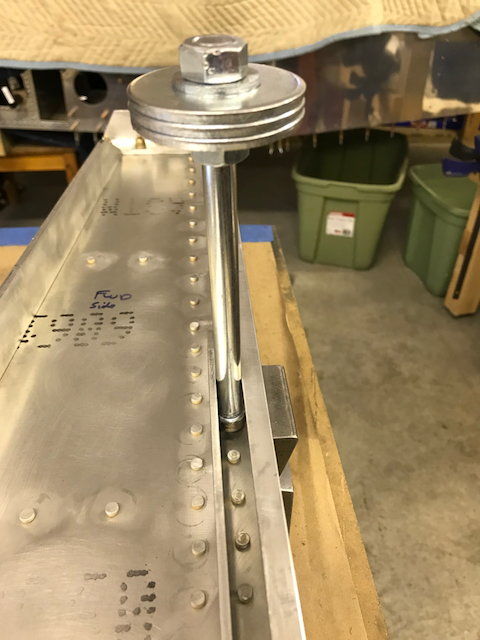
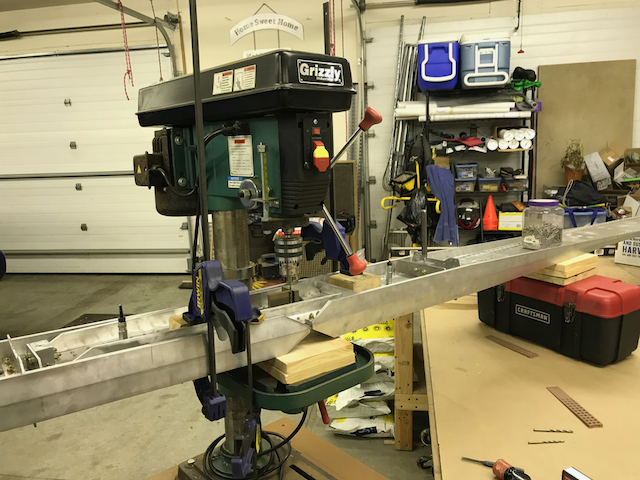
The next task is to join them together and updrill the various mounting holes. There are 5 holes, three of which are used to help rig the wings and the two main ones which the wing bolts will end up going through. I want these to be as accurate as I can get them so I set them up for the drill press.
-
- Initially clamped..
-
- …set up for the drill press…
-
- …all secure…
-

- …and square.
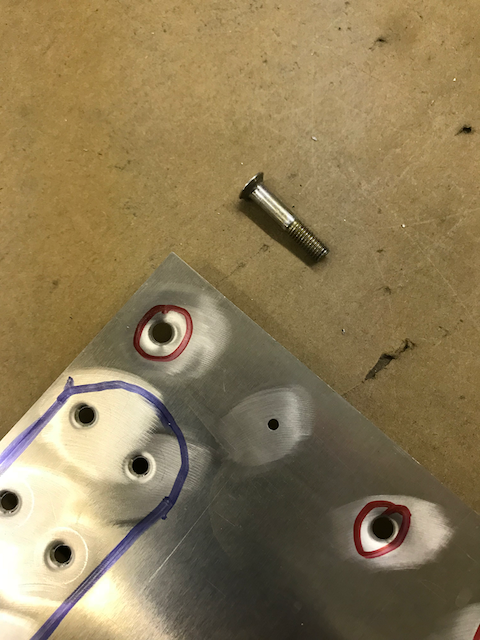
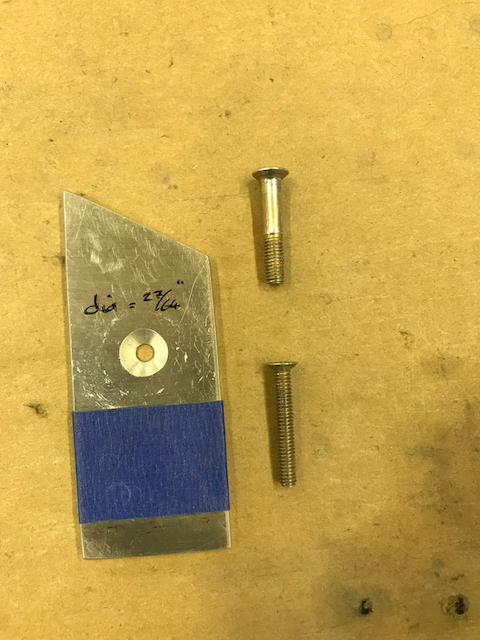
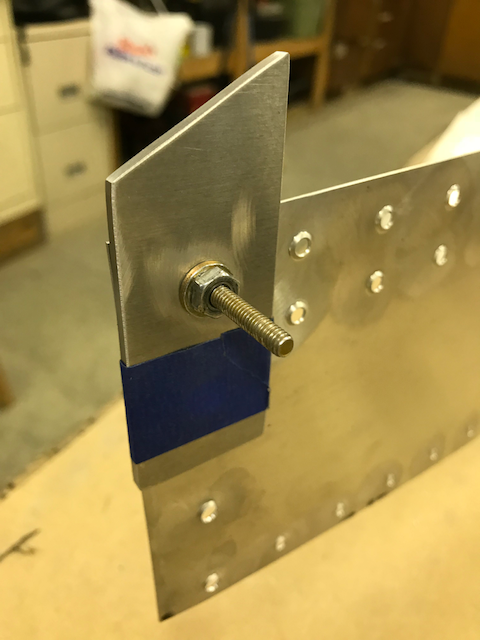
The three rigging holes were drilled up to 1/4″ and temporary bolts put in place. The last two main mounting holes go through 3 1/2″ of material and I don’t have a drill bit long enough to do it in one pass. I don’t want to drill in from both sides so I have stopped for now and ordered some long drill bits from Aircraft Spruce.
-
- Temporary bolts.
-
- 3.5″ of metal to drill through.
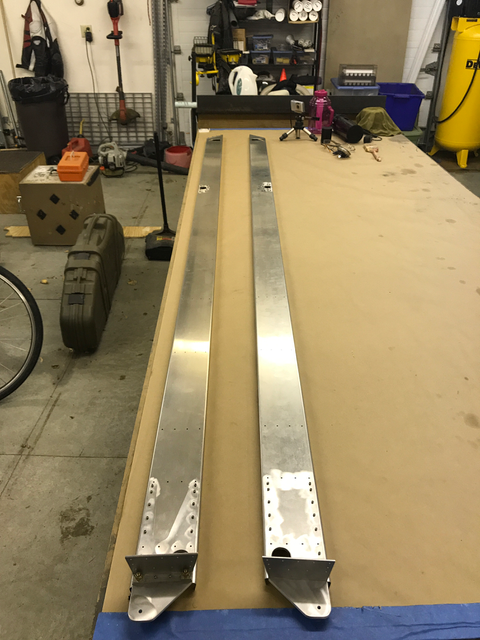
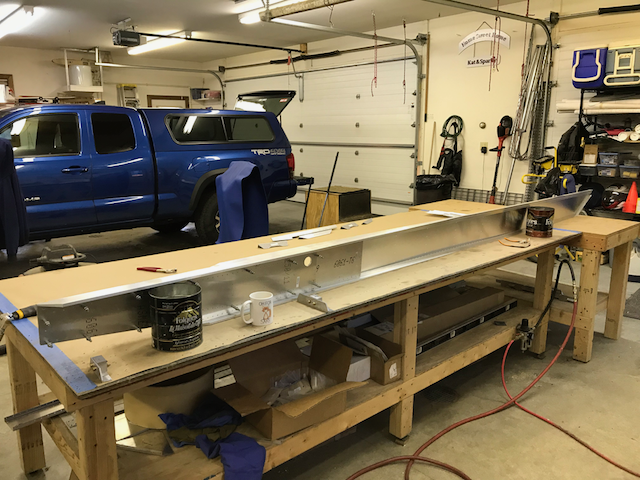
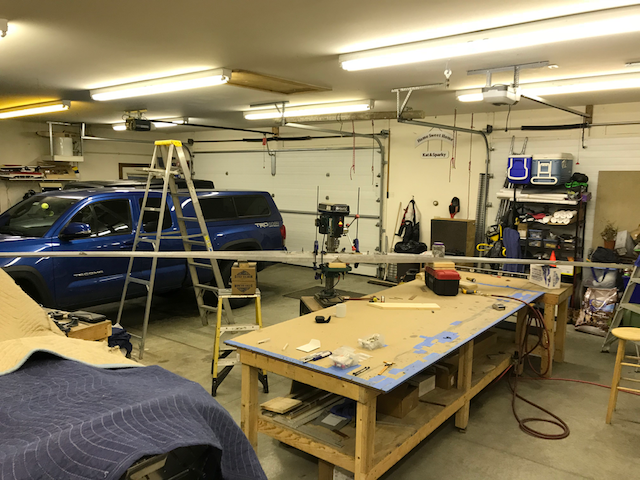
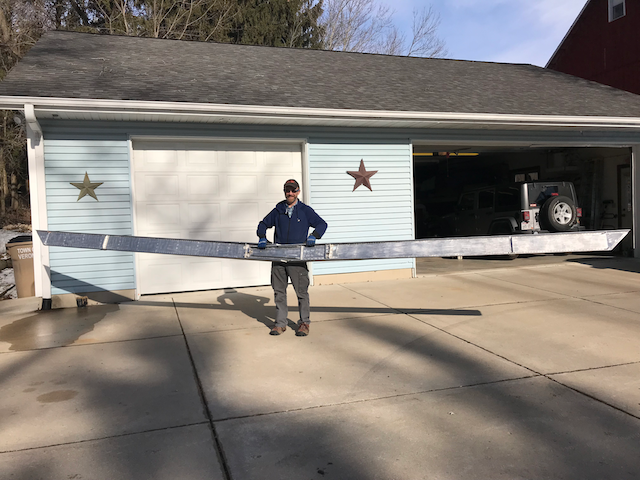
January 25th – The long drill bits arrived and the holes were drilled all the way through. With that done, it was time for the universal picture of the two spars joined together; standing by the truck gives an idea of the size of these things.

Time to cross off another box and start on the wings proper.
-

- Another box crossed off.
-
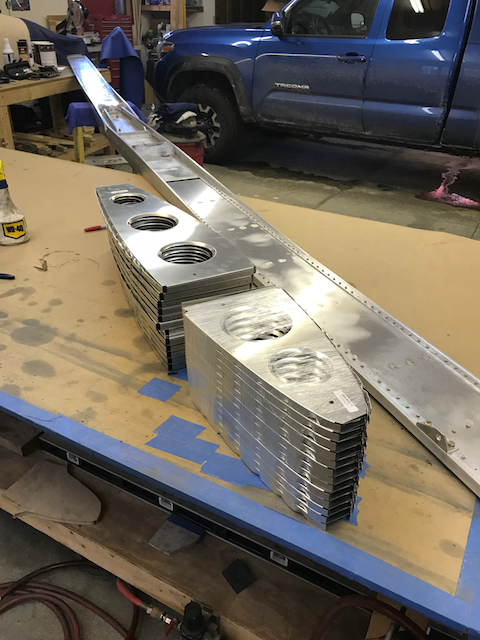
- Wing ribs looking for a home.