
September 26th – I’m waiting for some components that I need to make up the wiring harness for the Flight and Engine instruments, so, as I recently got some practice at cutting holes in the plane, I decided to get the switches ready.
I decided earlier in the build not to hinge the Panel for access, I don’t think it’s necessary for the major components, but the prospect of trying to wire up multiple switches while hanging upside down under the panel was not appealing. To alleviate that, I am making up a couple of switch panels out of 1/16″ aluminum. As well as improving access, this has the side benefit of making the switches a bit more solid. The panel is considered to be part of the structure so to strengthen up the holes I will be cutting, I will bend in some flanges.
I played around with some cardboard mockups to come up with a clean panel; all lighting switches are grouped on the right side and electrical control switches on the left.
First thing, cut some holes.
-

- Template…
-
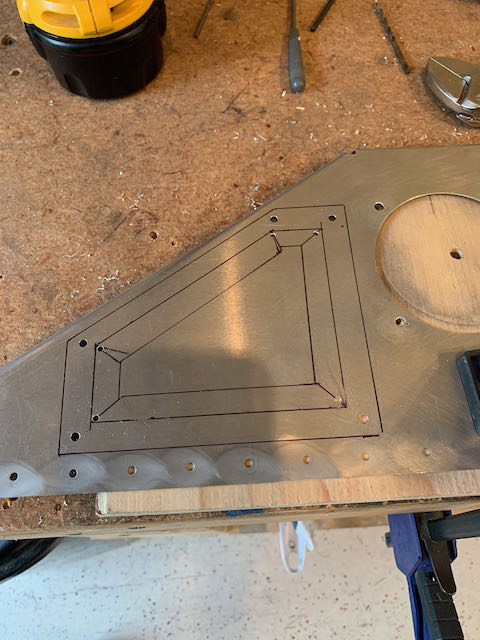
- …marked…
-
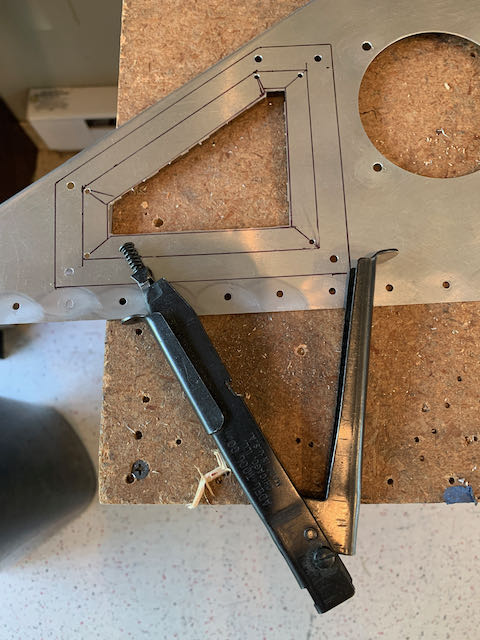
- …and nibbled.
Bending the internal flanges was a little tricky, a brake won’t work. I rigged up clamps, used a bucking bar as a form and bashed it with a hammer; it might not win any aesthetic prizes but is strong and the flanges will be out of sight anyway.
-

- …make the flange…
-
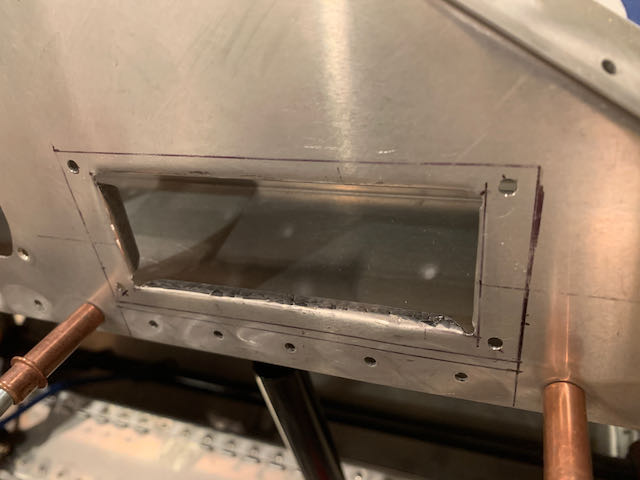
- …pretty enough.
I glued on some more of the Click Bond nutplates, and we have switch panels.
-

- Easy access…
-
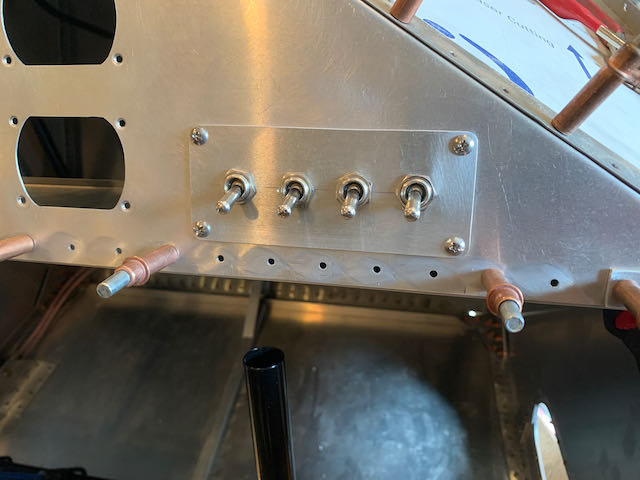
- …solid mount.
I put some sticky labels on for now, they will be etched for the final finish.
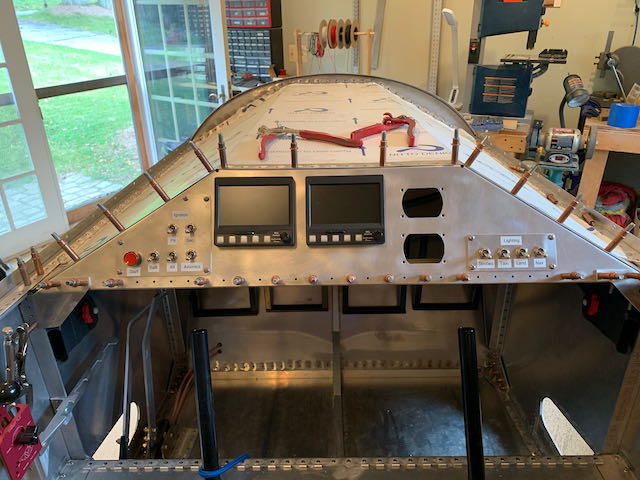
Switch Panels in place.
I want to keep the panel as uncluttered as I can, so, with the exception of a couple of warning lamps and some placards, this will be about it.
Pretty much everything is in place, I guess I’d better start stringing it all together.
Stay tuned…