
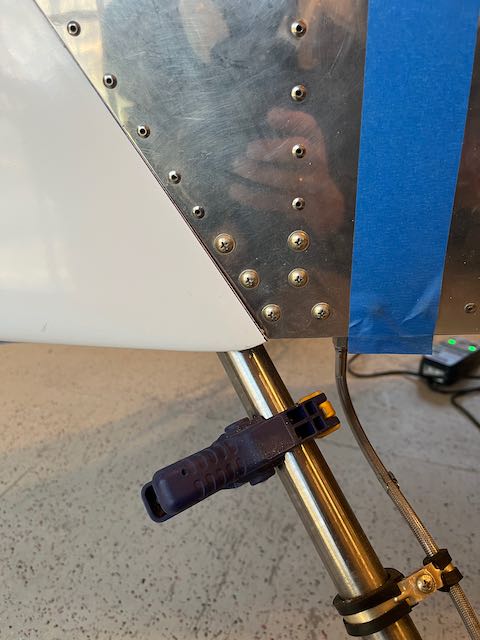
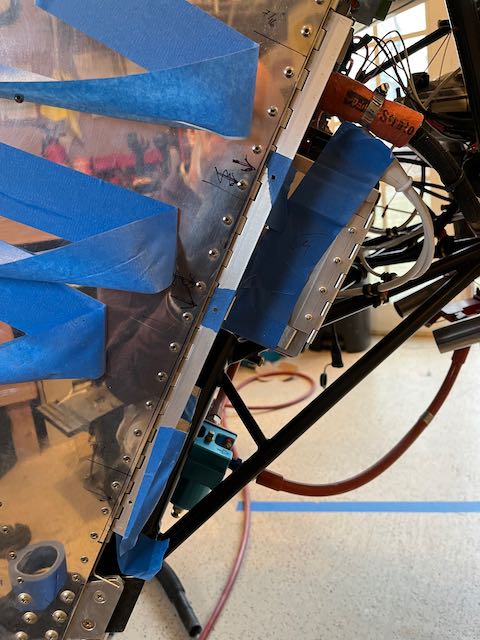
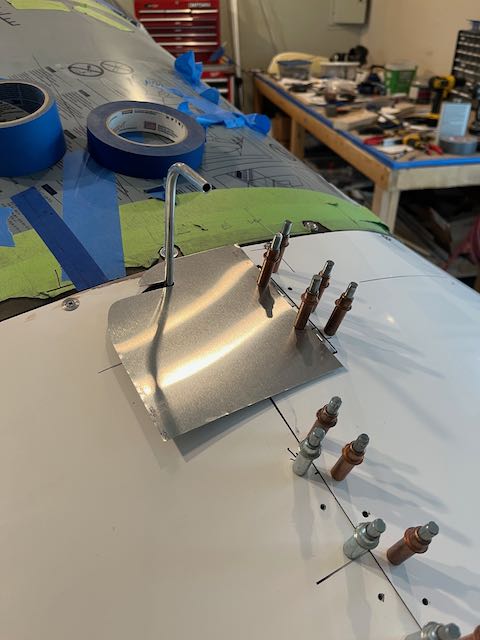
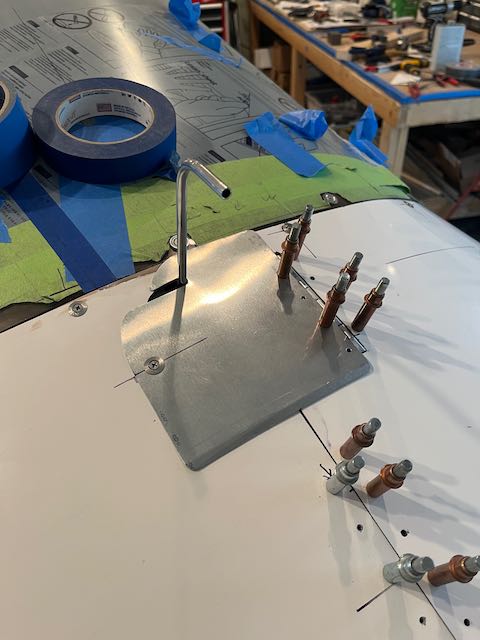
May 21st – I received the new throttle and mixture cables, rotated the AeroCarb, and mounted them up. There is quite a long run in this orientation, so I made up a bracket to provide some support.
-
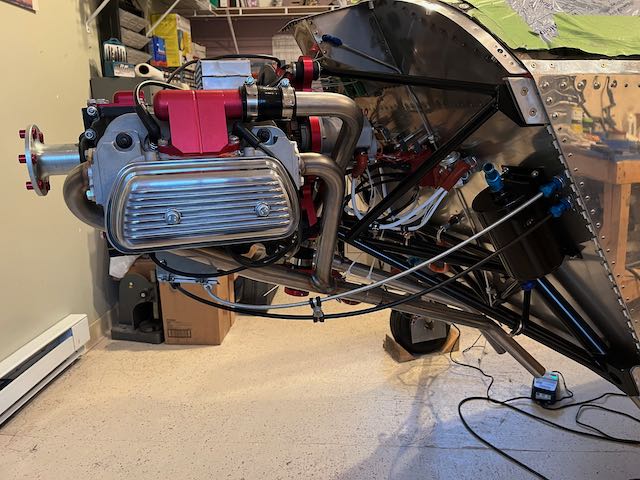
- Long cable run…
-
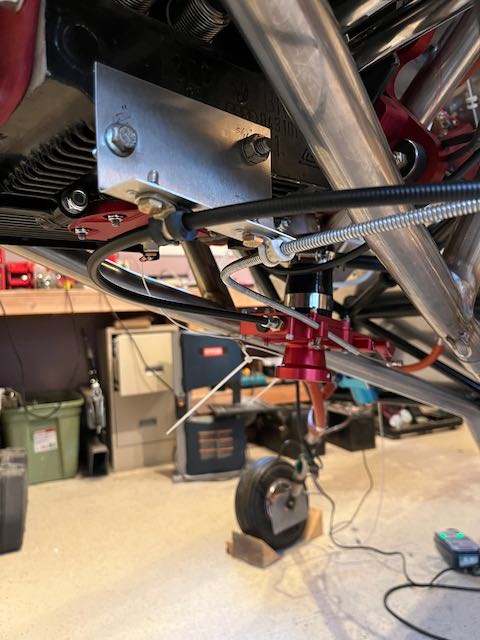
- … to support bracket.
With the position of the cables fixed, it’s time to start work on the Cowling and the first requirement is to make sure that the engine is mounted in the right place. I broke out the laser levels and various squares to check the location.
-
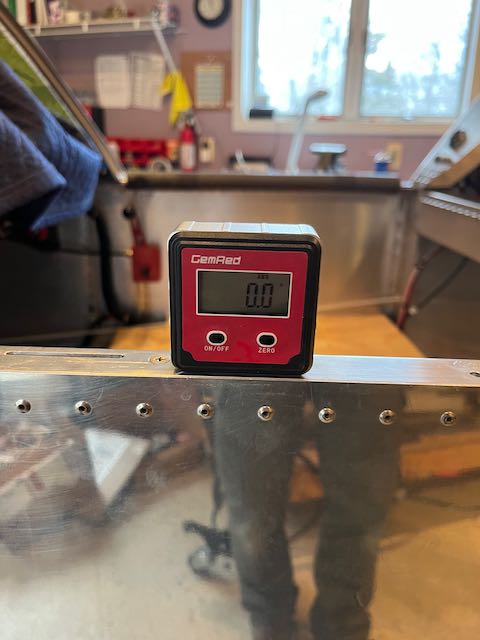
- Level…
-
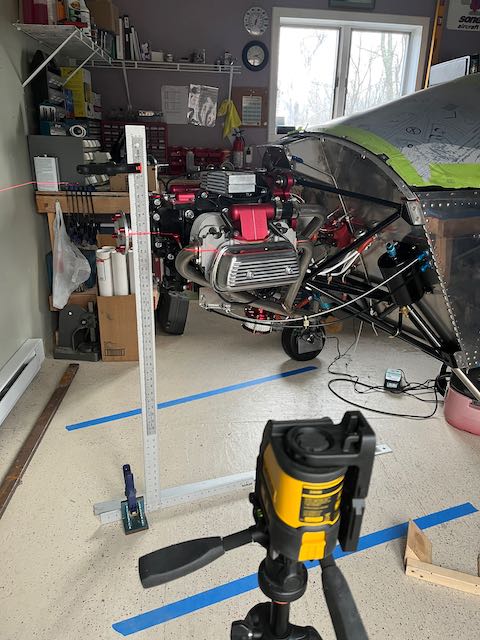
- …and square.
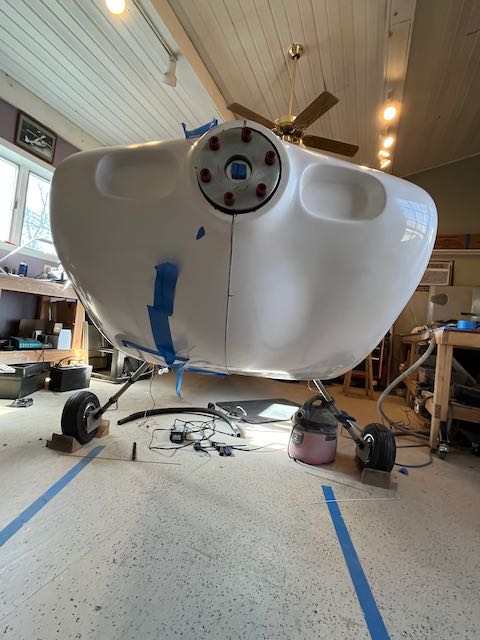
It came out within the tolerances called for, so, with that being the case, the front of the propellor hub becomes the point of reference around which the cowling is fitted. I made a wooden disk to fit over the bushings to provide an alignment spacer so the cowling can be held in the correct location at the front of the engine.
-
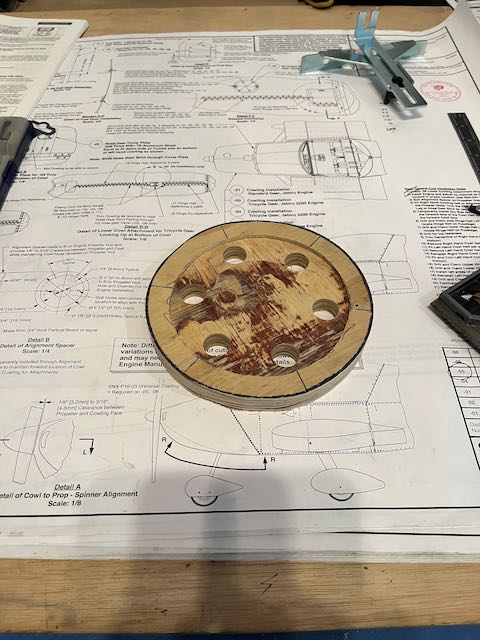
- Spacer…
-
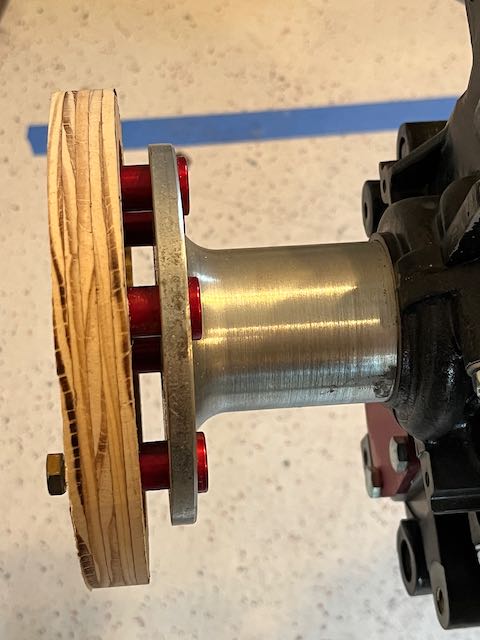
- …over propellor bushings
-
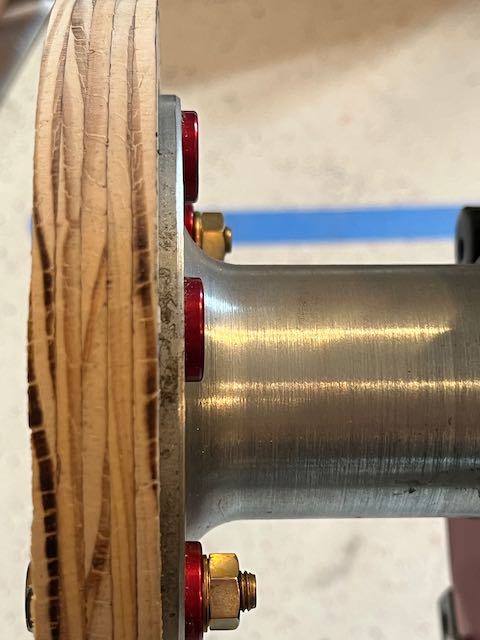
- …bolted in place…
-
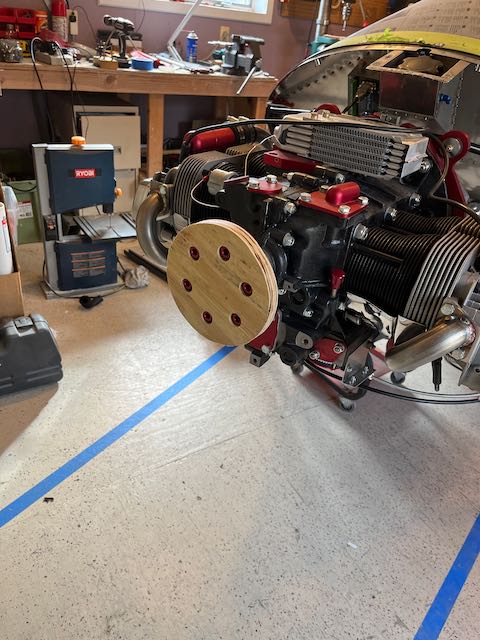
- …ready for the cowling.
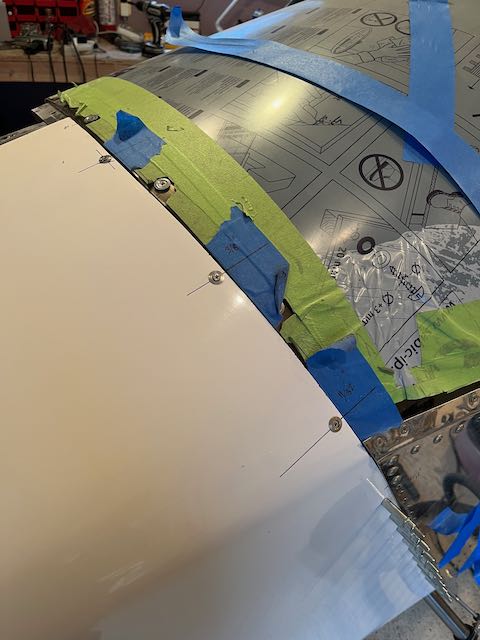
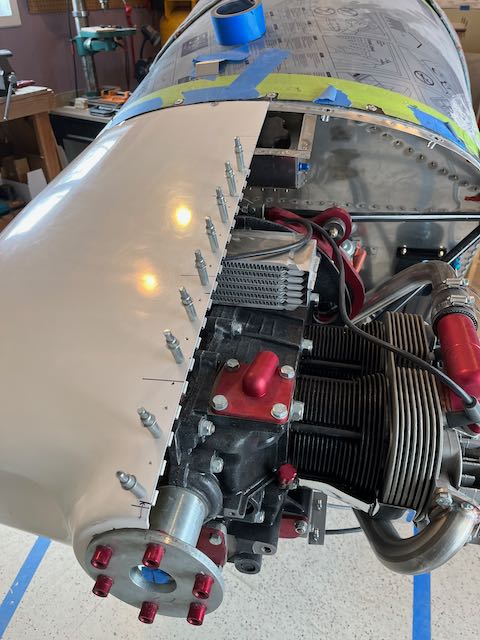
This was the start of a very different part of the build. Prior to this, all dimensions have been laid out in the blueprints to exact lengths and angles, but the cowling is more of a “tape it in place, make a mark, and cut a bit off”.
I had read of other builders frustration with this process, so I was expecting that it was going to be a challenge, but once I got my head around the fact that it wasn’t going to happen fast, it actually was a pretty satisfying process. Fiber glass is nasty stuff to cut and sand, so I’m glad it was a cooler time of the year as long sleeves save a lot of itching!
-
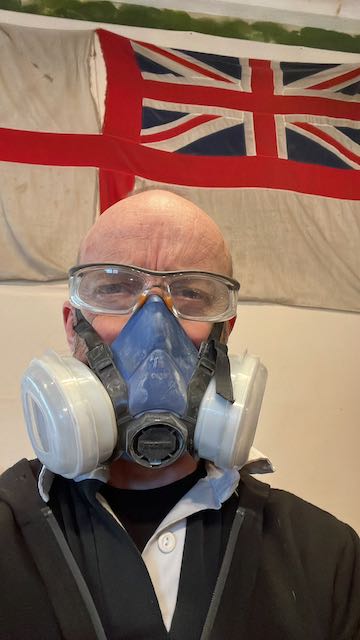
- PPE in place…
-
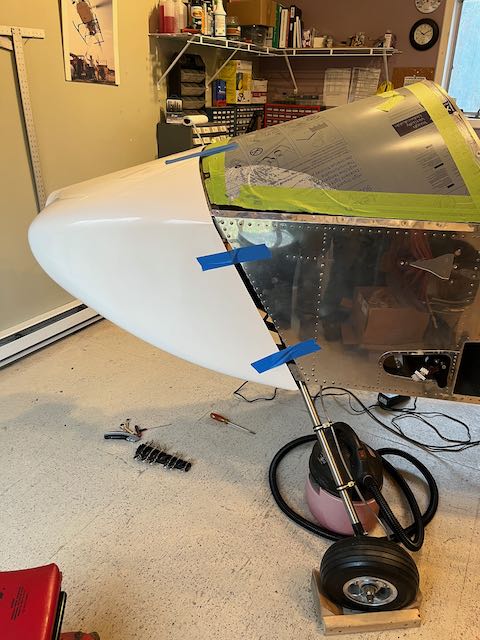
- …first positioning…
-
- …looks pretty cool.
I followed the steps off the plans, and got to work. I didn’t keep track of how many times I attached and removed the cowling over the next few months, but I wouldn’t be surprised if it was at least a hundred. There is a supplemental instruction book available on the Sonex website that would have been more helpful if I had discovered it a little earlier in the process; a reference to it would have been nice on the blueprint! When I did finally read it though, I found that I’d basically been using the methodology that was recommended.
-
- First cuts…
-
- …
-

- Big gap…
-
- …small gap.
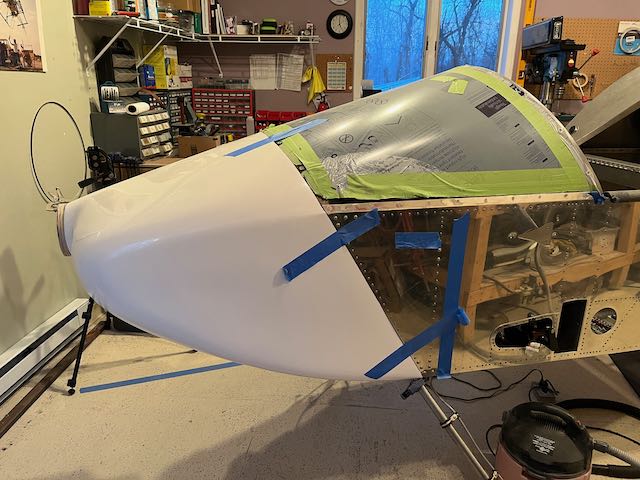
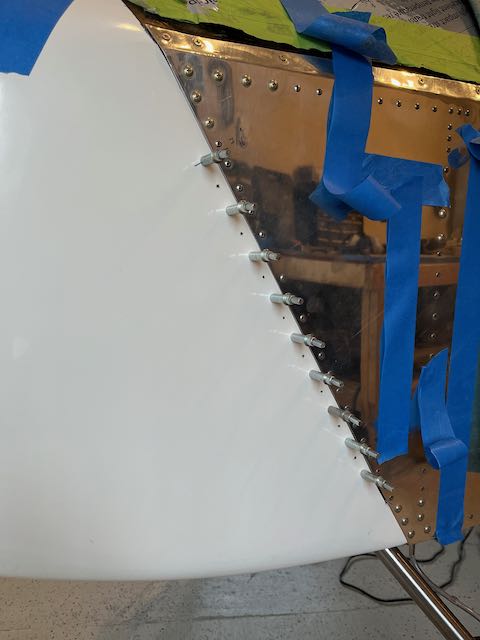
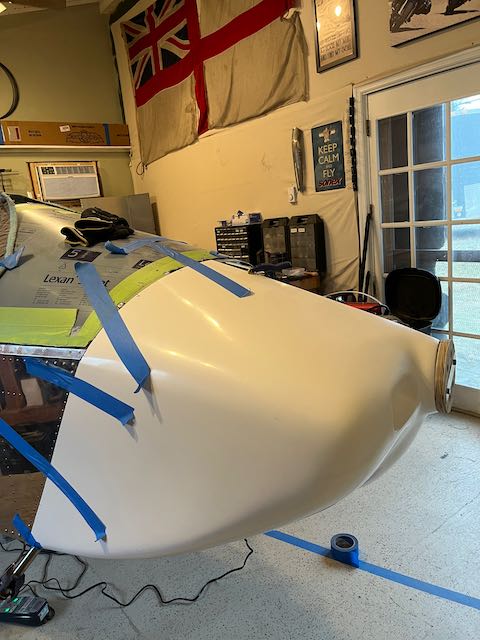
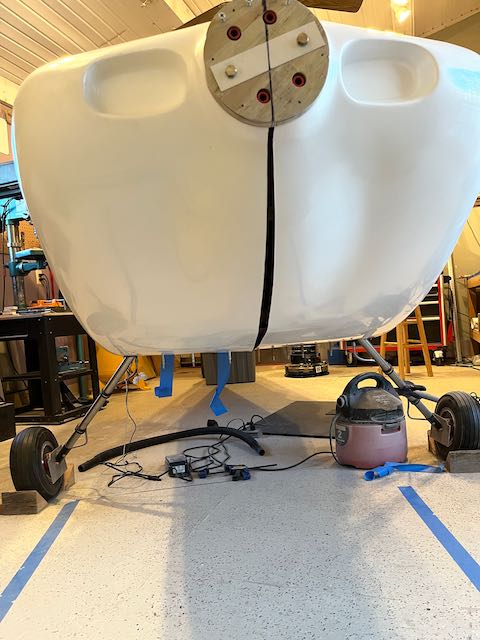
And then it was ‘rinse and repeat’, sneaking up on a good fit. Finally, it came to where I was happy, so I measured up, and drilled the holes for the first of the hinge lines. The sides, top and bottom center line, and lower edges are held in place by piano hinges with removable pins. One half was installed as part of the fuselage build, and now the second half gets attached to the cowling; simple and effective.
-
- Taped in place…
-
- …first hinge fitted.
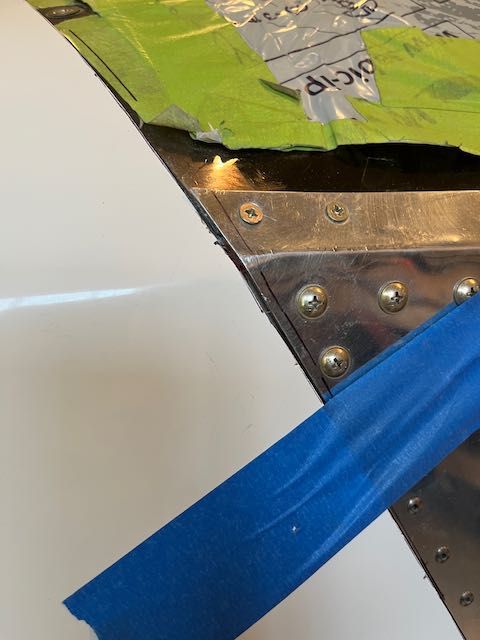
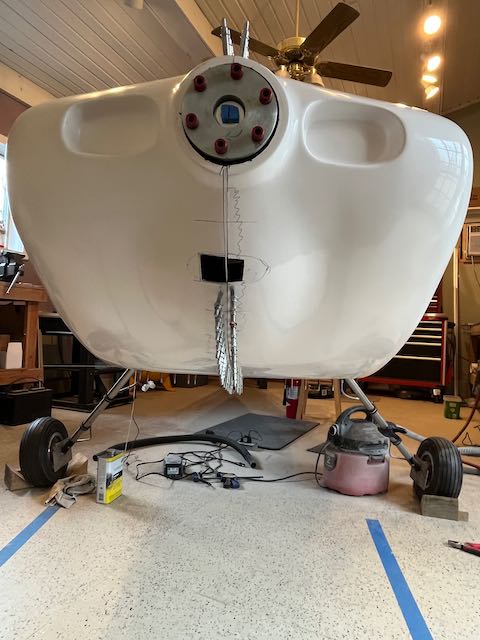
As part of the fitting process, I had cut out a notch for the gear leg and fitted the lower edge of the cowl against the bottom of the fuselage. Now it was time to line up the holes for the SkyBolt fasteners to pass through next to the windshield. I drew lines across from the windshield lined up with the center of the holes, and measured out from the seam. Two of the holes ended up about in the right place, but one was off center. I’ll leave it for now, I’m sure there will be more patch up required before I’m done with this project!
-
- In place…
-

- …but off center.
It looked pretty good in place, so I moved on to the other side.
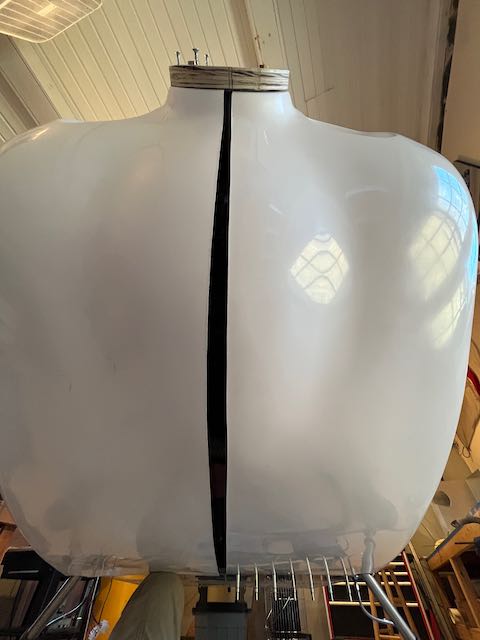
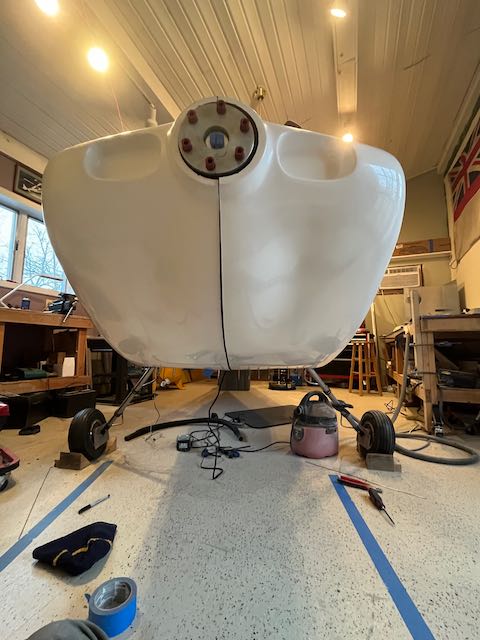
This was when the fun really started. The challenge is to now get both halves of the cowl into a position where everything lines up with everything else…
-

- First fitting…
-
- …lines up…
-
- …pretty good.
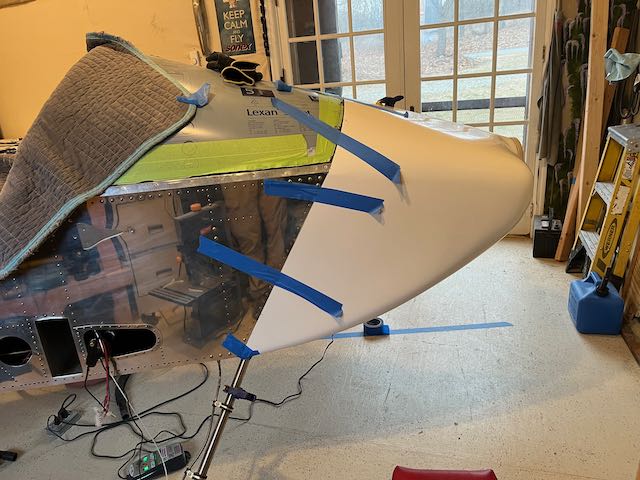
I got the right side to where it seemed about right, but when I put both halves on, the top was okay, but there was a large gap on the bottom.
-
- First attempt…
-
- …top okay…
-
- …bottom, not so good.
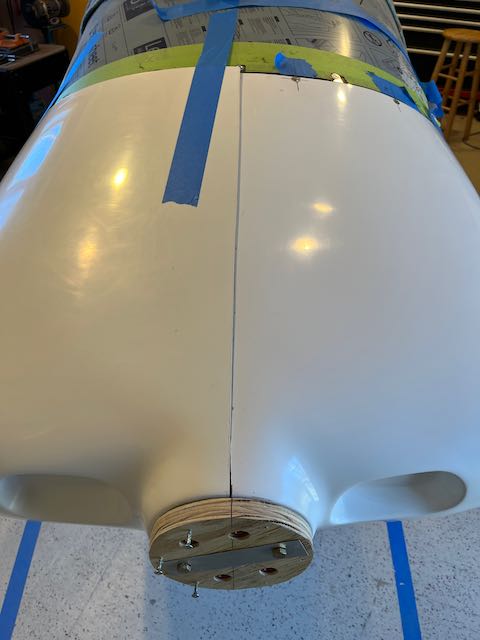
And this is where the multiple attachment/removal process happened. Sonex say in their notes that the cowlings are about 1″ oversized and that a fair amount of trimming will be required. They aren’t kidding, but a small amount taken off, can make a huge difference, so i was taking really small amounts off each time. I would mark the edge where material needed to be removed with a Sharpie, and sand off just the marked amount.
-
- Edge marked…
-
- …sanded off.
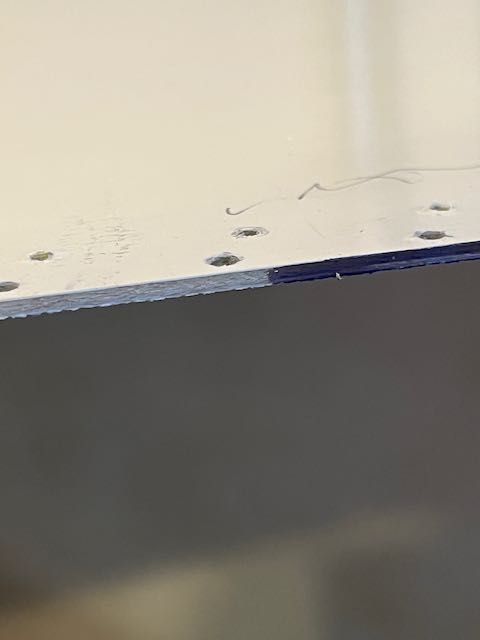
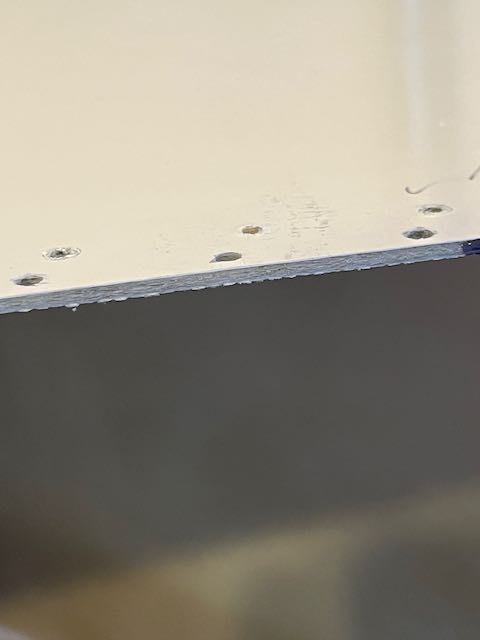
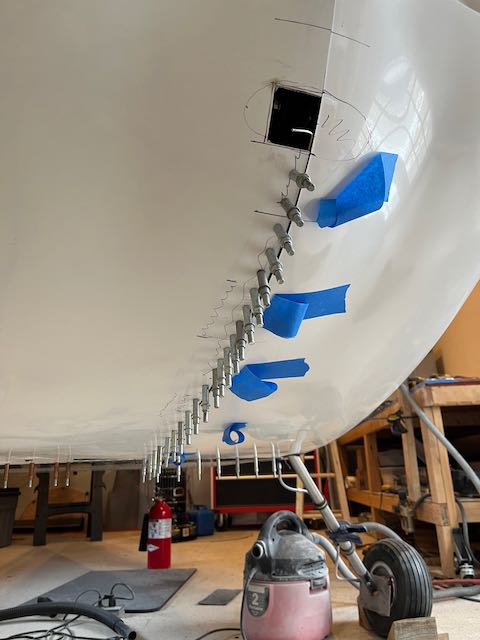
The sharp eyed amongst you will notice two lines of holes. It quickly became apparent that the first position I had fixed the hinge in was incorrect, as I was sanding off material, the first row of hole were getting too close to the edge. Luckily, I had bought a large amount of extra hinge material for some reason so I replaced the original hinge piece with an un-drilled piece. I clamped it in place against the firewall, taped the cowl in place, and re-drilled the holes.
-

- New hinge clamped..
-
- …and pilot drilled
Slowly, slowly, it came together. Here’s a few photos of the progression.
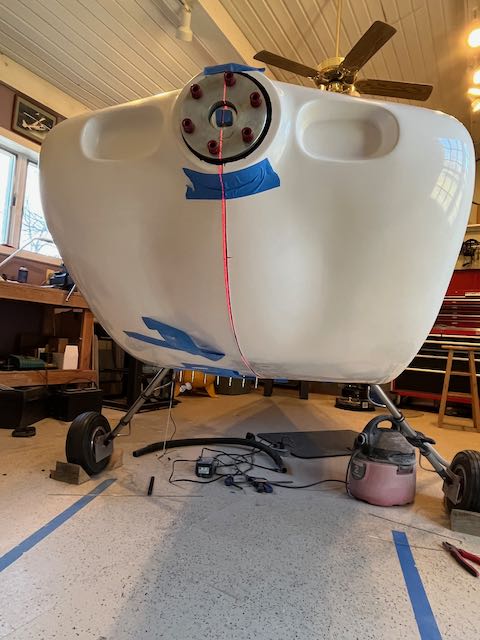
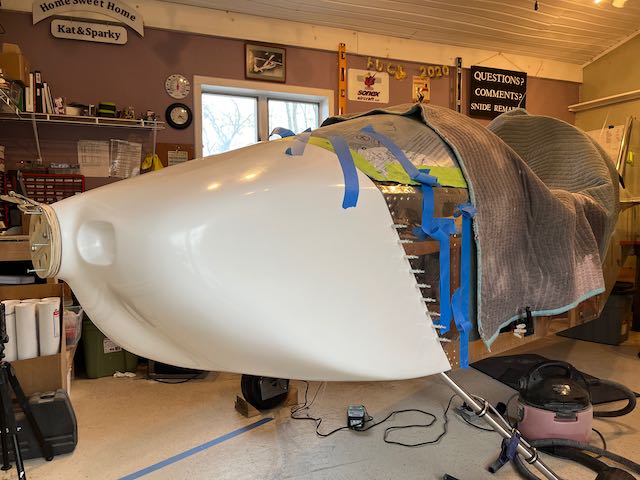
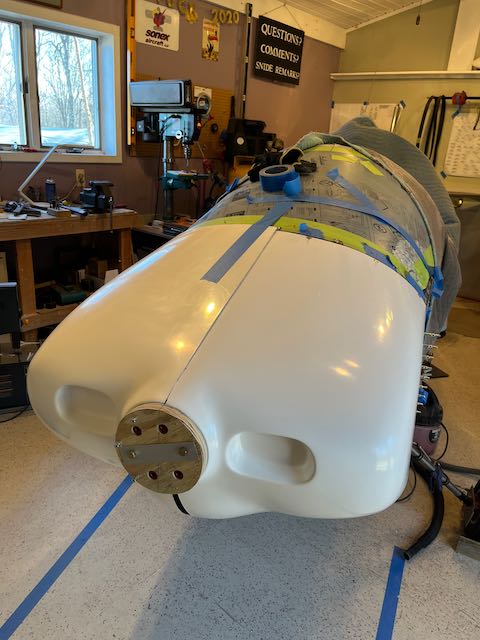
Eventually, it got to where I was happy with the fit so I attached the top hinge.
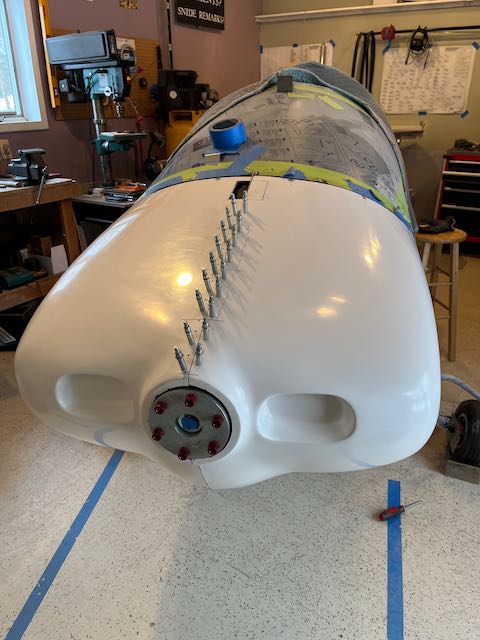
Then the bottom hinge.
Around this time, I got the interior delivered which had been on back order for three months so for morale purposes, I put it in place and also trial mounted the propellor.
-
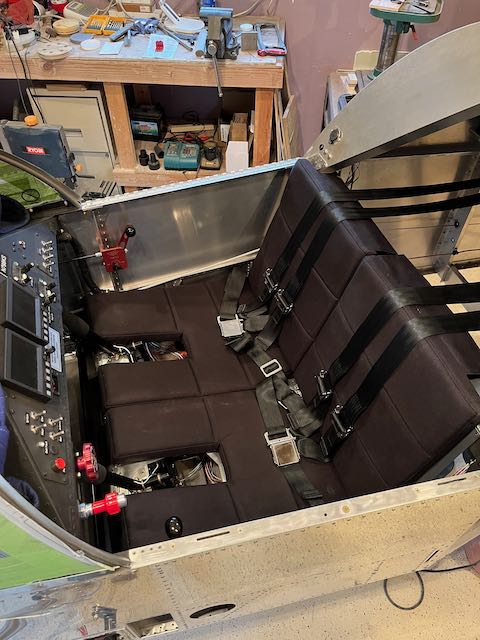
- Interior…
-

- …and propellor.
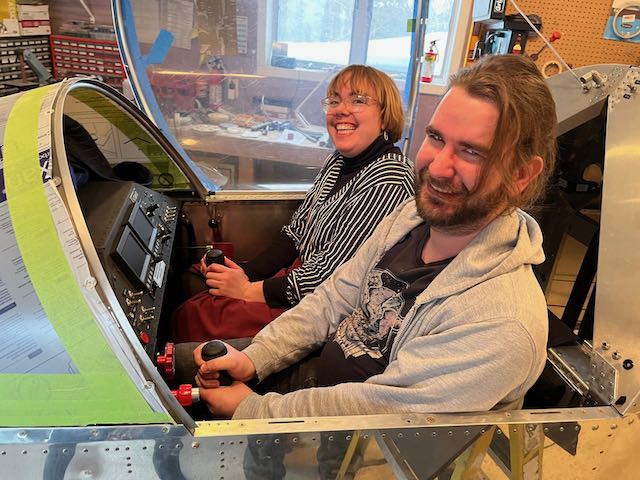
I also had a visit from my niece Catherine and her boyfriend Daan, they were persuaded to sit in and make airplane noises!
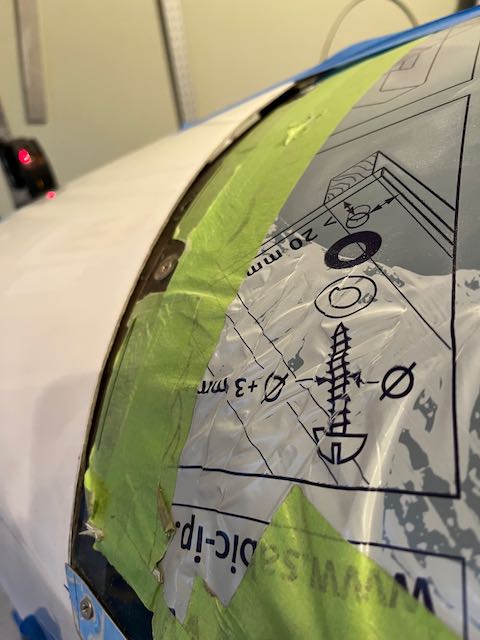
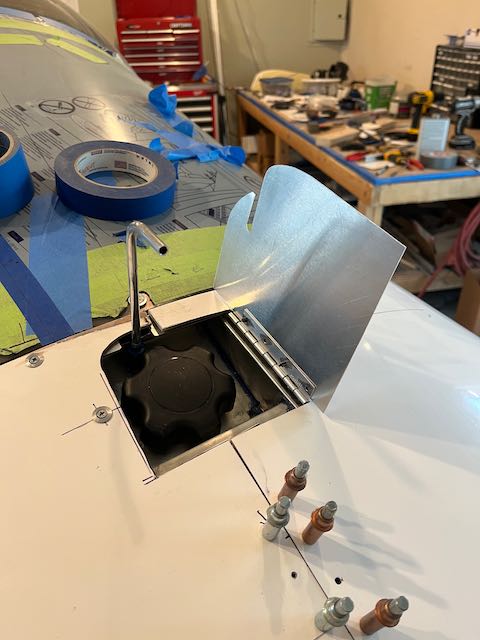
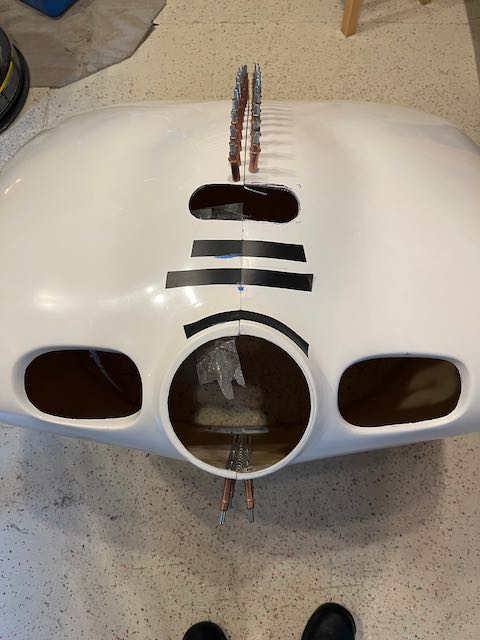
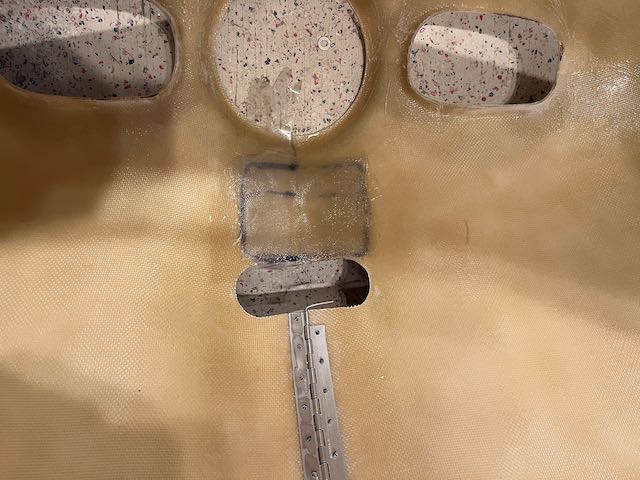
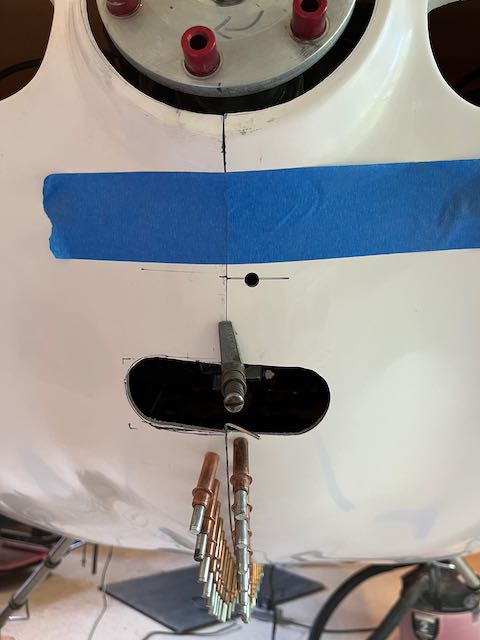
Next step was to start cutting out the various openings for air intake, oil cooling, fuel cap access and exhaust outlet. I have installed the upper fuel tank vent, so I had to do some finagling to get the fuel hatch to fit around the vent tube.
Next was fabrication of a tab on the front of the cowling for a fastener under the propellor. I used parcel tape on the inside of one half of the cowl to stop the resin sticking to the existing cowl and built up six layers of fiberglass cloth.
-
- Taped in place…
-
- …laid up…
-

- …tab before trimming…
-
- …hole for SkyBolt fastener.
Then it was on to final trimming and pulling rivets.
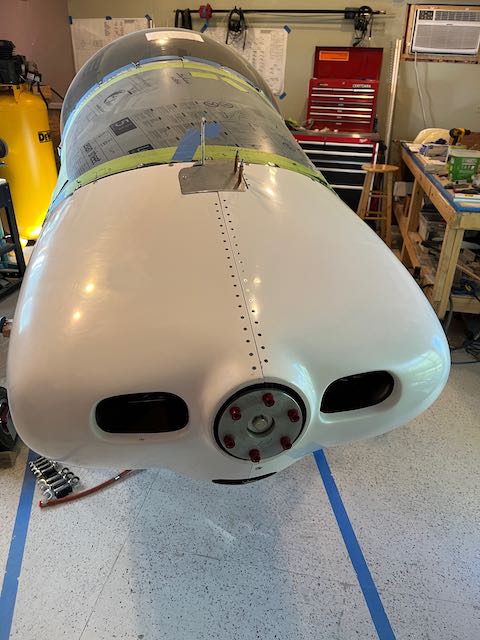
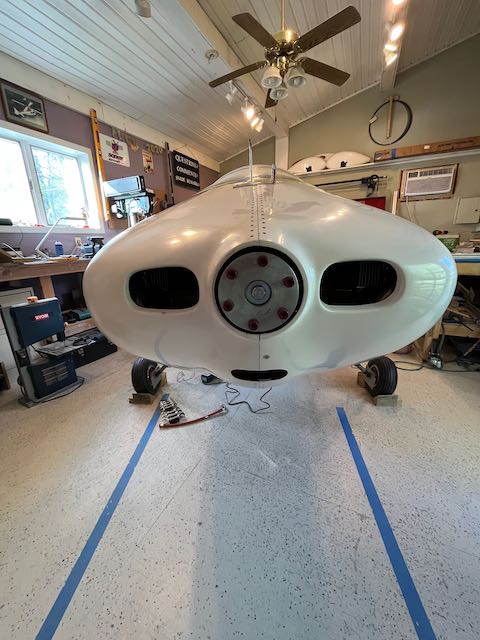
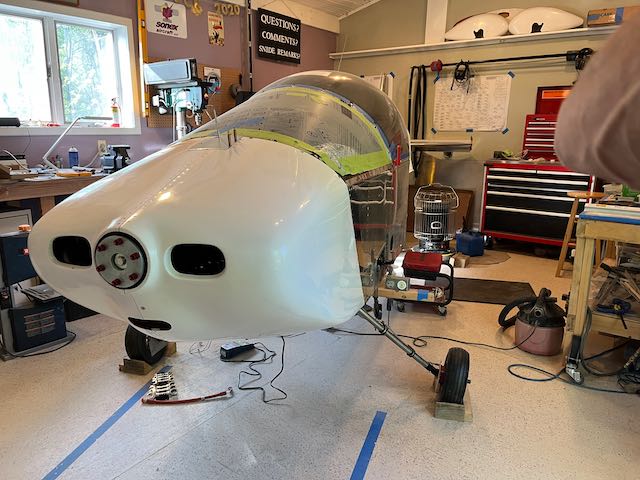
There will be more work required to prepare for paint, but this will do for now.
This was a very challenging part of the build, and reading other builder’s accounts, I am not alone in my frustrations. There was definitely a high proportion of swearing to work throughout the process. However, I learned a lot, and ultimately am satisfied with the result.
With the cowling in place, I can now move on to fitting the baffles underneath it which will direct cooling air through the engine. Stay tuned…