
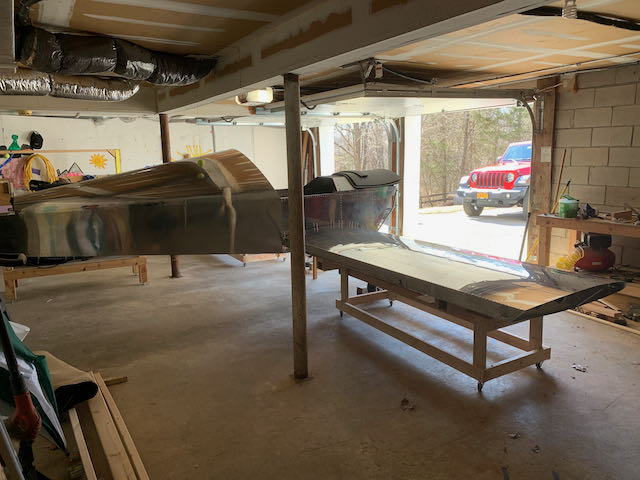
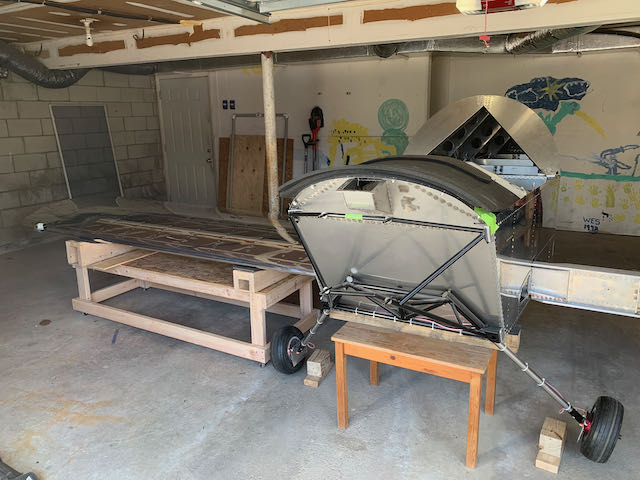
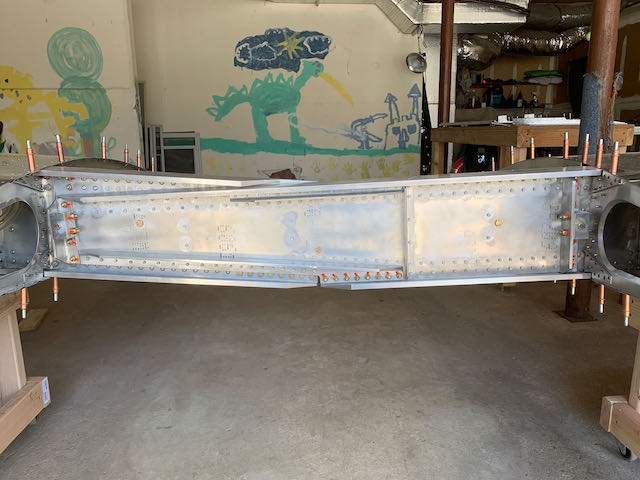
April 17th – The weather has improved so both trucks got moved out of the garage and I moved the fuselage down from the shop to start the process of joining everything together. As this was going to be a job I tackled on my own, I built a couple of stands, mounted on casters so I could line it all up.
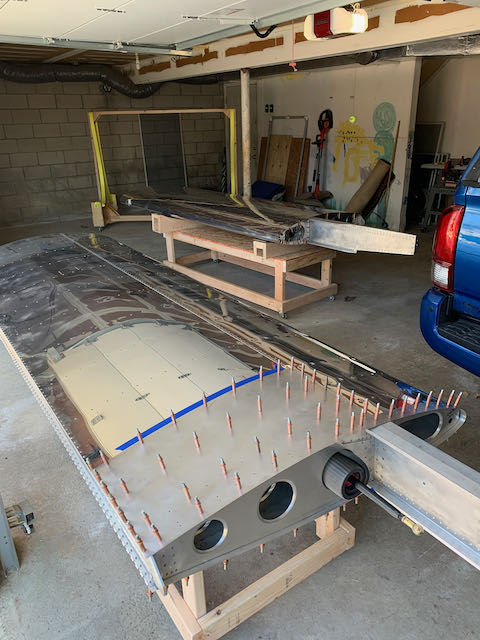
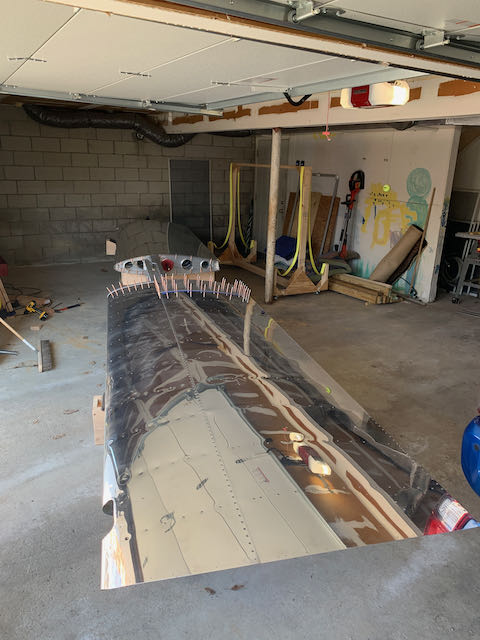
Then, with the wings roughly positioned, I mounted them into the fuselage.
This took some wiggling and trimming of the fuselage skins but eventually they were in approximately the right place. They are then locked by three temporary 1/4″ pins that keep everything aligned until the final holes are drilled, these are easier to see with the wings outside the fuselage.
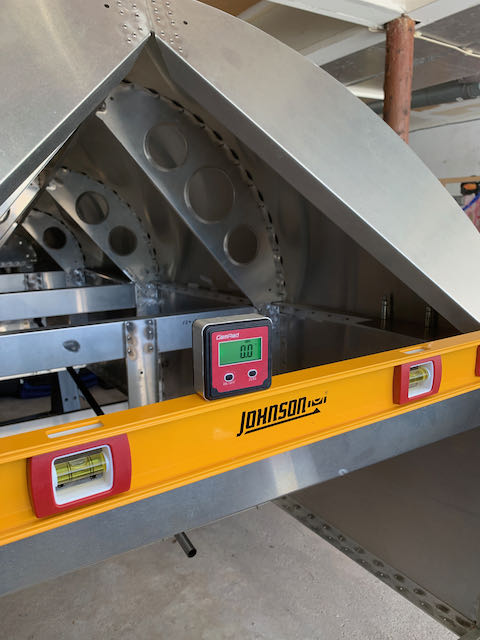
With the wings locked together in orientation to each other, they then have to be adjusted to be symmetrical on center, at the same dihedral angle, at the same incidence angle and equal in plan form. Of course, when you make one adjustment, everything else must be checked again, but finally, I got to a place I was happy with. I got a little wrapped up in all this so didn’t get pictures of everything.
-

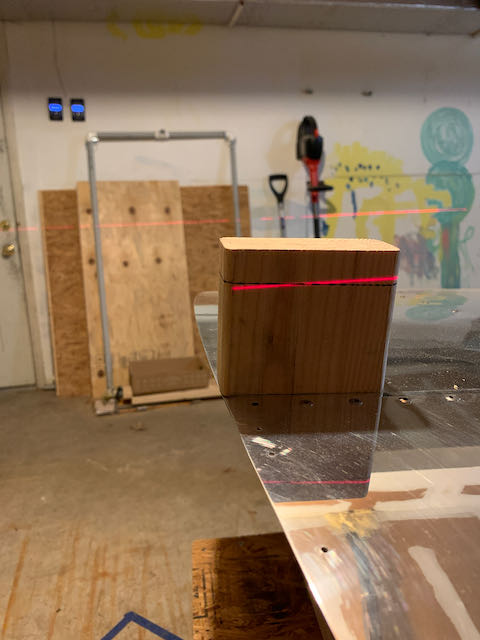
- Straight…
-
- …and level.
-

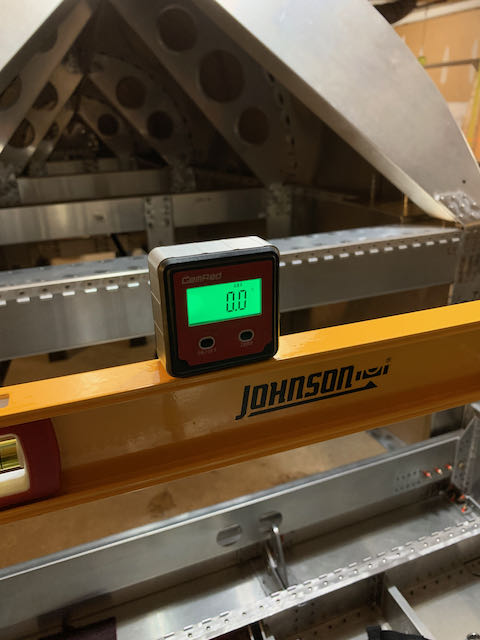
- Level across the engine mount…
-

- …with the same dihedral…
-
- …both sides.
The incidence and plan view were good too, you’ll just have to take my word for it.
The rear spar mounting holes then get drilled and these were some of the most awkward to access that I’ve come across so far. With a new drill bit in my snake drill, I went for it and got a result.

With the rear spar held in place, it’s time for the money shot, the holes for the main wing bolts get drilled up from the 1/4″ pilot hole to 3/8″ final size. This requires drilling through approximately 4″ of solid aluminum, and once again, in a pretty awkward location. I used two different drills, both piloted to do this. The piloted drills start at one size then get bigger after about 1/2″ of length; the piloted portion is dulled to make sure that the drill follows the pilot hole accurately without wandering off. This process actually went reasonably well until I finished and then discovered the next opportunity to learn something.
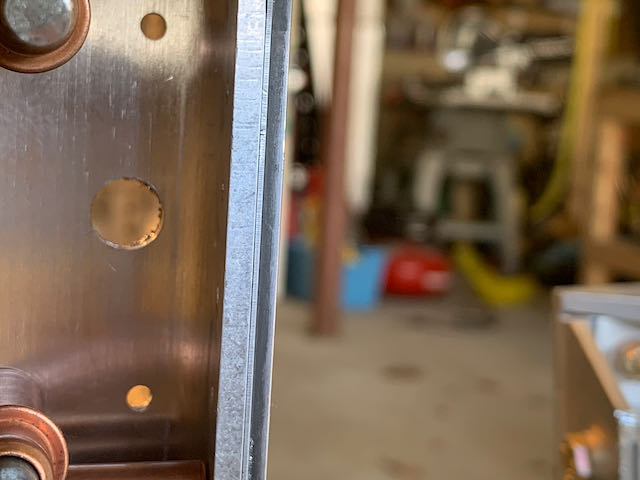
There were two pilot holes in the forward attach angle that I assumed were located where the wing bolt holes would come out; this proved not to be the case.
-
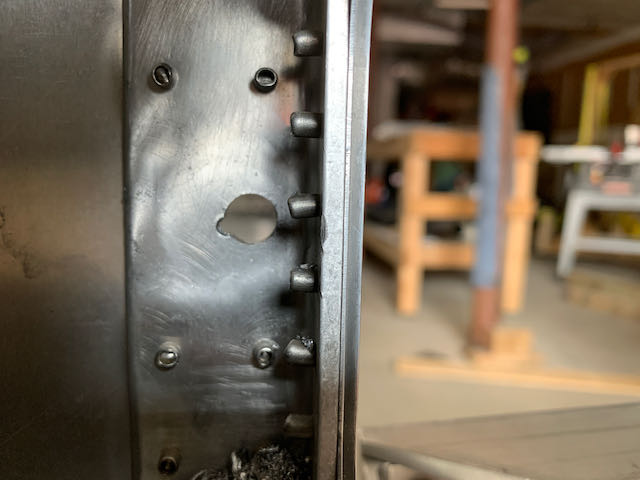
- Partial inclusion…
-

- …total miss.
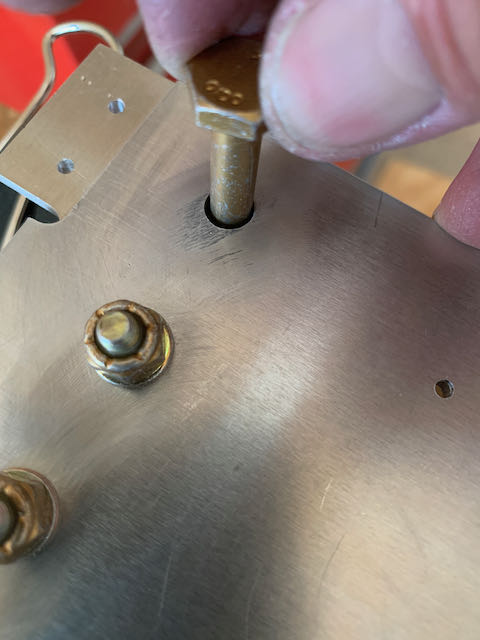
I felt this was ugly, but wasn’t sure if it was structurally significant so I sent an email off to Kerry. Net result was that this is a big no, no. The total miss could have been filled in with a rivet but the inclusion needed to be replaced. I decided to replace them both so an order went in to the folks at Sonex. Kerry mentioned that there was an amendment published to the drawing to remind builders not to transpose the pilot hole that caused the problem. I was feeling dumber than usual but managed to redeem myself when I found that I had built that part before the amendment was published; I was one of the people that made it necessary! When I got the replacement parts, I mounted them up and got much better results, second time round.
-
- Much…
-

- …better.
When I was working on this issue, I also discovered that the rear spar bolt holes were really sloppy too.
I took the opportunity to updrill them one size and ended up with a good result.
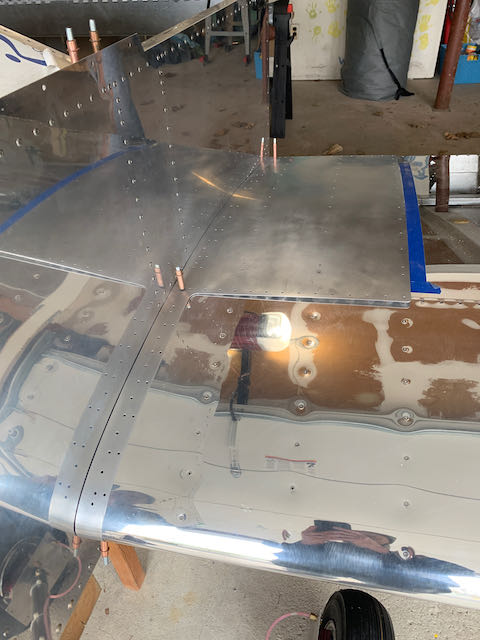
With all this fun and games done, I could start the final assembly, rivets and all. With the main wing bolt holes not landing exactly in the middle of the bracket, I installed three rivets each side in the opposite direction to provide for better clearance for the nuts. The reversed rivets will be covered by the wings when they are in place.
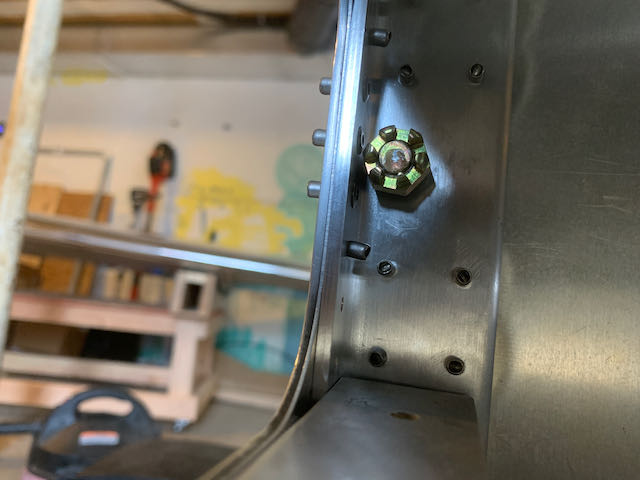
And here is the final result, nary a cleco in sight.
I then reassembled the wings and put the laser level back on everything, I can live with this.
-
- That…
-
- …will…
-

- …do.
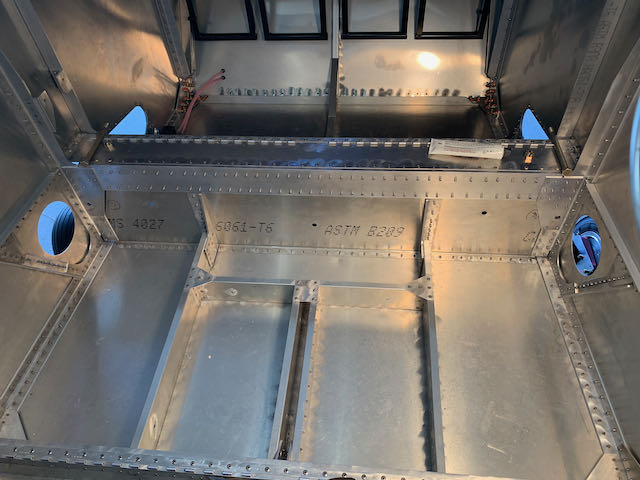
Then, just because I could, I hung everything on it.

One job remained to complete the wing install and that is to trim the doublers to fit. It was a fiddly old job, but after many trial runs, filing a bit here and a bit there, I got a decent result.

These need a little tidying up, but that can be done with the wings off. Now to take it apart again, move things back up to the shop, and the trucks can go back in the garage.
May 22nd – Of course I had disassembled everything and moved it, when I remembered that I had seem pictures of Sonex’ with a rubber wing seal to cover the gap between the wings and fuselage. And, of course, the only way to do this is with the wings in place, so I moved everything back down and set about installing the seals.
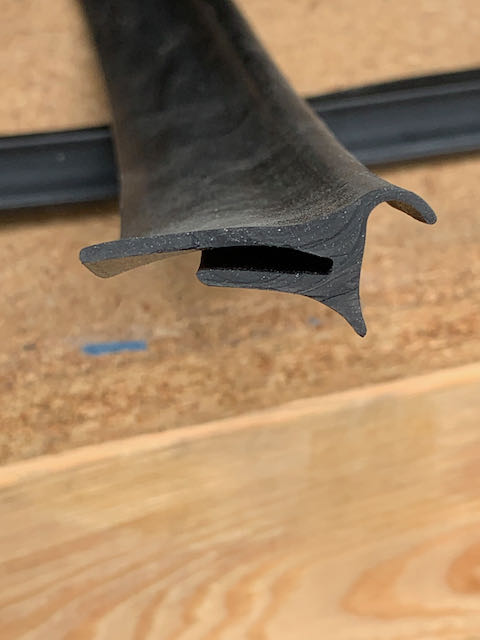
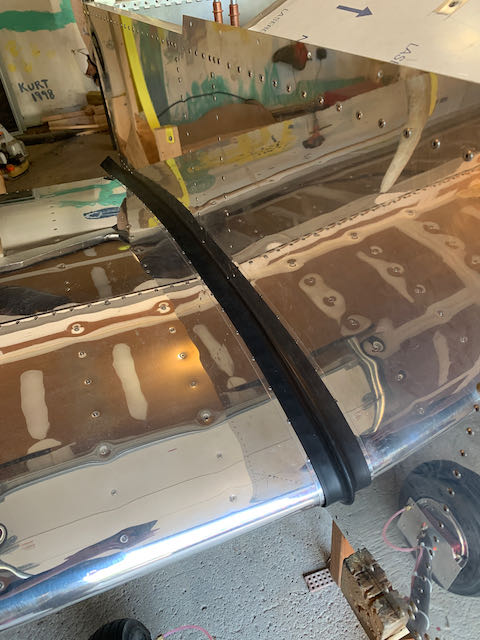
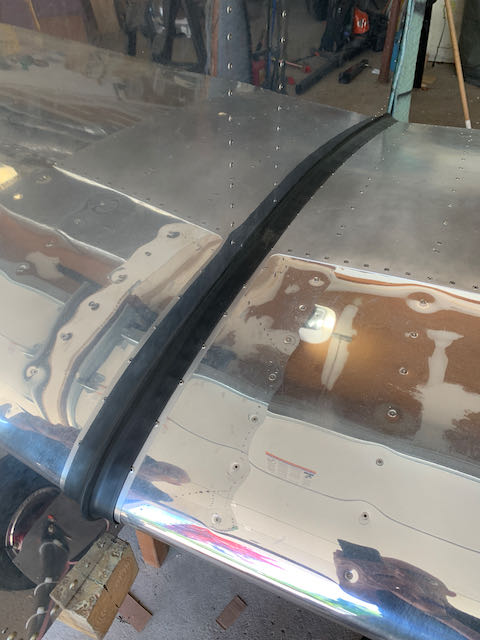
I did a little searching and came up with some rubber stripping that is produced for Piper aircraft, that I reckoned I would be able to make work. I laid it roughly in place and all looked good.
-
- Seal in place…
-

- …looks good,
Oh, if only it were that simple!
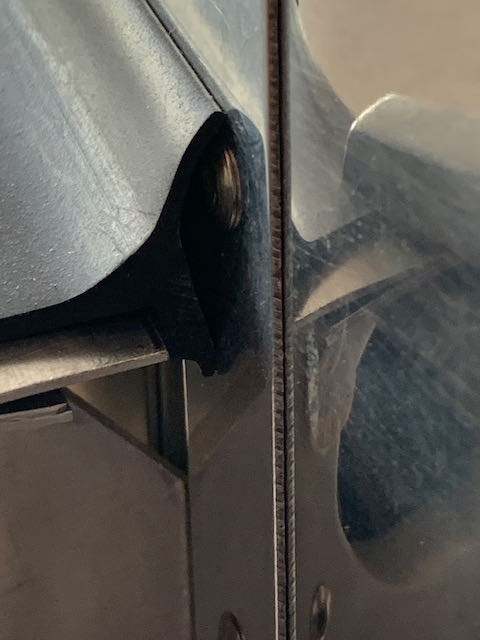
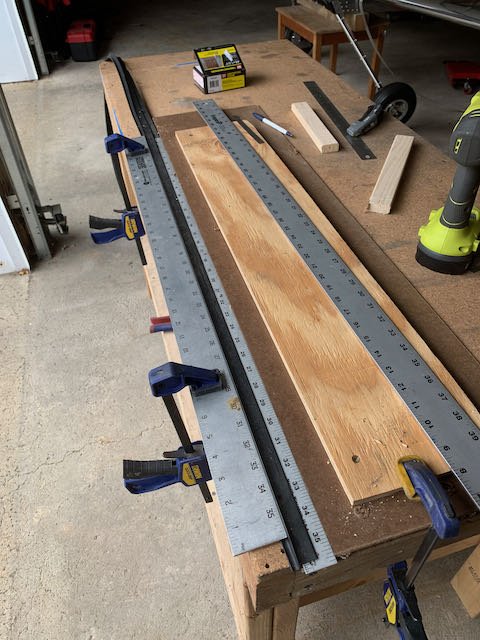
There then followed one of the most challenging tasks of the build so far. The wing doublers that I had just fit, were too close to allow the channel of the seal to sit flush, so I had to increase the gap from 1/32″ out to 1/4″, and the profile of the seal had to be trimmed to not interfere with the Root Rib. I made up a jig to accurately trim the inner part of the seal without cutting the visible edge.
-
- Trimming jig…
-
- …to cut lower flange.
Then the fun really began. Trying to get the wing into position against the rubber was a job that really needed more than one person. As it was only me, I tried harder than I should have, and ended up making some pretty ugly scratches on the wing spars.
Fate then took a hand as I had to take a break for a couple of days. In that time, (a.) I thought about what I was trying to achieve and (b.) I enlisted the help of a roll of high quality masking tape and got Kat to help me. The masking tape held the rubber back so it wasn’t holding the wing out of place and Kat moved the wings just that little bit I needed to get the wing bolts in position.
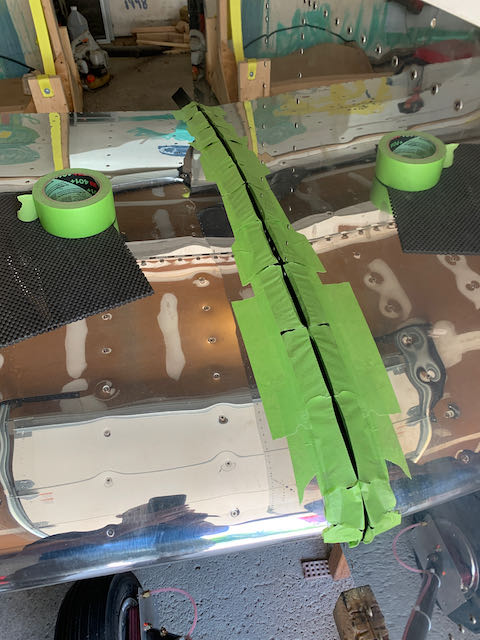
Lots of good masking tape.
With her help, I got both wings bolted in again, but this was a task where I would have been much better off stopping earlier in my efforts and employing the old grey muscle a little bit more.
I dressed out the dings and scratches and found that none of the structural integrity has been affected, and, luckily, the uglier parts will be hidden when the wings are finally attached.
The end results came out pretty well.
With the doublers riveted in place, the wings can now really come off and I can move ahead with Tip Rib and lighting wiring installation.