
Oct 1st – Borrowing an idea from prior builders again, I added a third position on the flap selector. The advantages are two fold; folks that are flying their machines have found a middle position works well for most situations plus, with a little work, the brake lever can be clipped onto the flap lever in the middle position to hold brakes on for engine run up.

With this taken care of, it’s time to move on to installing the glare shield and fuel tank. I am planning on painting the glare shield rather than covering it in fabric; it seems simple and light. I have done a little research on line and found a product that will add a textured, matt surface. I have tested it on a scrap piece of aluminum but it is not particularly tough and scratched off too easily so I am working now on the best way to prime the surface to give a good, resilient result.
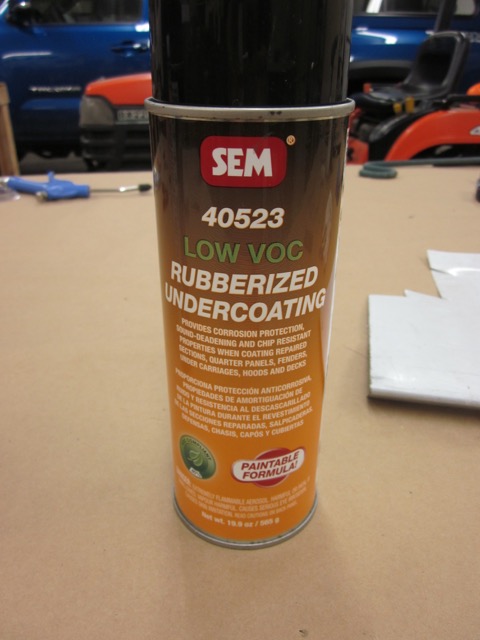
Oct 4th – The quest for a good paint result continues. The product I’m trying is made by a company called SEM and the product is Rubberized Undercoating; it’s primarily used as a chip guard on automotive paint repairs but I think it should make a good non reflective surface to prevent reflection on the canopy. I tried spraying it straight on cleaned aluminum sheet but it scraped off too easily with just a finger nail.
-
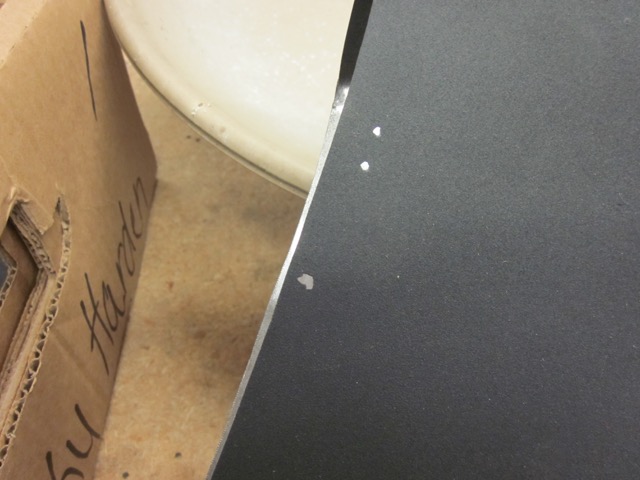
- Too fragile.
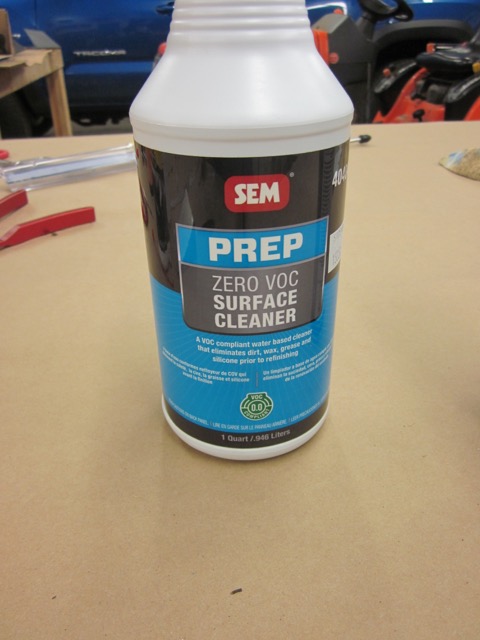
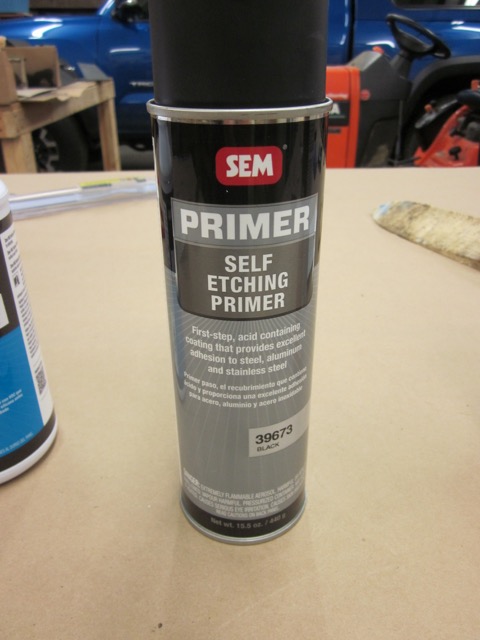
Next I tried sanding the surface to rough it up a bit, then used some of SEM’s surface cleaner and their self etching primer. A better result, but still room for improvement.
-
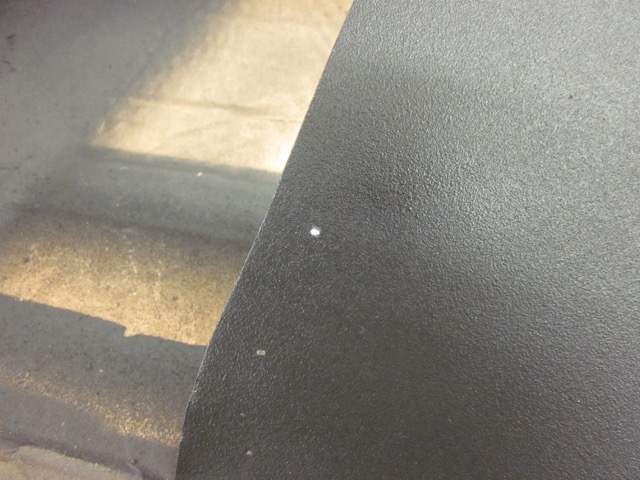
- Better,but…
I did notice that the Primer says that topcoat shouldn’t be sprayed directly on top of this primer so the next step is a two part epoxy primer. I sanded two test samples and prepped one with the self etching primer and was ready to shoot a coat of the new primer.


Fortunately I read the instructions before I started spraying. This can is pretty clever; it has separate compartments for the two parts of the epoxy but the down side is that once they are mixed the can has to be used inside 48 hours. I was planning on testing the two sample panels but it seems a bit of a waste to use a fraction of the can for this purpose so I think I’m going to bite the bullet and spray the whole glare shield with it. I can still use the sample panels to test the toughness of the final result to determine how gentle I’ll have to be with the glare shield when doing the final installation.
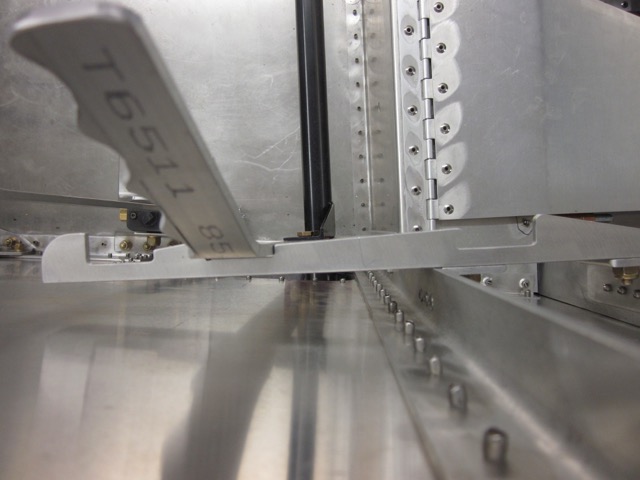
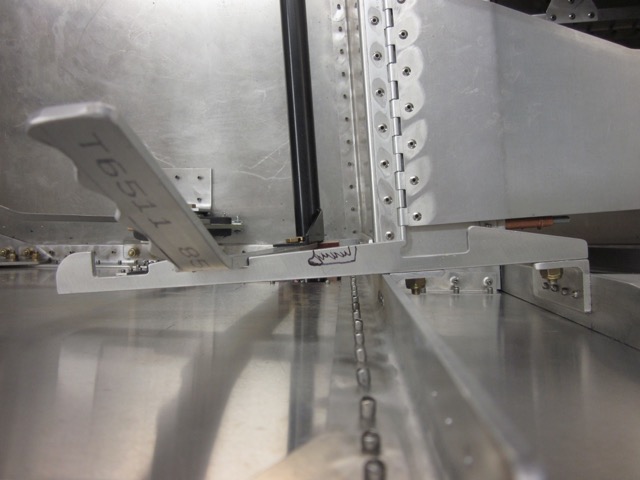
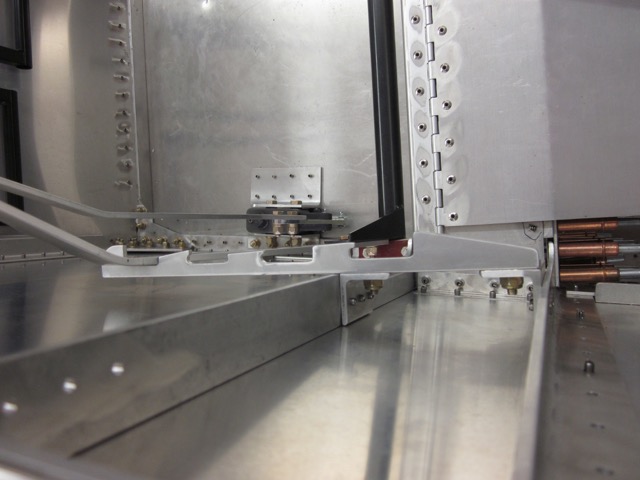
Jan 1st – A new year starts, seems like a good time for an update. I have decided to hold off on spraying the glare shield for now; there’s no rush to get it done and I’d like to minimize it’s exposure to getting scratched. I reassembled the glare shield and moved ahead with installing the fuel tank. It was quite a struggle working upside down in the cramped quarters of the nose but I eventually got the bands bolted in place. It definitely made it easier pre-forming them prior to assembly.
-

- Tank under glare shield…
-
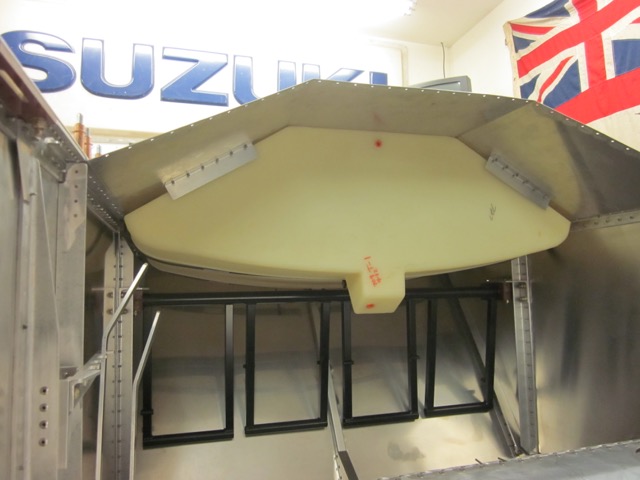
- …in place…
-
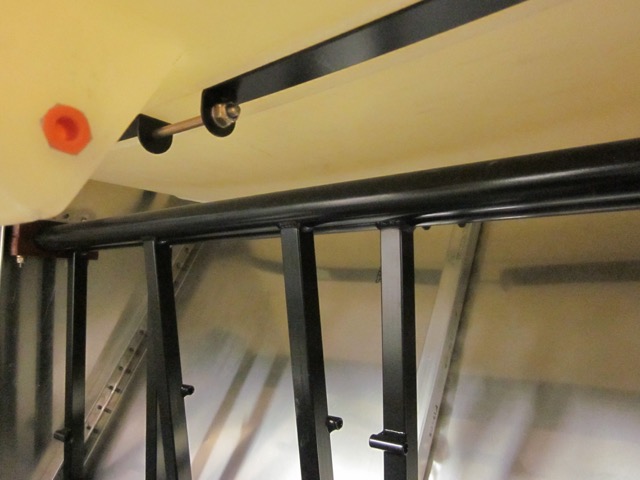
- …fastening bolts secured.
I used longer bolts than called out, the plans say not to over tighten them so rather than struggle with the shorter bolts, I replaced them. When everything is riveted finally, I may try to get the correct bolts in but, if the tank is secure, it seems to me like extra hassle for nothing.
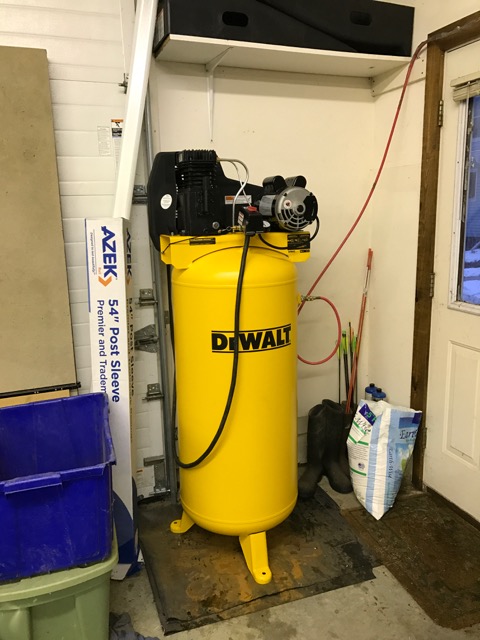
I actually got the tank installed about a month ago and tried to get some work done on one of the final fuselage structures but I ran into a little problem. I turned the compressor on to pressurize while I popped out for coffee, On my return, it was making a bad sound and the pressure remained zero; I suspected that there may have been a problem with the reed valves as I have had issues with them before. On investigation that proved to be the case, one had snapped but that was not the worst of it. Because the valve had cracked between the two screw holes, the screws had loosened off, backed out and then fallen down into the cylinder. I pulled the head off to reveal one piston and head to be completely trashed.
-
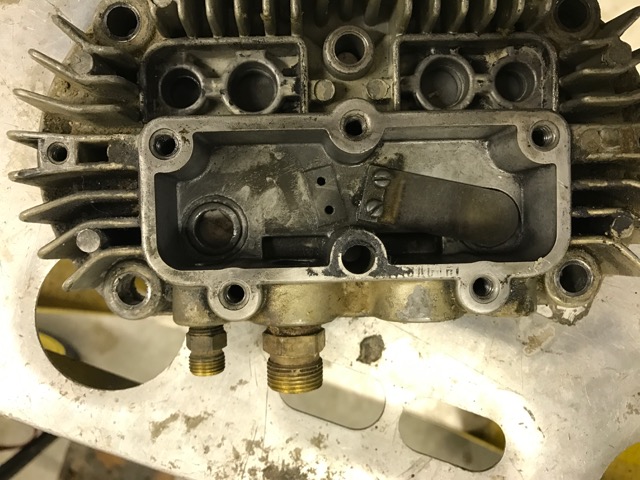
- Broken reed valve…
-

- …trashed piston and head.
This is an older compressor that I got off Craigslist, some parts are available but not everything that I needed. Rather than scouring eBay, I found a good deal at Farm & Fleet and am now the proud owner of a shiny, new toy.
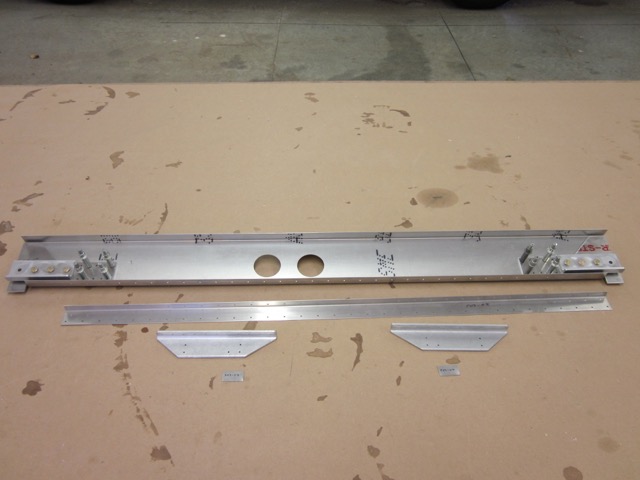
Once I get the old one out of the way and the garage tidied up a bit, I hope to get back out here, finish the Rear Spar Carry Through Assembly and get started on the wings. Stay tuned.
March 26th – Not much work to report on the Sonex. I’ve been busy over the winter training at the indoor skydiving wind tunnel with Kat, Kyle and Kristie for a skydiving league that we will be competing in this year. I have been in the workshop to build “creepers” that we use to practice the formations that we build in the air. More woodworking than anything else which was a nice change from working with Aluminum.
-
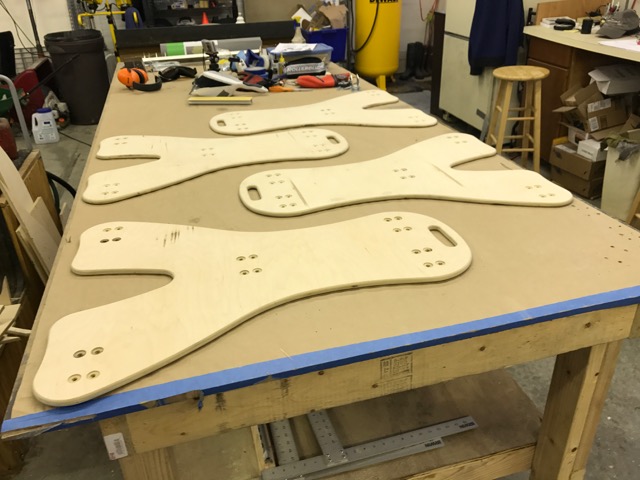
- Plywood cut out…
-
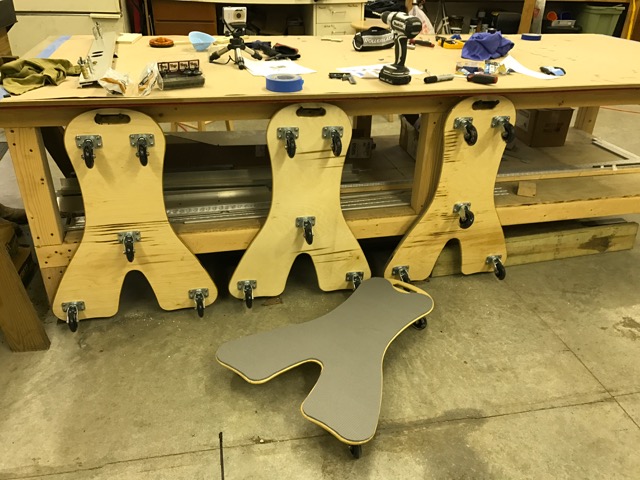
- …wheels attached…
-
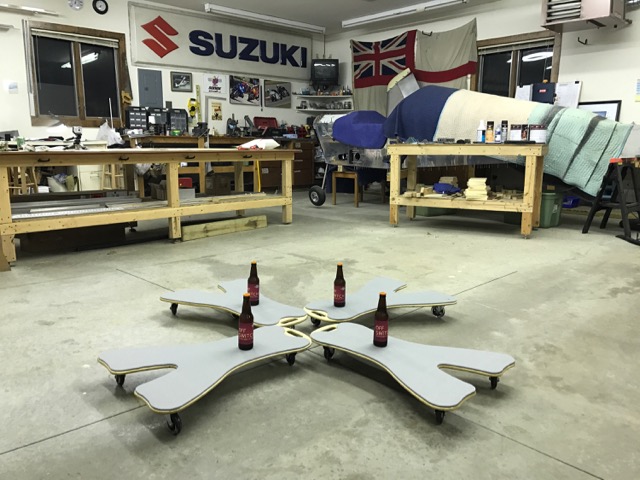
- …ready for use…
-
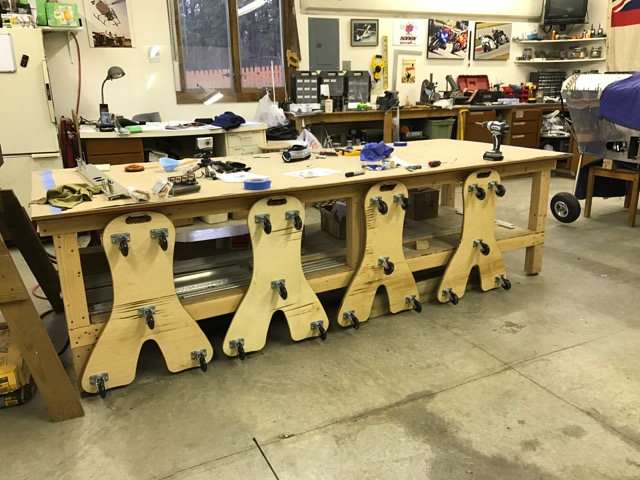
- …stored for Sonex work.
With that job complete, I finished off the Carry Through Assembly and was able to cross off another box.
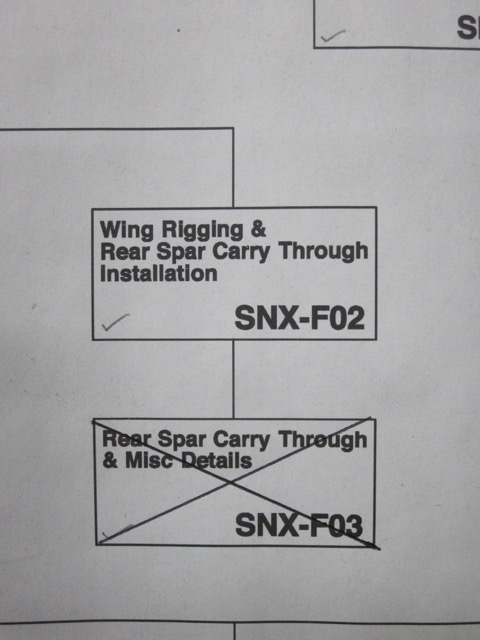
As you may notice, the next box up the tree is wing rigging; I suppose I’d better start building some wings!